Pages

Tuesday, October 27, 2015

Late October Update; PAINT!

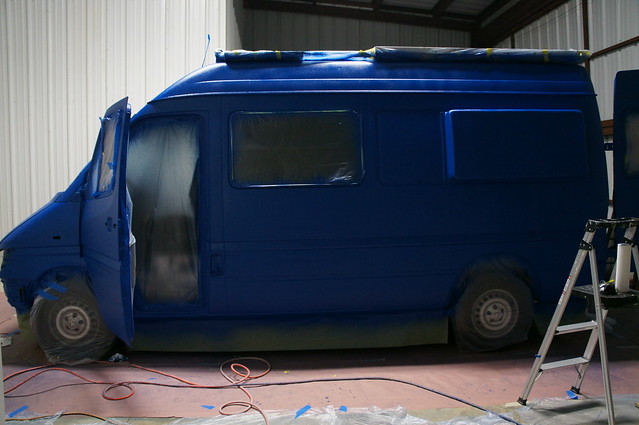
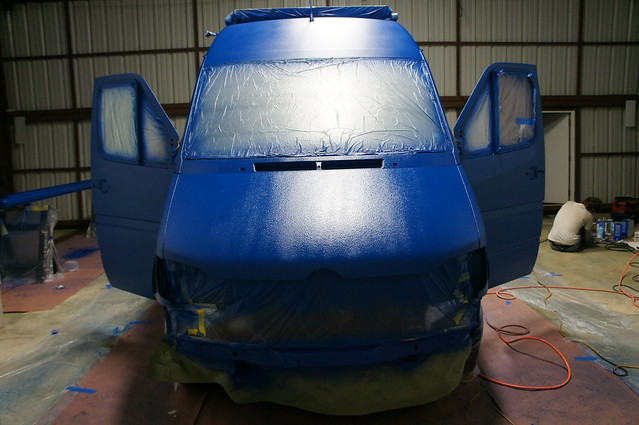
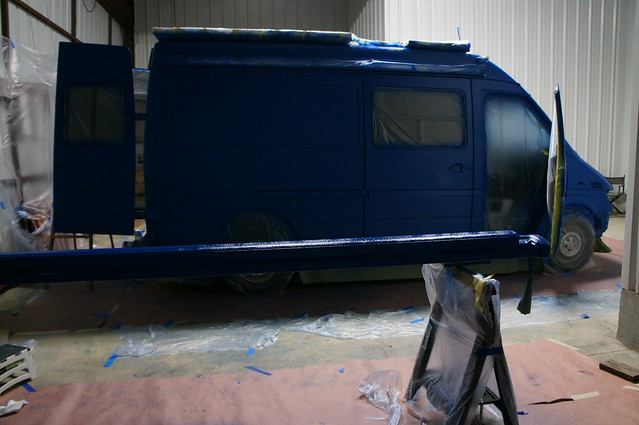
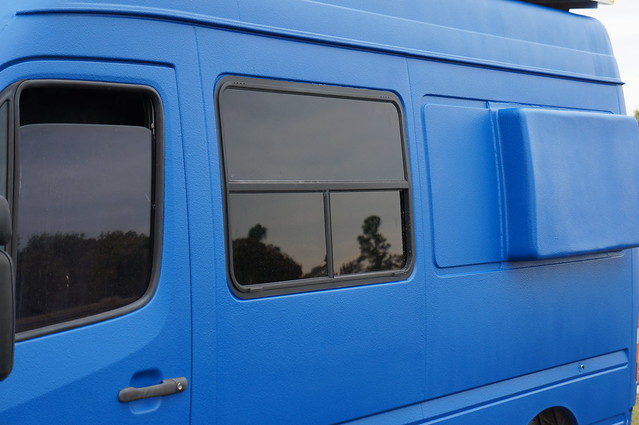
The Deed is done.   We tallied the votes and Smurfadelic Blue won.  For those of you not familiar with Monstaliner it is a tintable urethane based bedliner product. It is very high viscosity and moisture curing. It can be applied with a roller or by spray. We opted to spray for obvious reasons.

We started out by rolling and spraying the coating using different techniques and thinning ratios. We ended up with 2 coats at 10% thinned using a undercoating gun at ~50PSI. Here are some of the roller tests.

DSC06124


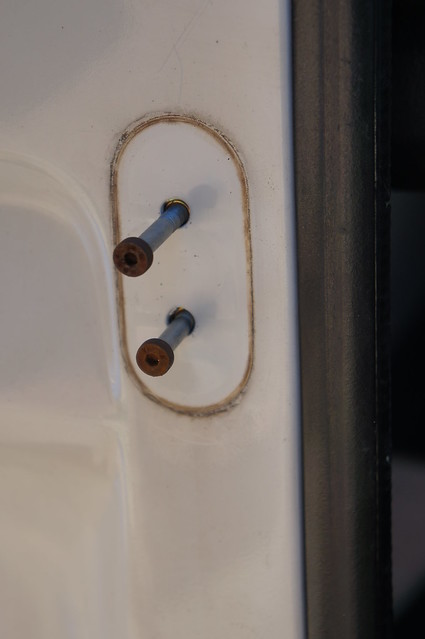
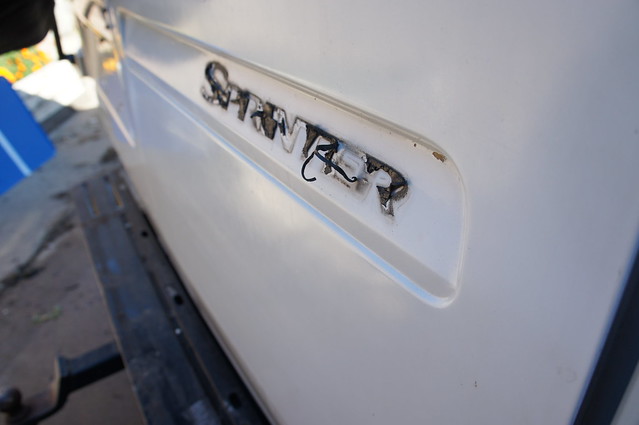
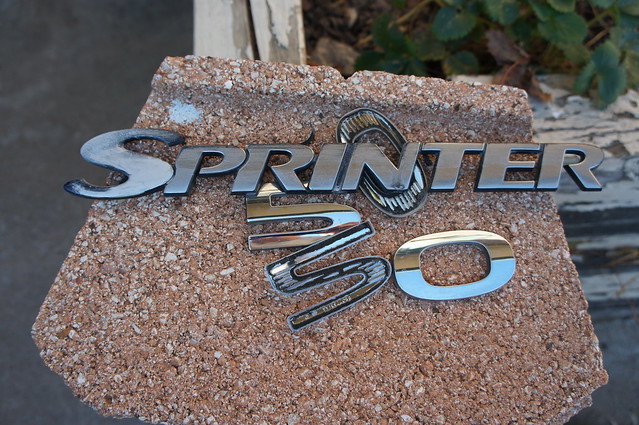
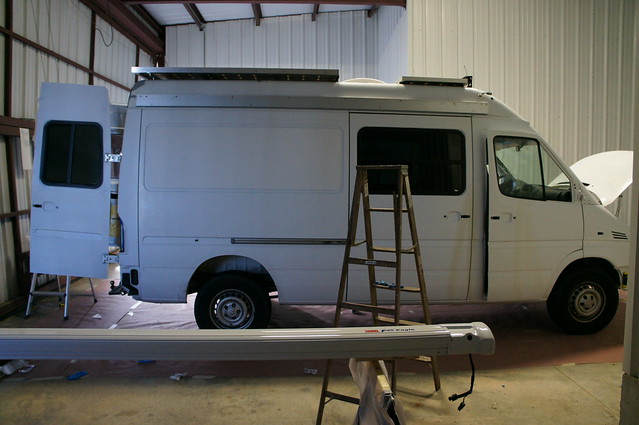
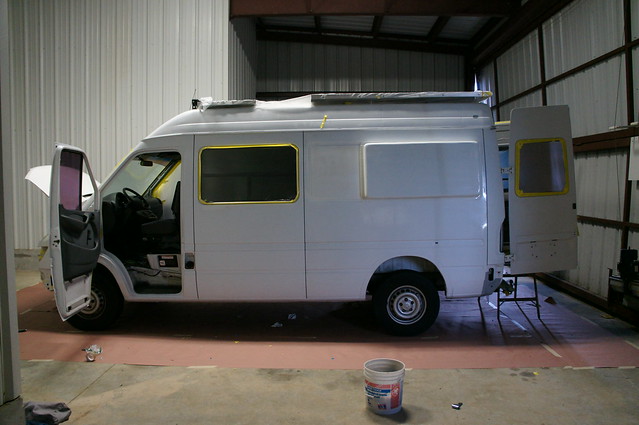
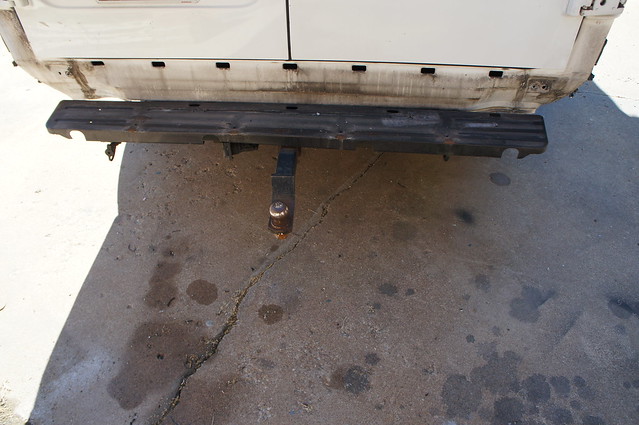
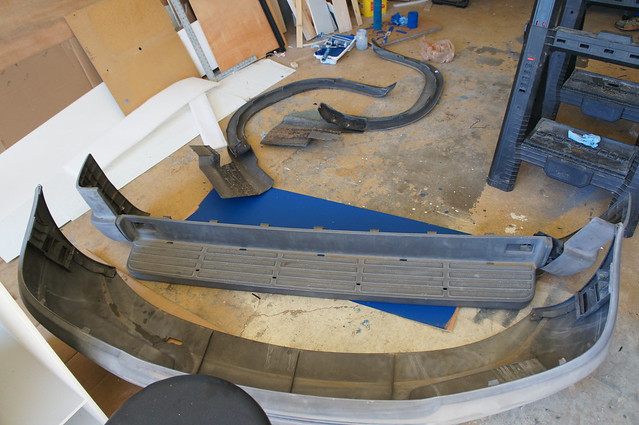
As with any paint project prep is 90% of the work. So we started by stripping everything off the van that we could reasonably remove. This included bumpers, lights, mirrors, small windows, trim, badges, and awning. In addition the door catches, stops, and seals all came off. An exception is the front window seals as these seemed impossible to remove without damage. The adhesive tape from the badges took a lot of time to remove cleanly.
DSC06027

DSC06025

DSC06029

DSC06036

DSC06045

DSC06052


Then we cleaned everything… three times… starting to look clean. Getting all the diesel soot off the lower rockers was a challenge. It is critical to use a good detergent to remove any grease or oil residue. The areas under seals and at panel seams were tough to get clean.
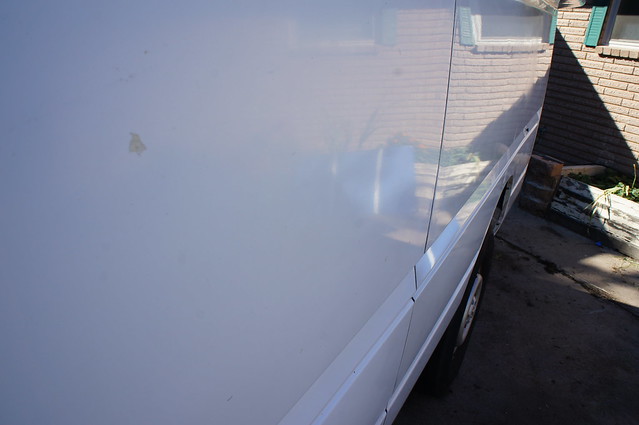
DSC06053


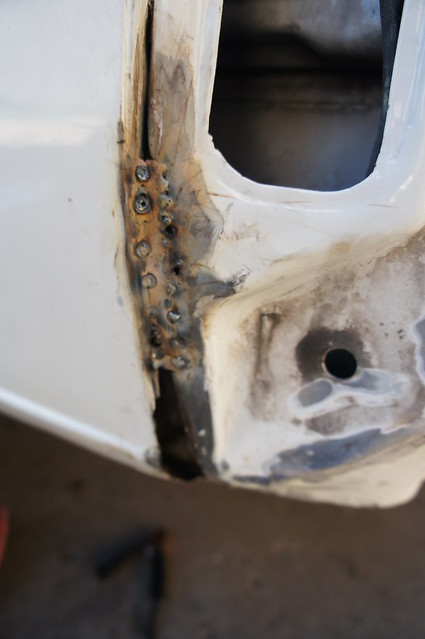
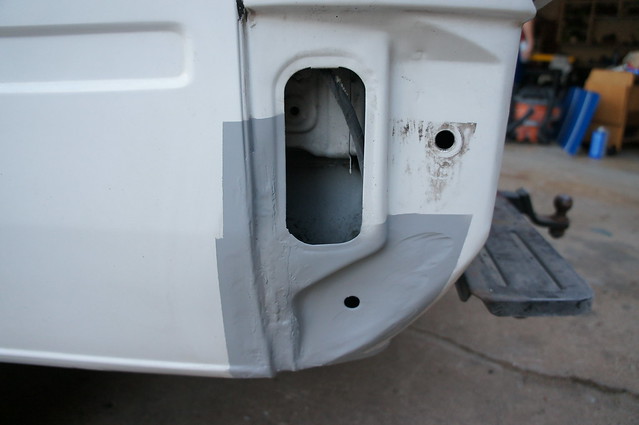
I discovered a previous body repair in the back left corner which had started to rust. I probably could have saved the sheet metal in the seam, but I opted to just weld in a patch and seal it up as it’s covered by the bumper caps.
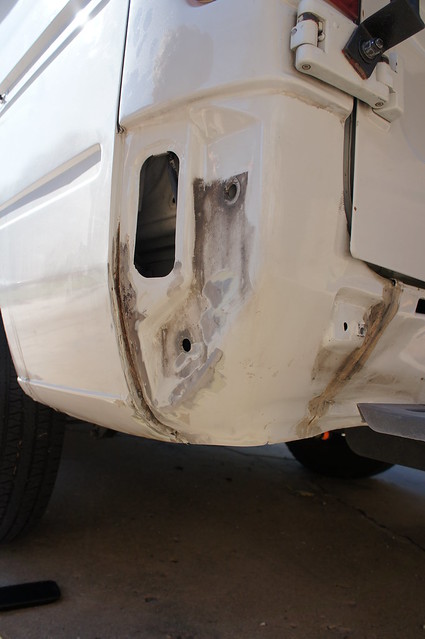
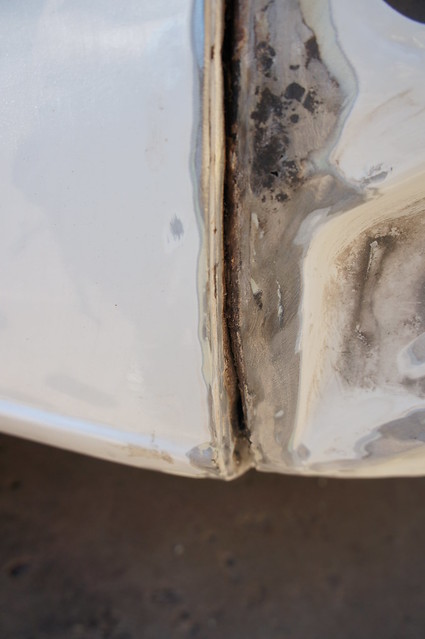
DSC06054

DSC06056

DSC06058

DSC06064


The next step was to scuff the entire surface to be painted. We used coarse scuff pads in conjunction with 300 grit on our random orbit sander.   We then took the van to our friends hangar and cleaned some more… (Thanks Mike!)  We solvent wiped everything before and after masking to remove any oil from our hands as well as other contaminates.
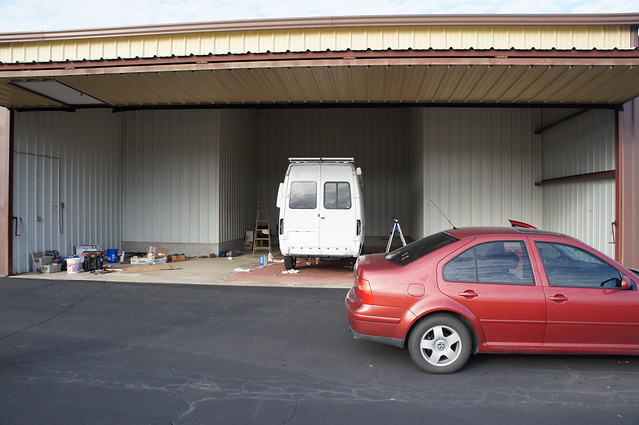
DSC06067

DSC06069


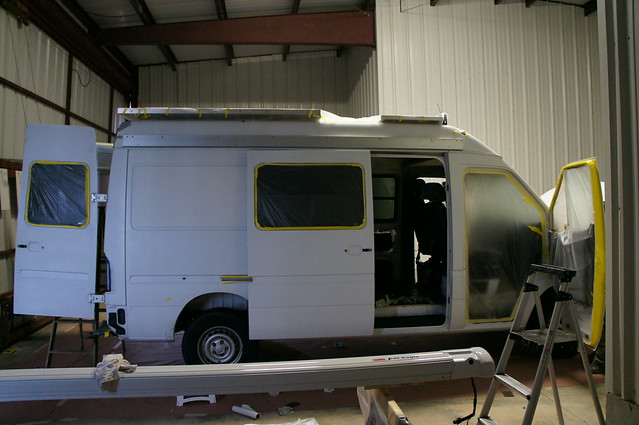
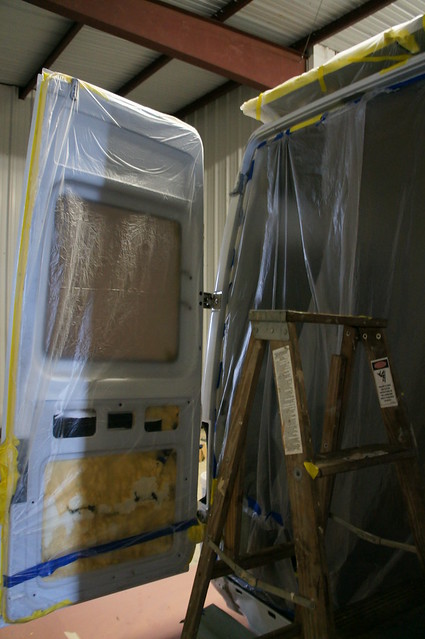
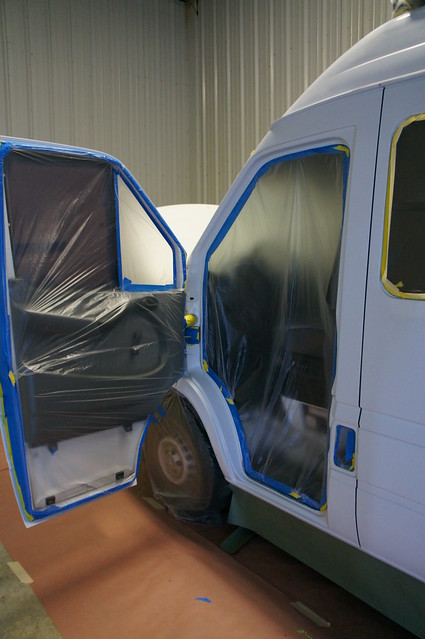
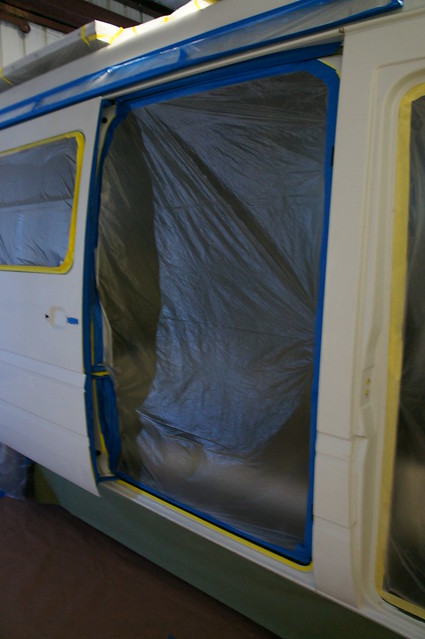
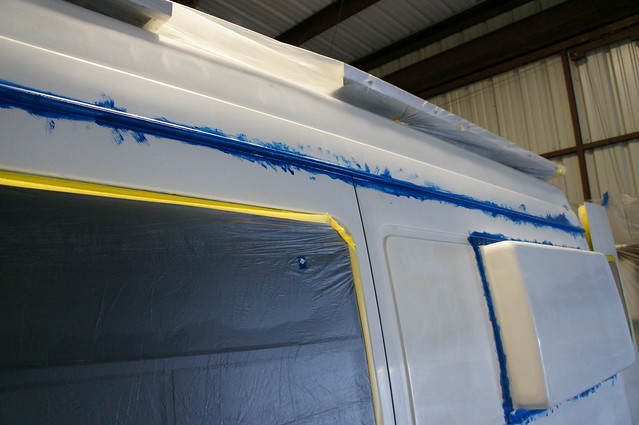
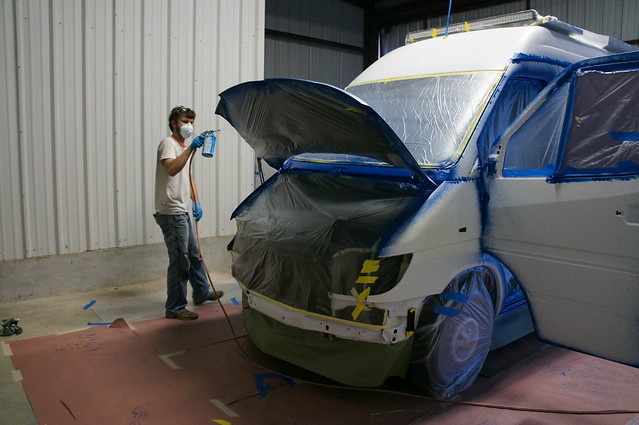
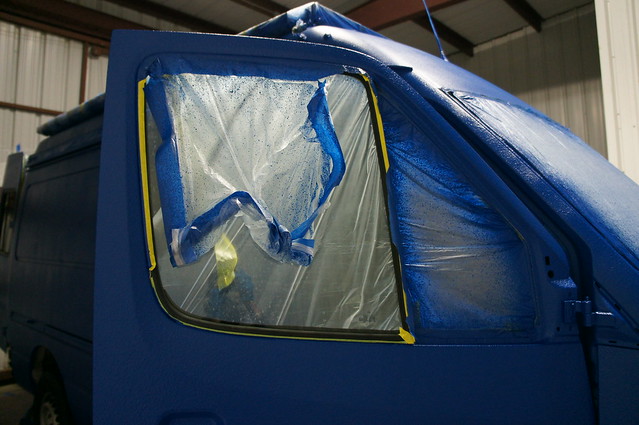
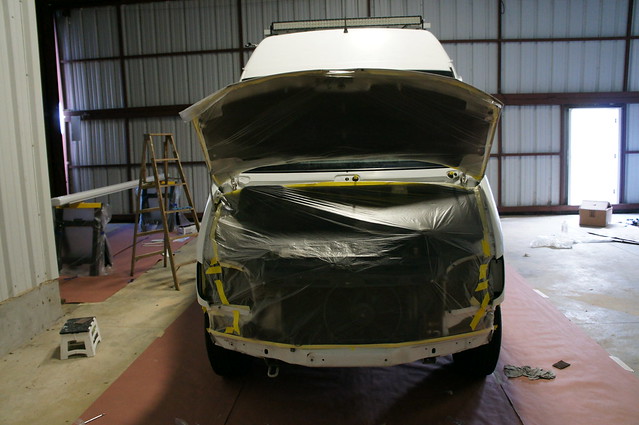
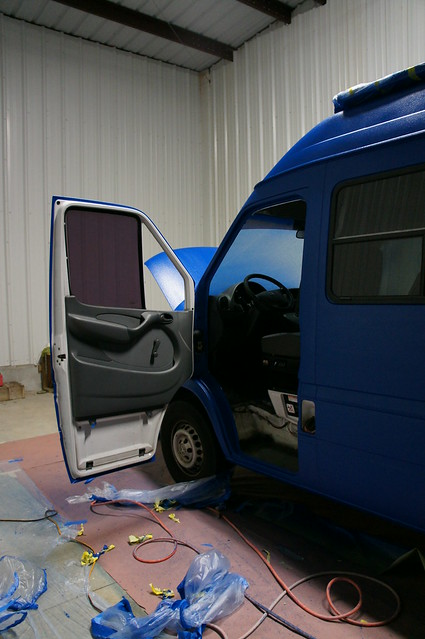
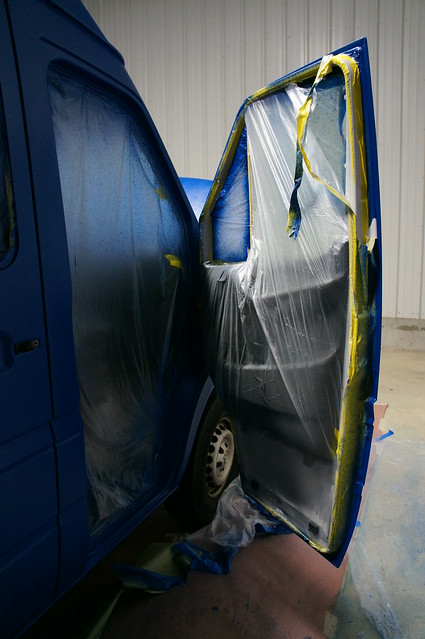
Then we masked everything meticulously. Since we were painting parts of the jambs we were able to put our tape lines in out of the way places. This also meant that we had to spray/brush the jambs prior to doing the exterior.
DSC06071

DSC06073

DSC06075

DSC06076

DSC06078

DSC06077

DSC06080

DSC06082


Note that we used automotive low tack masking tape in various thicknesses from 5mm to 50mm. The 5mm was very useful for tight turns and close spaces.


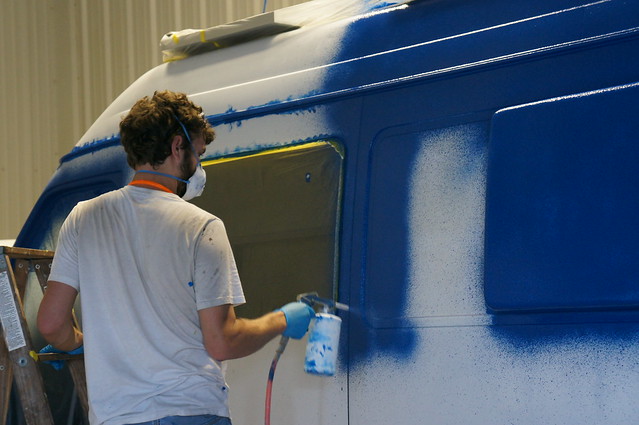
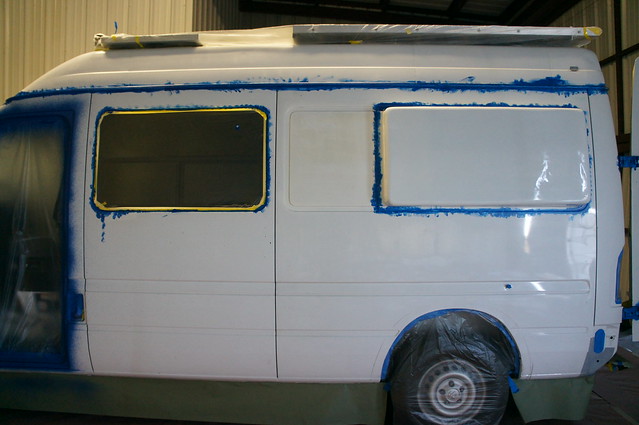
We started by mixing the tint into all the gallon cans. Then we catalyzed one gallon at a time and began spraying. We went through paint quickly; usually about an hour to spray each gallon. Using 3.5 gallons total, but I could have sprayed the leftover half gallon on the front roof. Looking back catalyzing all the paint at once in a 5 gallon bucket would have saved mixing time, just make sure to cover the coating between pours. Filling multiple spare canisters for the spray gun can save time as well. We filtered all paint prior to spraying it.

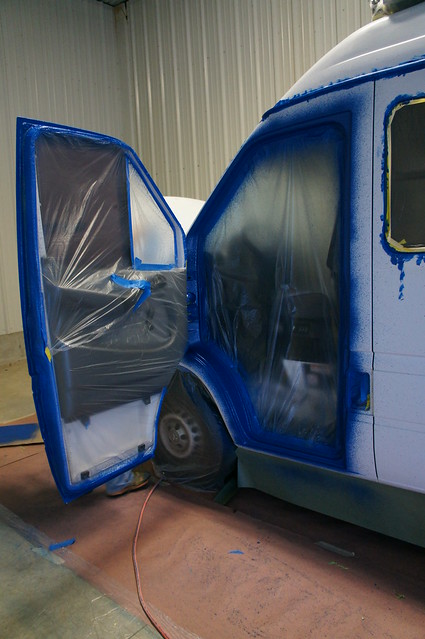
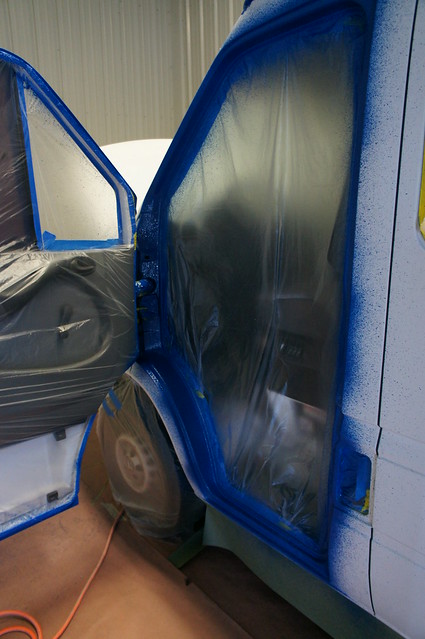
Prior to the first coat we brushed paint into tough to spray areas such as the rain gutters, tight areas in the jambs, and blind corners on the slider and front doors.
DSC06096
DSC06086


The instructions suggest spraying 2-3 medium coats about an hour apart. I aimed for 90% coverage with the first coat and the remainder on the 2nd.

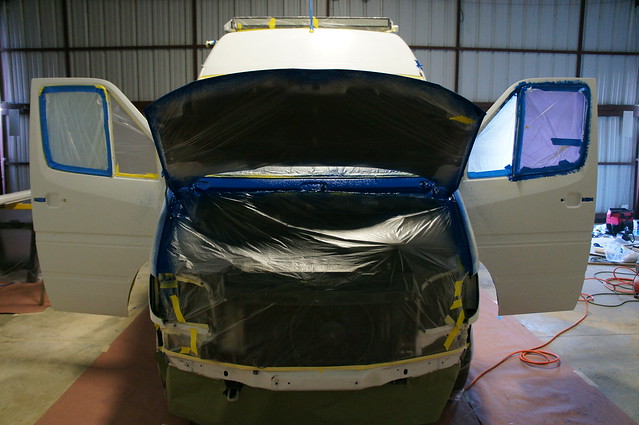
I started with the jambs. While that was drying I sprayed one coat on drivers back side. Once an hour had passed I did a second coat on the jambs and proceeded to do the other back quarter. Again after an hour I closed the front doors, slider, and hood. I tried not to get ahead of myself and recoated each section of the van in around an hour.
DSC06084

DSC06087

DSC06088

DSC06094

DSC06106

DSC06109

DSC06112

DSC06113


Good lighting is important as full coverage is can be difficult without ruining the texture or causing runs. Make sure to mask everything important within 10 feet of the van, as you will get overspray due to the angles necessary to get all the nooks and crannies.

Once the paint coating would no longer take a fingerprint we unmasked the van. Don’t wait too long to remove the tape, as it can mess up your tape lines.
DSC06118

DSC06121

DSC06122


The coating takes a few days to cure enough for use. So we then played the waiting game.  Overall it took us at least 40 hours of work to get the van prepped and almost 10 to spray and unmask.

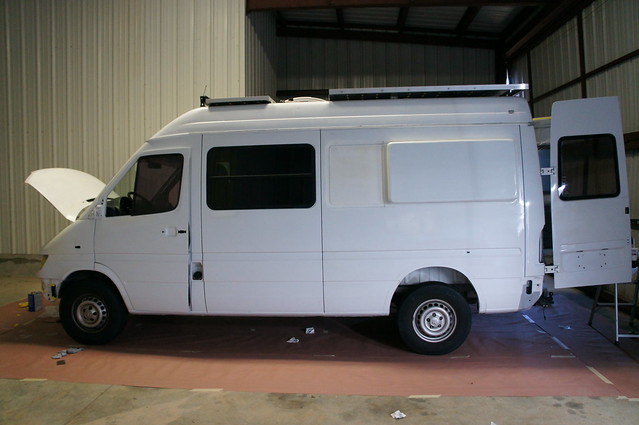
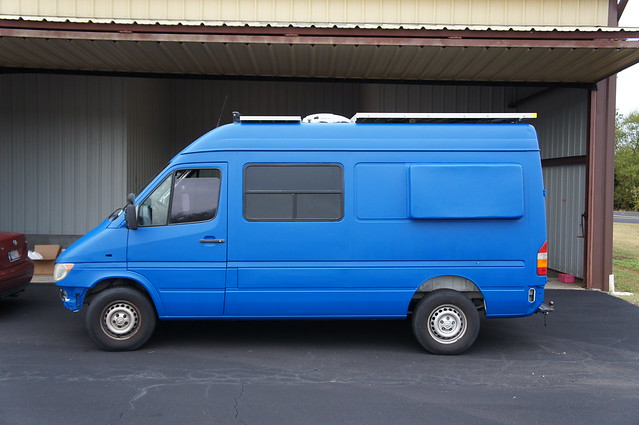
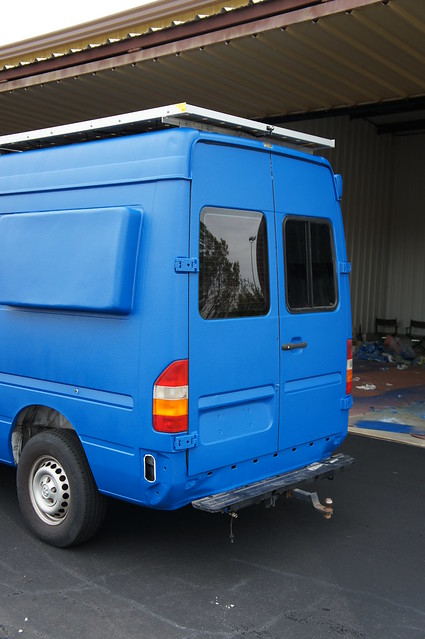
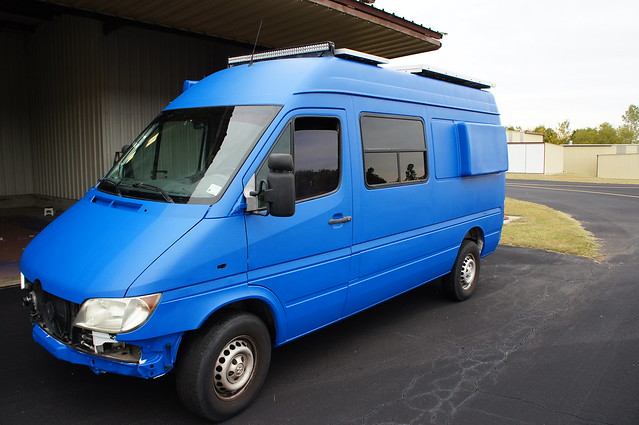
Once the coating dried we reassembled enough to get the van home.  Here are some shots outside the hangar a week later.
DSC06137

DSC06138

DSC06139

DSC06140

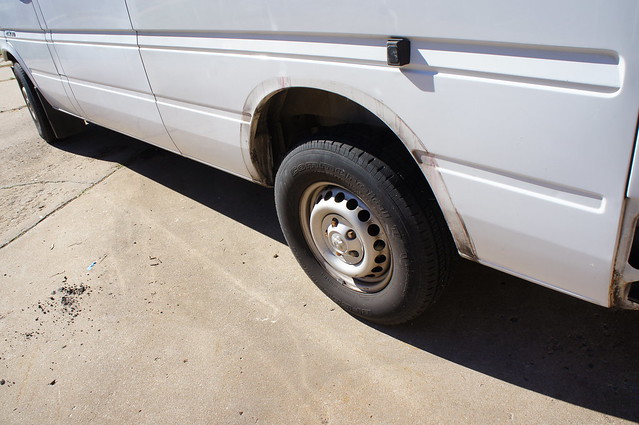
After putting the trim on I realized that we should have sprayed the rear wheel well areas.  Oh well.  We can do them when we do touchups or possibly just paint them black.   The bumper covers and wheel arch trim were pretty badly oxidized.  So I buffed them with a drill and green scotch pads.  I used xylene as the lubricant but water with soap would probably have worked pretty well.

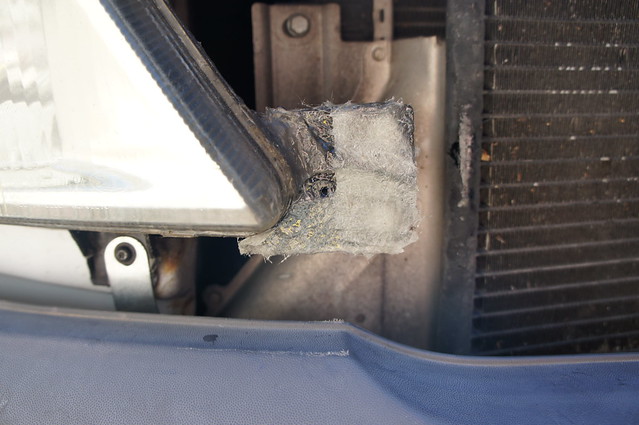
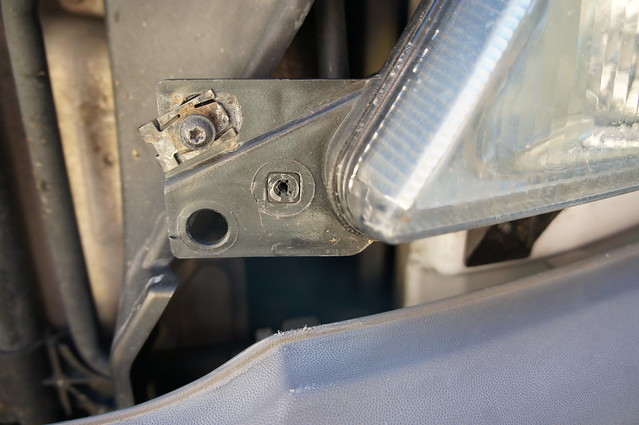
I repaired a broken trim mount on the passenger headlight with some fiberglass mat and 5 minute epoxy.
DSC06142

DSC06143


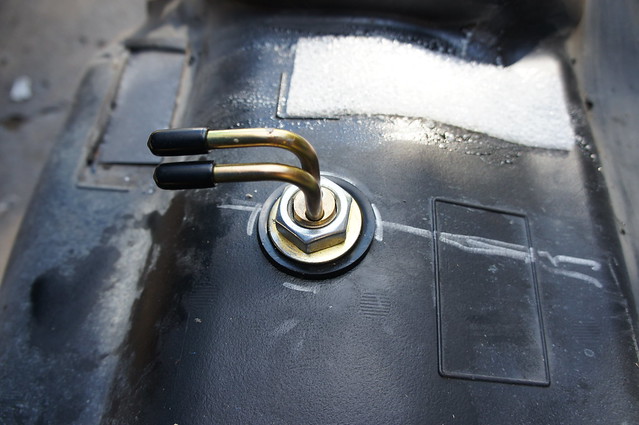
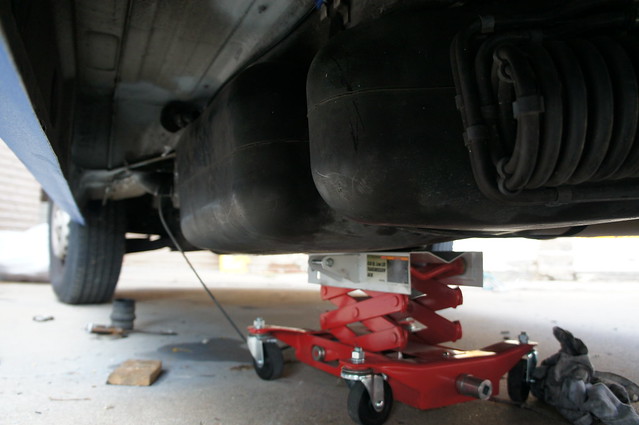
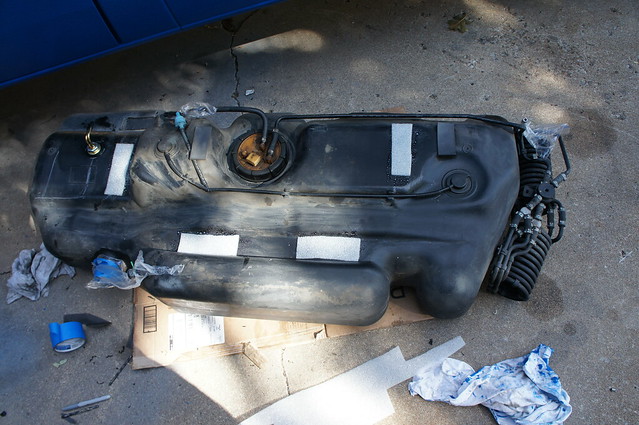
I also dropped the fuel tank to install the Espar heater fuel pickups.
DSC06145

DSC06146

DSC06149

I am planning on installing the gray water tank for good over the weekend.  Hopefully the Espar D2 heater will get installed as well.

Friday, October 2, 2015

Early October Update (Wait I still have to work?)

As work on the van continues on I have become increasingly glad that we are not tracking our hours.


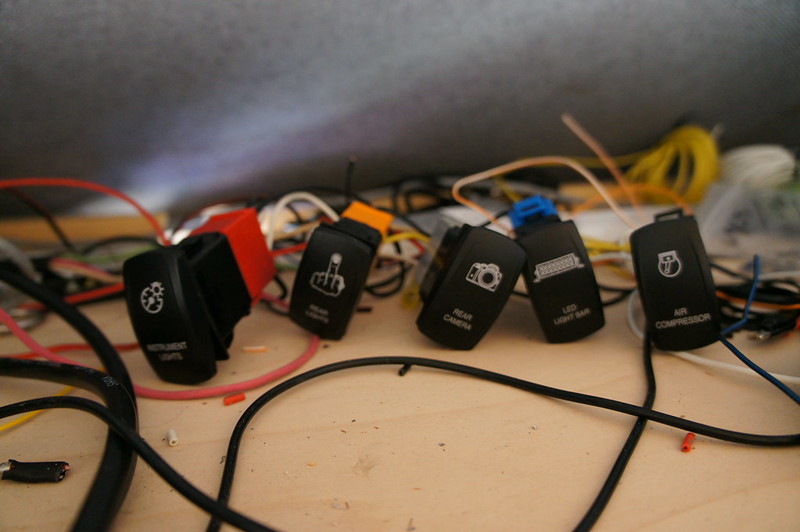
First up the overhead switch panel is installed. Sadly I spliced the wrong wire for the high beams and got the low beams instead! A fix for another day I guess. Lesson learned, double check all wire splices prior to re-assembling the dash...


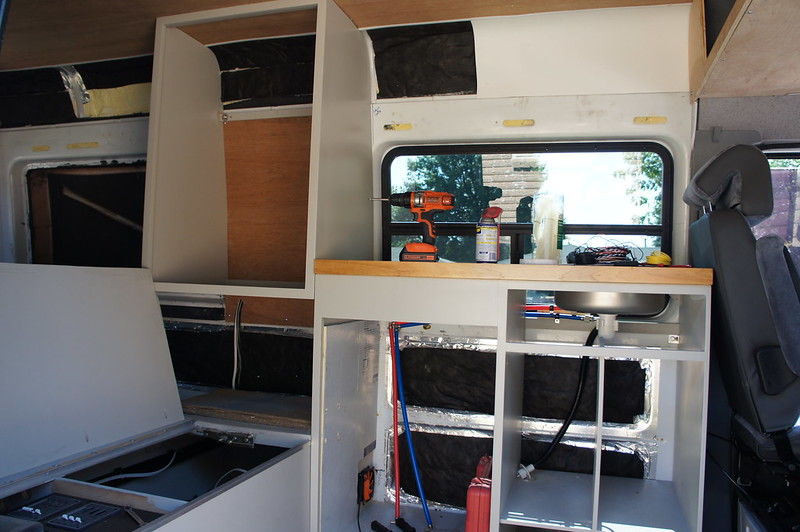
The vertical cabinet shell is mounted. I used 1/4-20 rivnuts in the roof and wall ribs. I also have the over galley cabinet parts all cut, just need a few hours to assemble.


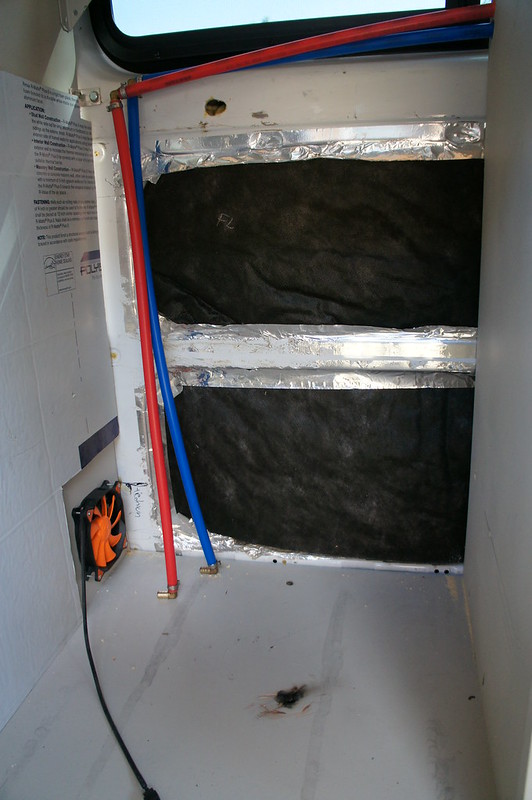
I also started running the water lines in the galley and mounted the fridge auxiliary vent fan. I still need to figure out drain line routing, and then we can dive into finishing all the drawers for the galley.


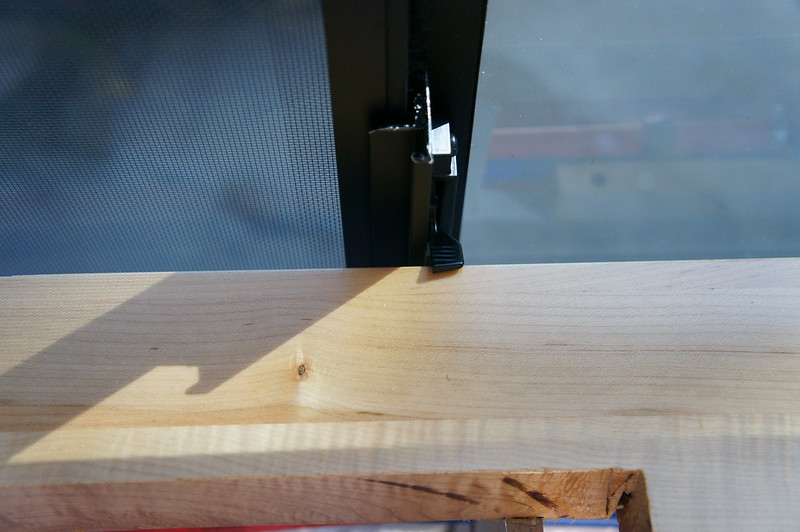
I discovered that the galley counterytop interferes with the sliding window latch. Not a big deal, I will just trim it about 3/8" next time I remove the galley.


I ordered some monstaliner for testing purposes. Should arrive next week. I am hoping to get the van painted/coated before the end of October. A friend has graciously offered to let us use his Hangar for painting so we can stay clear of the crazy Oklahoma wind.


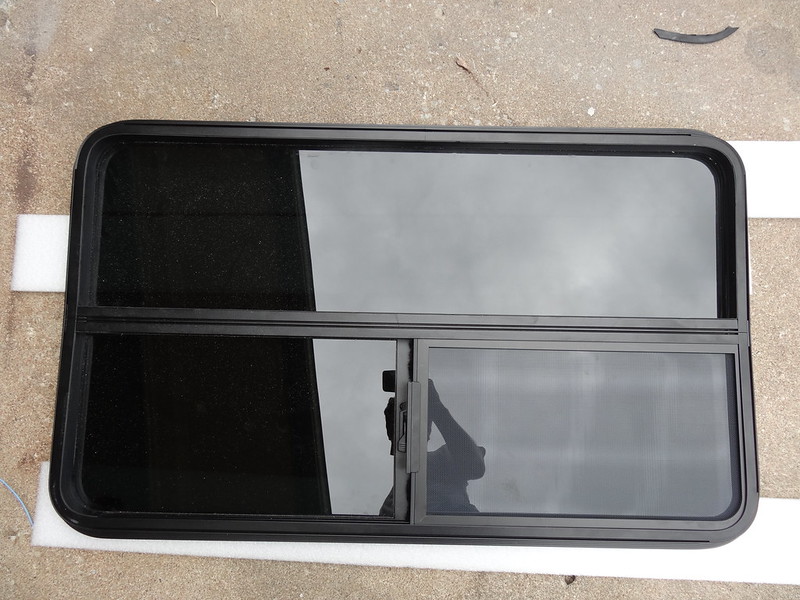
The motion windows arrived Wednesday 2 weeks ago, so the weekend was filled with window madness.

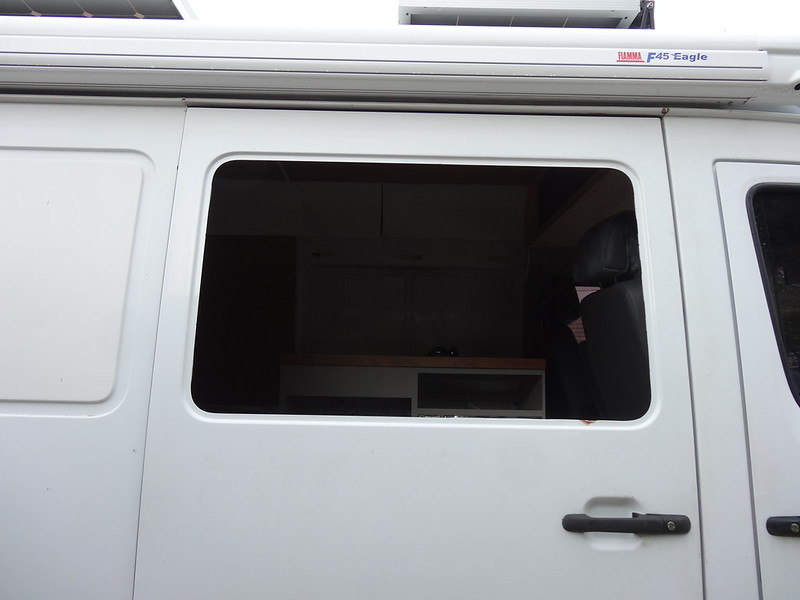
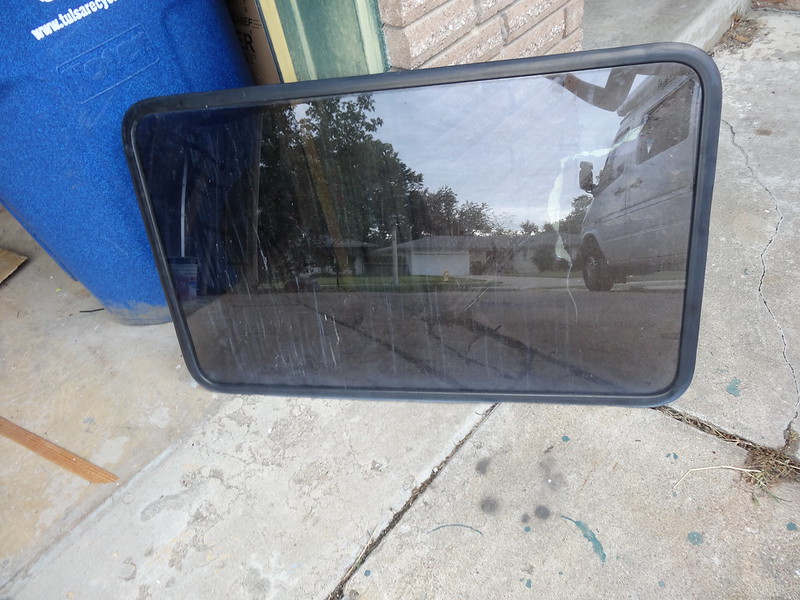
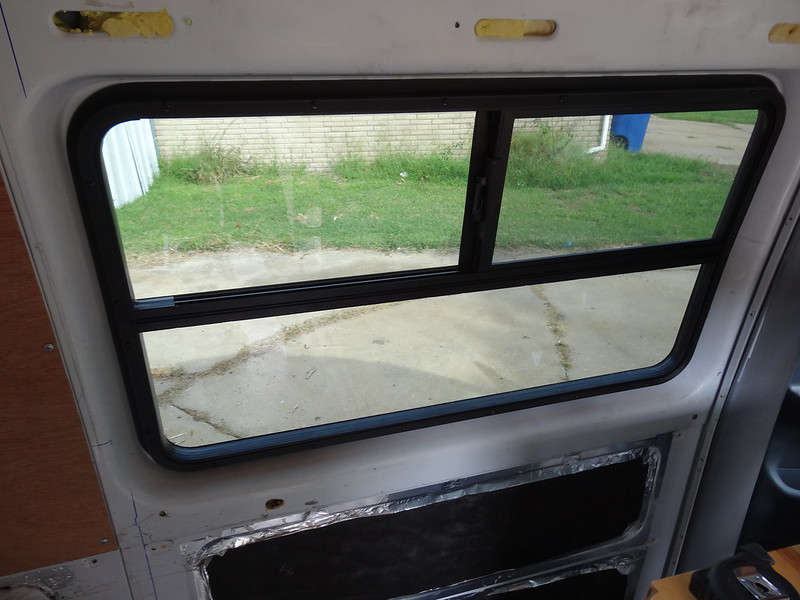
First up was the sliding window. Since I already had a window in this location no sheetmetal cutting was required. I started by cutting the inside of the rubber seal, and pressing the OEM window out. Anyone need a stock slider window?


I had a bit of minor rust to clean up.


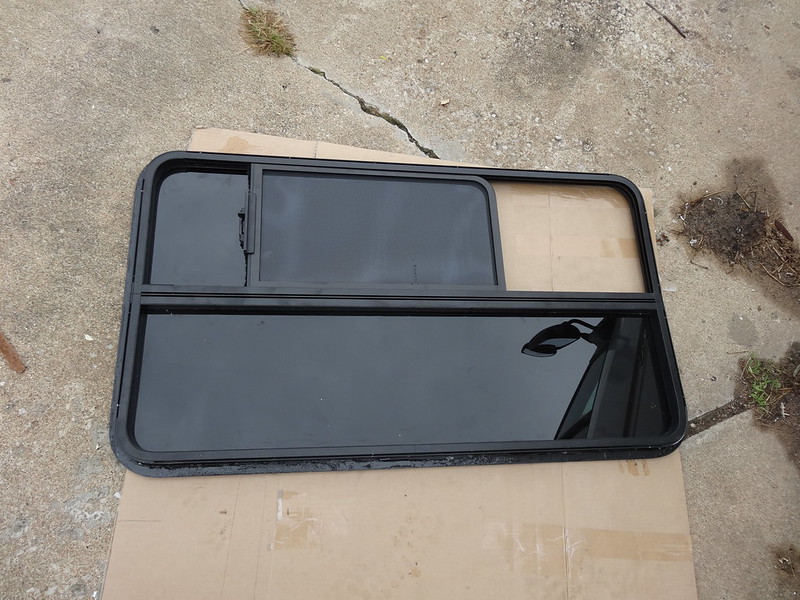
Here is the inside of the window. Note that these are tempered glass, which while very strong, is vulnerable to sharp impacts. Dropping a screwdriver from waist height could shatter the glass.


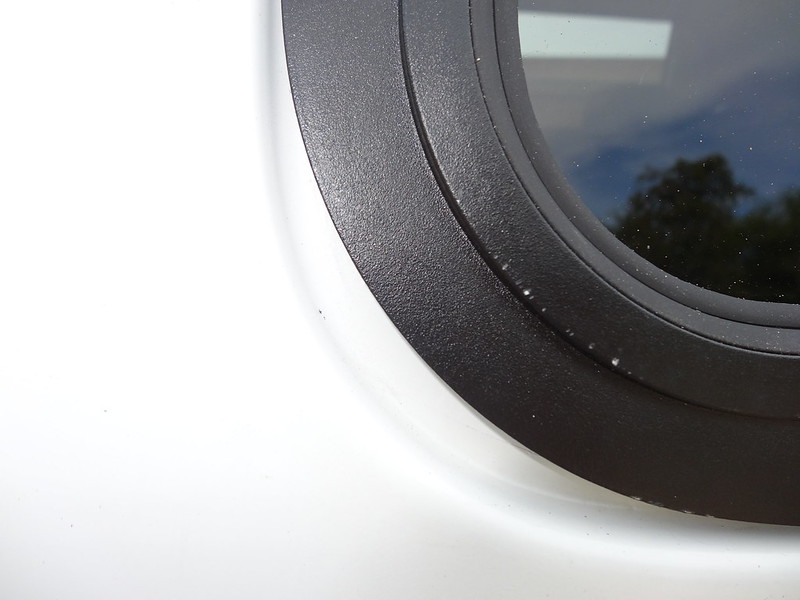
Have a helper assist you in holding the window from the outside. Using a drill (with adjustable drive torque) attach the trim ring using the provided screws. Get the trim ring centered first, and then slowly apply the screws, gradual adjust the torque up and do a 2nd and 3rd tightening of the screws. When you are done the foam gasket should make contact all the way around.

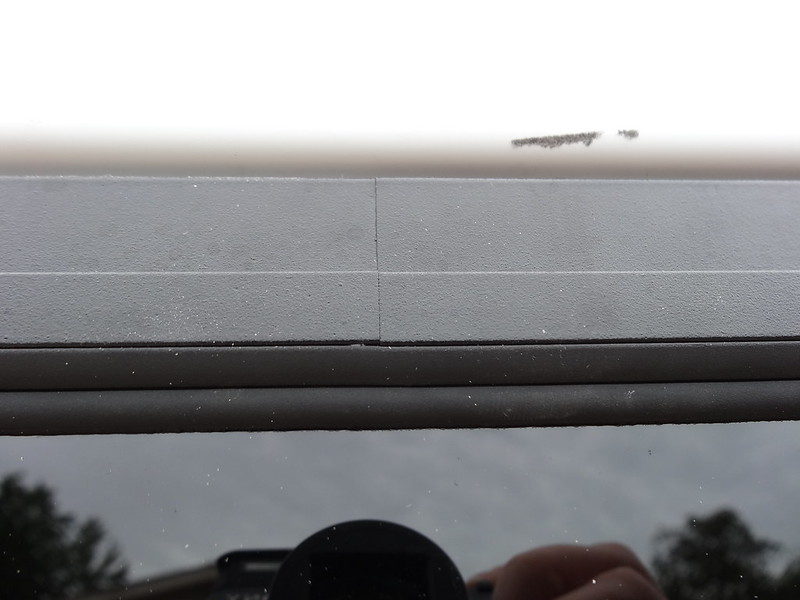
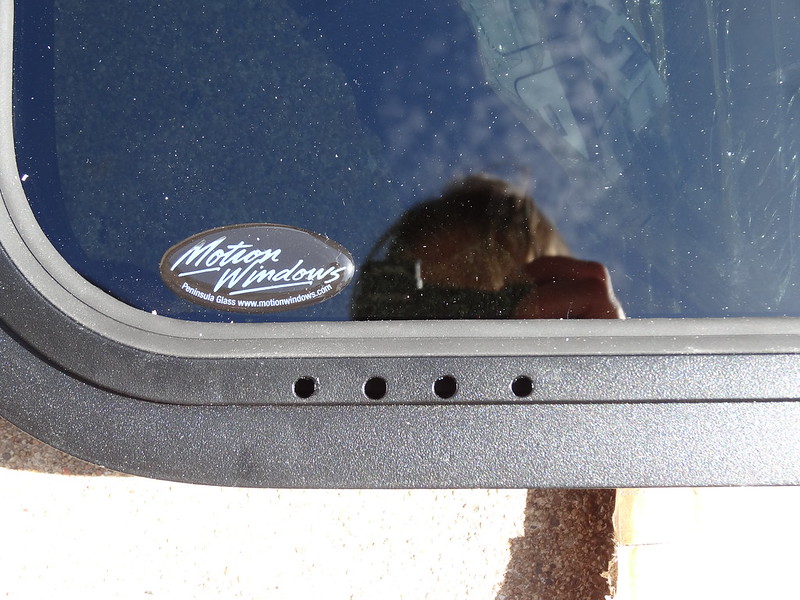
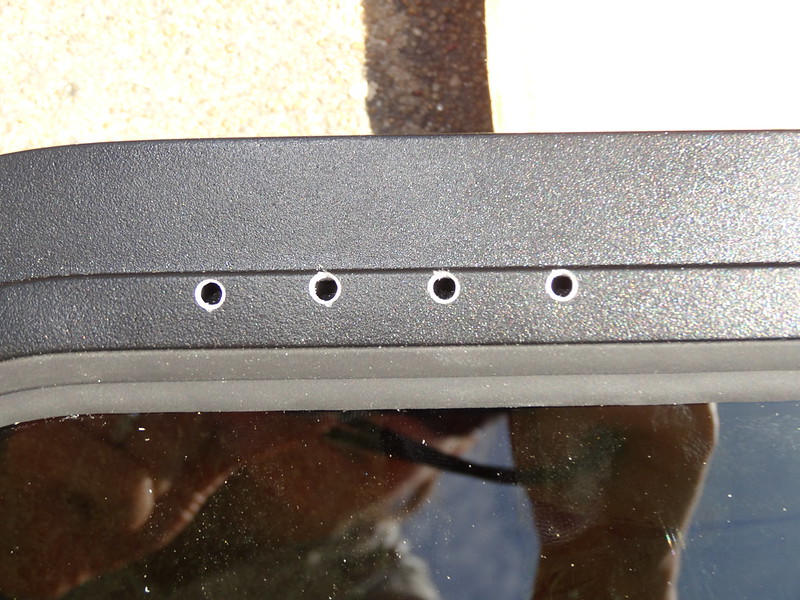
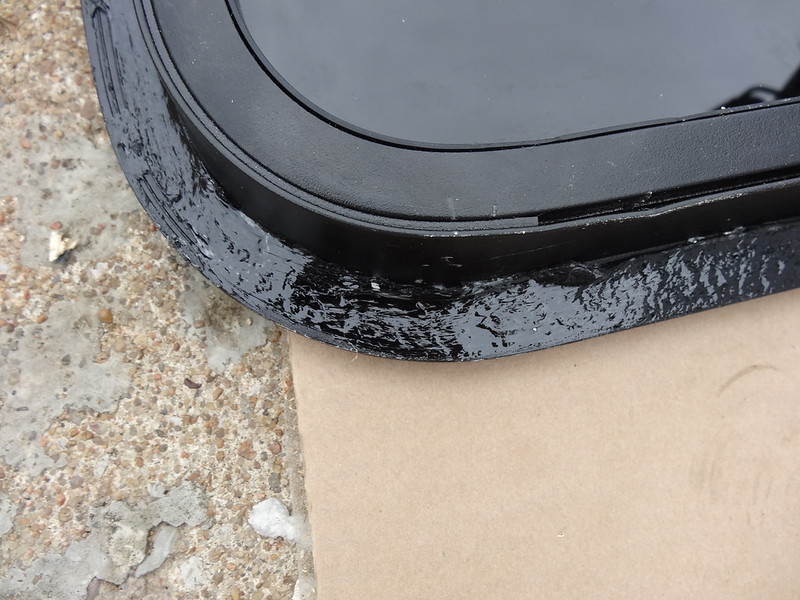
These windows have a specific top and bottom. I attempted to rotate the driver side window 180 degrees, as this improves access due to my tall galley. I drilled mirror images of the drain holes in the opposite side. Note that this DID NOT WORK. There is a single seam in the aluminum frame; this seam is on the top normally. Flipping the window resulted in this seam being on the bottom. The drain holes I drilled worked, but the seam slowly leaked water. If I had sealed the seam this may not have been an issue, but I was unwilling to risk leaks, especially behind the galley.

Here is the seam.


Here are the drain holes.


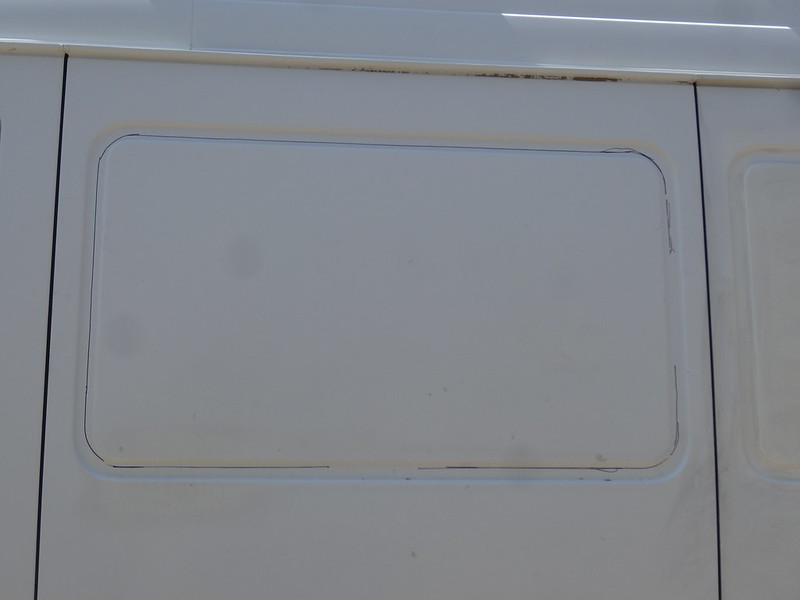
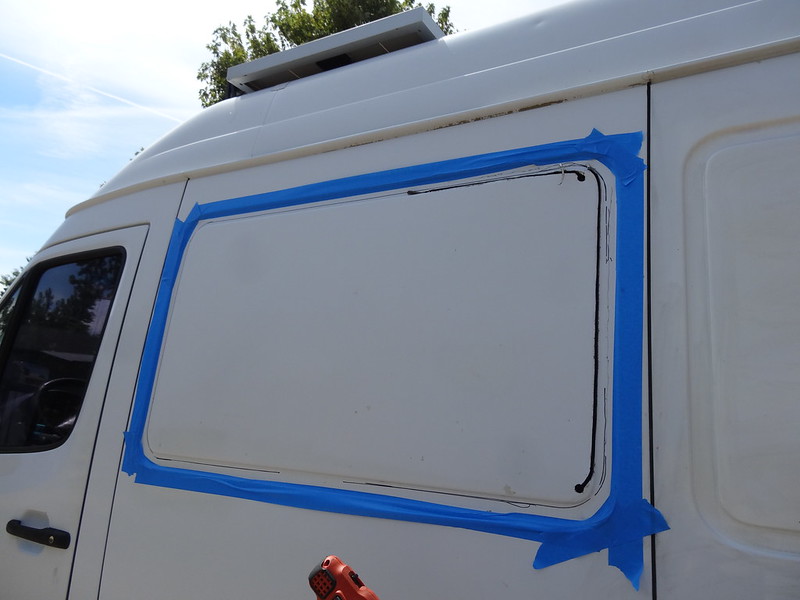
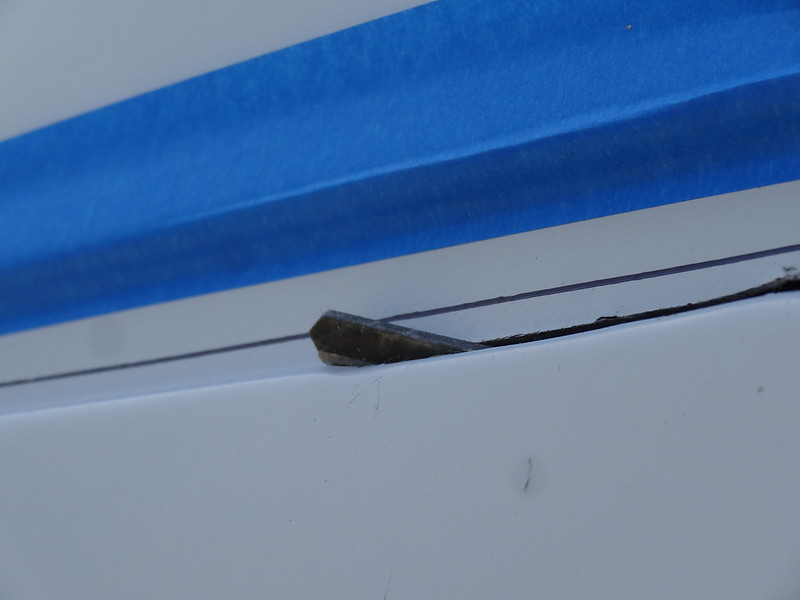
To install the driver’s side window I used the trim ring as a template and traced it to the van. I drilled ½” holes for tooling access. I used a jig saw with a metal cutting blade (fine tooth count) and an electric metal shear. Make sure to protect the van paint using masking tape or similar.


When I was finished cutting (and check fitting) I primed the bare metal edge.


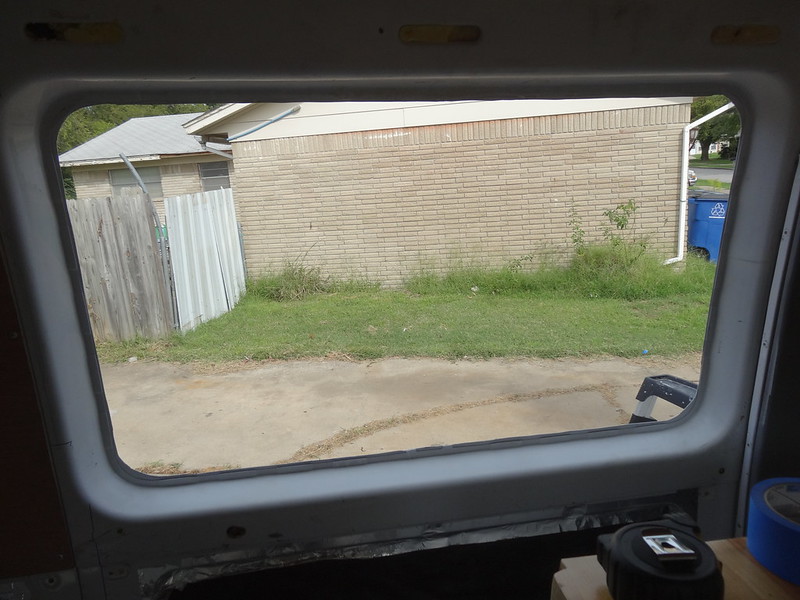
Here is how the corners should look.


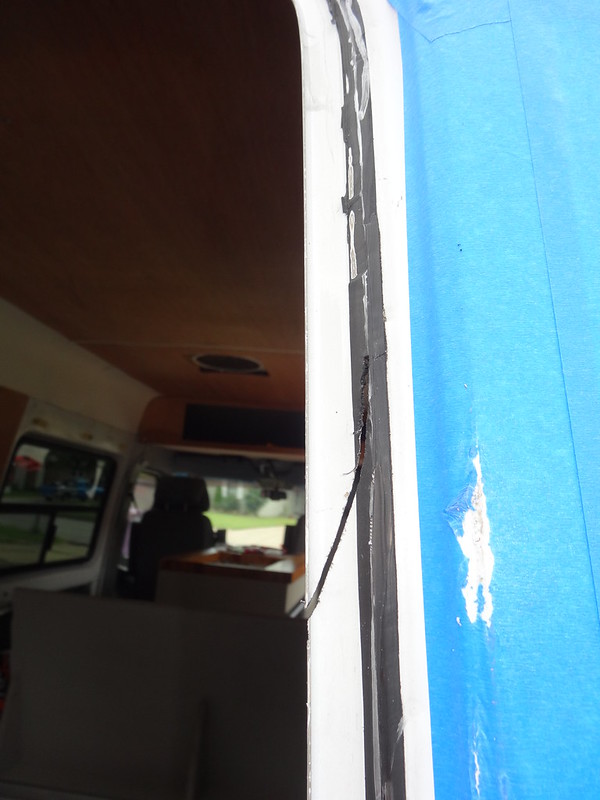
Due to the leak described above, and another leak at the upper aft corner I removed the window and reinstalled it right side up. I had issues getting the aft-left corner to seal properly. Either the frame, or the van was slightly bent. No amount of torque on the frame screws would put enough pressure on the foam tape. To solve this I used a small bead of clear urethane around the window frame. Note that the tape is still stuck to the van after I removed the window, and was re-used.


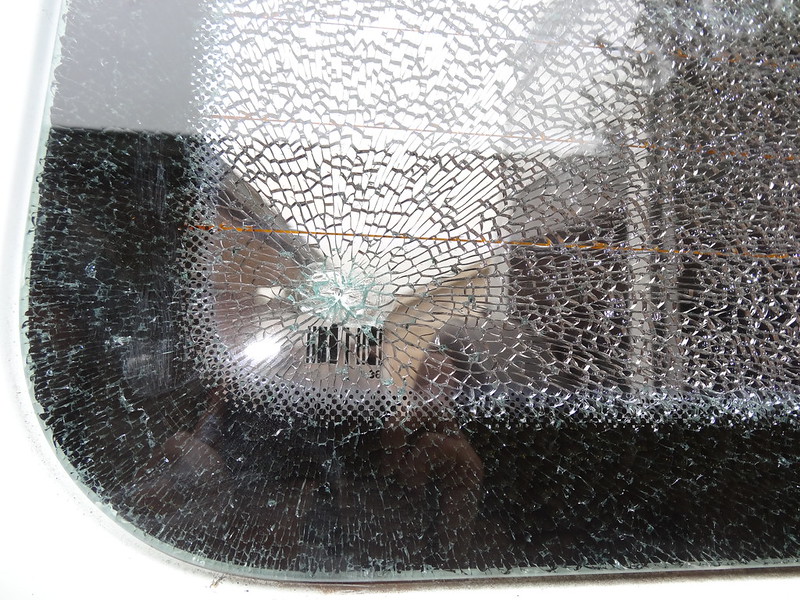
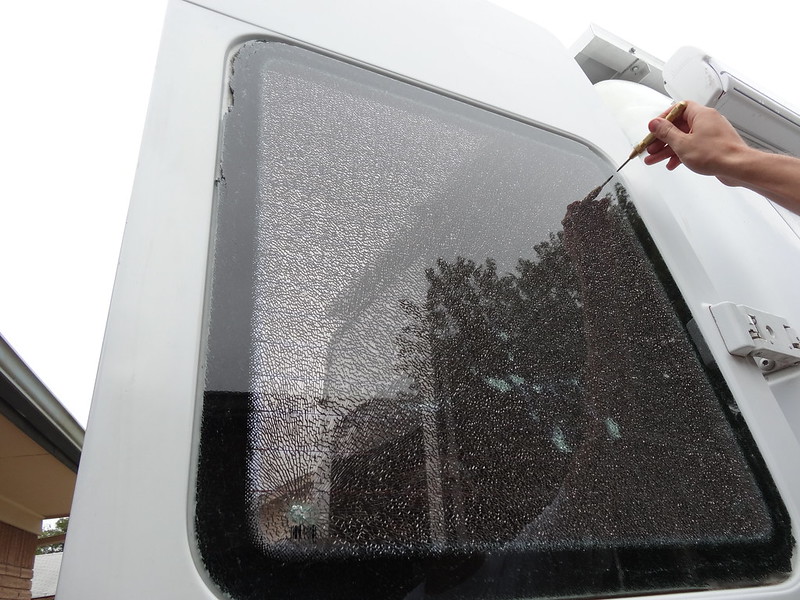
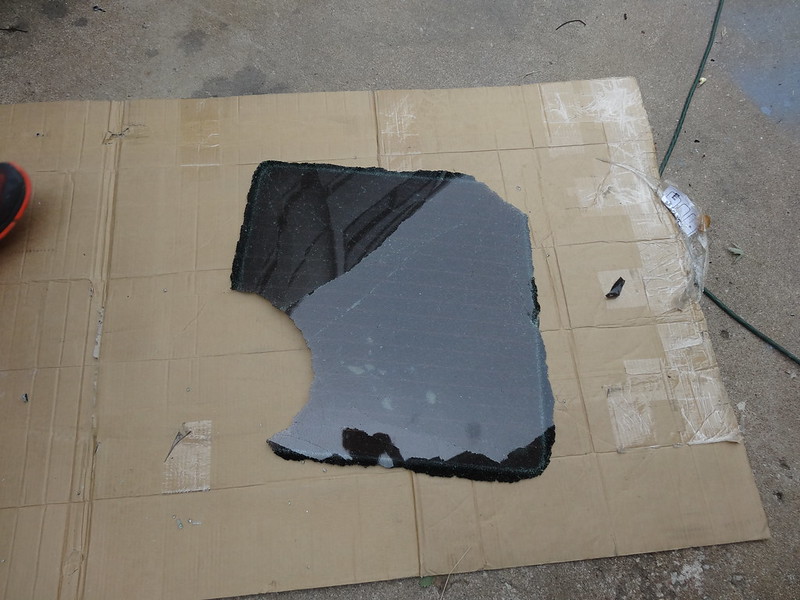
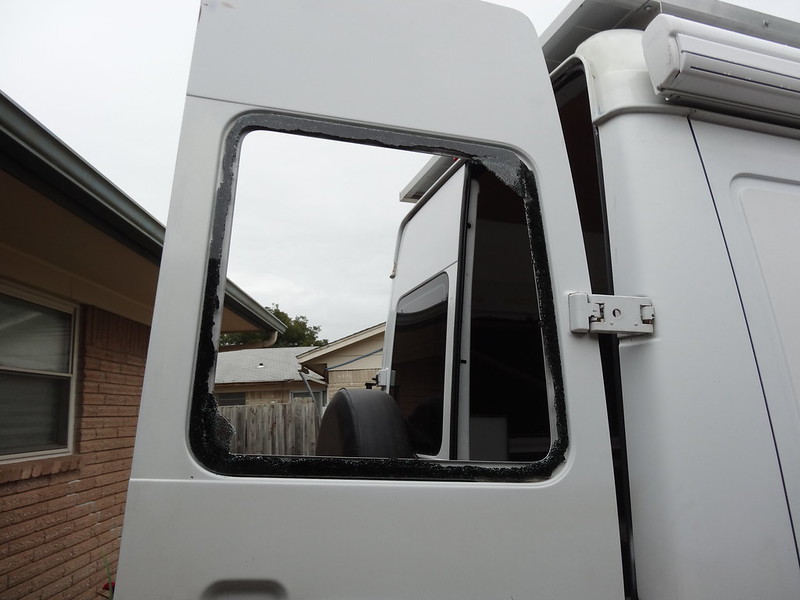
The rear passenger side window was a bit more work. I used a spring loaded center punch to shatter the glass (this took several tries, tough stuff!). The tint film held the window together so I was able to remove mostly in one piece.


Using a box cutter and several sharp scrapers I cut the remaining glass and adhesive away.

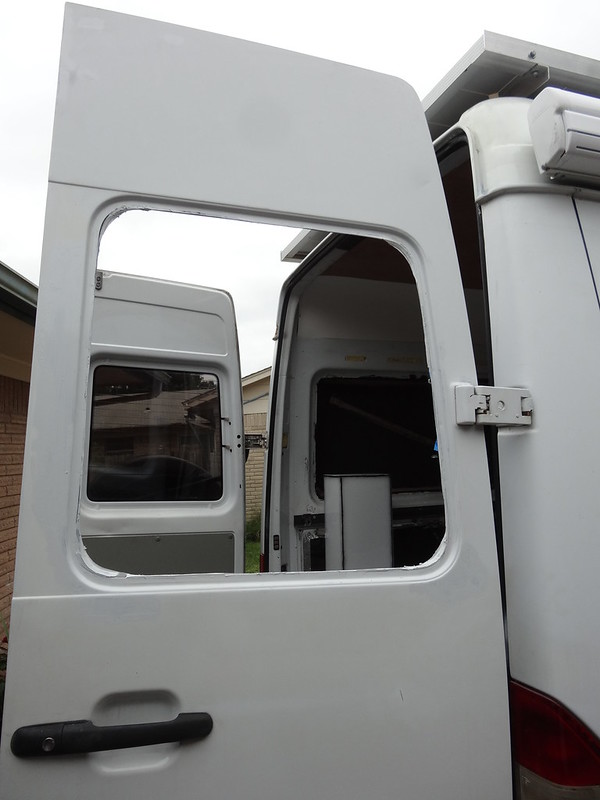
This window was a bit more tricky to cut due to the sheet metal profile. I traced the trim ring again, and trimmed the excess sheet metal away and primed the bare metal edges.


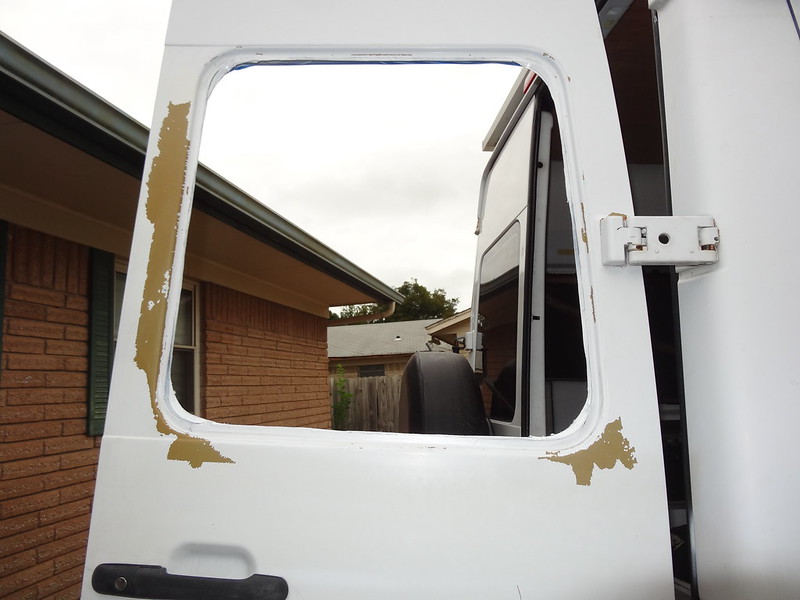
Here is where the worthless sprinter paint rears its head. The masking tape I applied to protect the paint from the jigsaw did more damage than anything. Peeling the tape off removed 10+ square inches of paint and primer leaving only the first primer layer behind.


So I did a quick sand and prep, and slapped some arctic white paint I had left over from the window flare. It looks slightly less terrible…


At this point my brave and courageous camera gave up its ghost. After years on the road in our bags and backpacks; multiple continents, falls, abuse, 2 disassemblies for cleanings, the lens motor gears stripped. Rest in peace my friend; your replacement will surely be a different brand.

So, no more pictures of the windows.

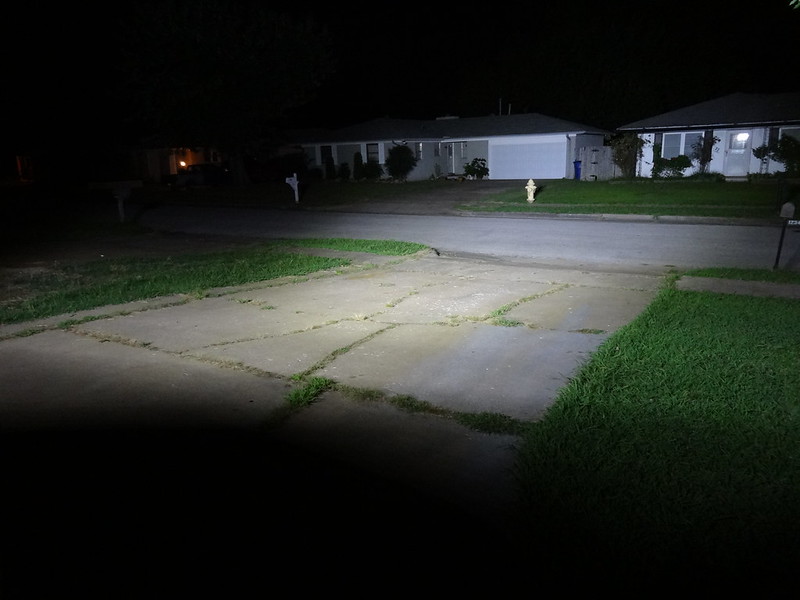
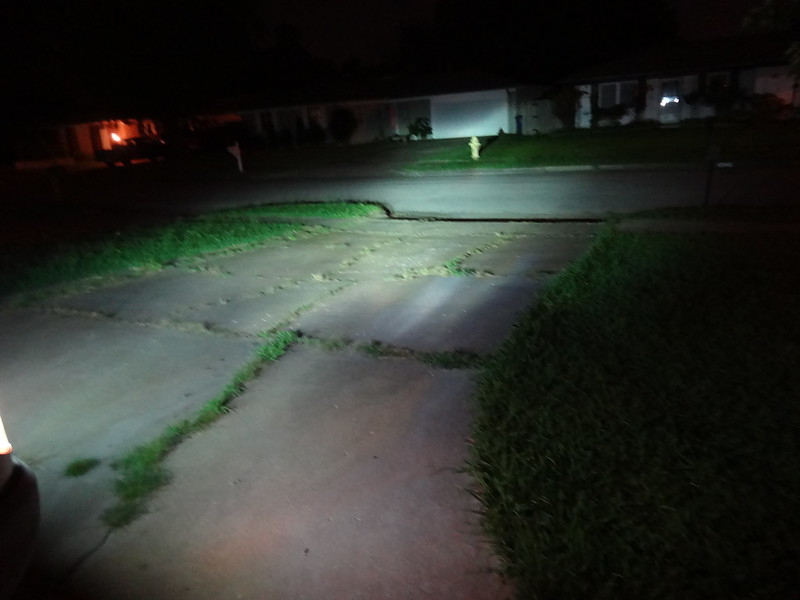
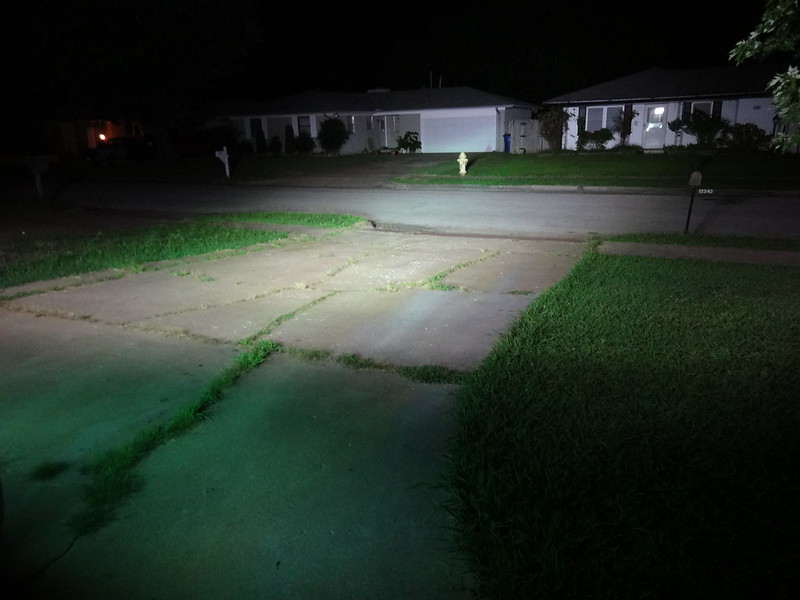
We also had a chance to test the LED light bar earlier.  It works very well.


This photo is the light bar by itself.


Here is the regular headlights. Note that I have HID bulbs instead of the stock incandescents. They are much brighter than stock.


Here is both regular lights and light bar.


Its difficult to see the difference in photos as I didn't take the time to manually set the shutter and iso settings (to many mosquitoes). There is a light in the left hand corner in the photos you will notice how much brighter it appears in the headlight only photo.

Results? I need to aim the bar a bit higher, but the output is at least double the stock headlights at near range, and far superior at distance and to the sides. Not bad for $100!

We are starting to near the final stretch.  We are expecting to take off in April-May timeframe.  Whenever we hit our savings goal really.  Which means every extra dollar I spend is another 3 minutes behind a desk.  Oh, the agony!  At this point I just want to drop everything and just get this project finished!  Having to be a responsible adult sucks (most of the time).