Greetings from this side of the internet. Its been a few weeks since our last update, so its time to post our progress.
We have requested a large number of shipping quotes. After a lot of back and forth we have decided to try container shipping. Due to the 2.585 meter height restriction for high cube shipping containers, we will be needing to fit the van with steel shipping wheels. These are custom made from steel plate, and will lower the van about 6 inches so that it will clean the door aperture on a container. A generous friend has offered us the use of a CNC plasma cutter so that we can cut a set of these wheels. Another option would be to use bare rims, but sprinter rims are fairly hard to come by, and are not cheap (plus they take up a lot of room).
Shipping routes from the USA to AUS are generally cheapest out of the Los Angeles port of Long Beach which is a hub for these routes. Most of Australia's south east coast is common rated, so freight costs are the same for Sydney Melbourne etc. There is some variance in port fees, but they seem to be fairly minor. I have contact with a few fellow sprinter owners in Melbourne, so we will likely ship to that port.
We have a little bit of work left to do as we shoehorn all of our equipment into the van. I still need to make a few storage dividers and some tie downs, but overall it is progressing nicely. We still need to request visas and acquire our CPD Carnet for the van. We are holding off on these until we have a ship date for the van. The temporary import of the van is tied to our visa expiration date, and the Carnet is only good for a year (it can be extended). So these items all need to have similar/close start dates.
I spent a few quality hours under the van with a pressure washer over the weekend in an attempt to remove 10 years of road grime. Mercedes felt the need to coat most of the vans underside (as well as inside the body cavities) with a wax like anti-corrosion product. The good is that the van is rust free underneath. The bad is that this wax has road grime and soot embedded in it. I did the best I could, but factory fresh cleanliness is not a reasonable possibility. Hopefully the Australian inspectors are lenient.
We have over 10 thousand miles on the vans chassis, and about half of that on the complete conversion. At this point the van is pretty well shaken down, and most of the minor issues have been resolved. I still have a coolant seep or two in the water heating loop (new clamps?), and a oil seep or two as well. I think I have most of them remedied, but there is a lot of plumbing. Surprisingly we have had minimal issues with the conversions systems other than a few design/layout deficiencies which cannot be remedied at this stage.
Our future plans are still fluid at this point, but we are hopping to have the van in transit by the end of November. We are requesting a fast ship, which should hopefully keep the transit time under 20 days. If all goes well we will be on the road in Australia before 2017.
This is likely to be the last round of van modifications before we post up a complete "tour" of our new home in the coming weeks.
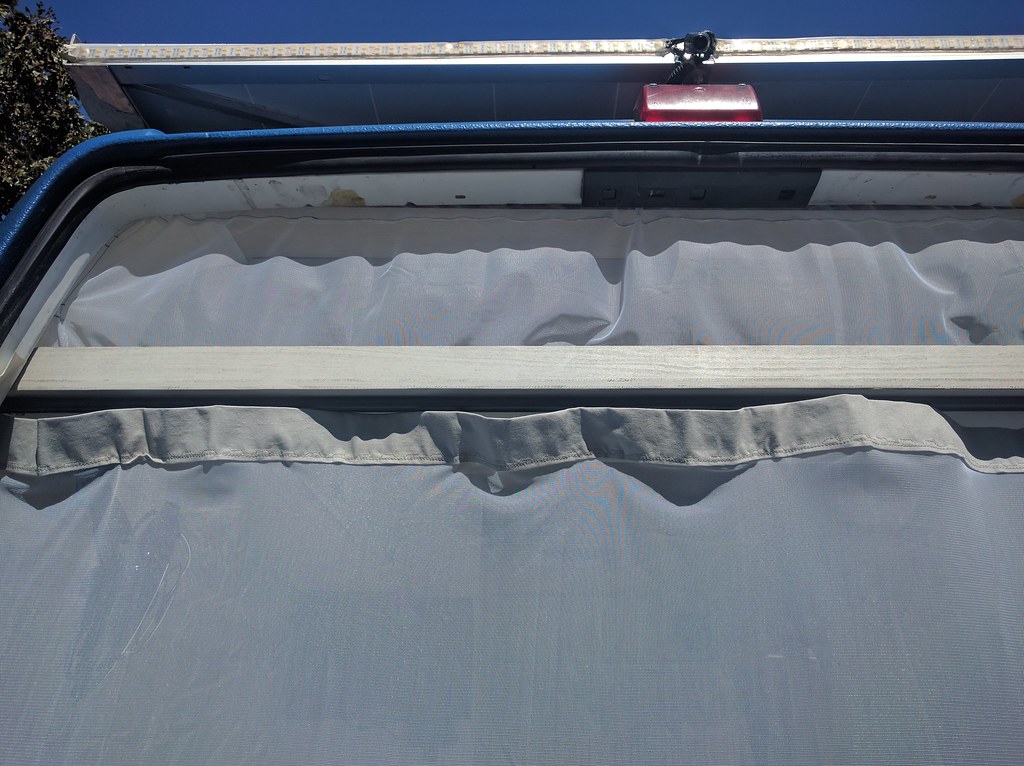
Here are the bug screens.
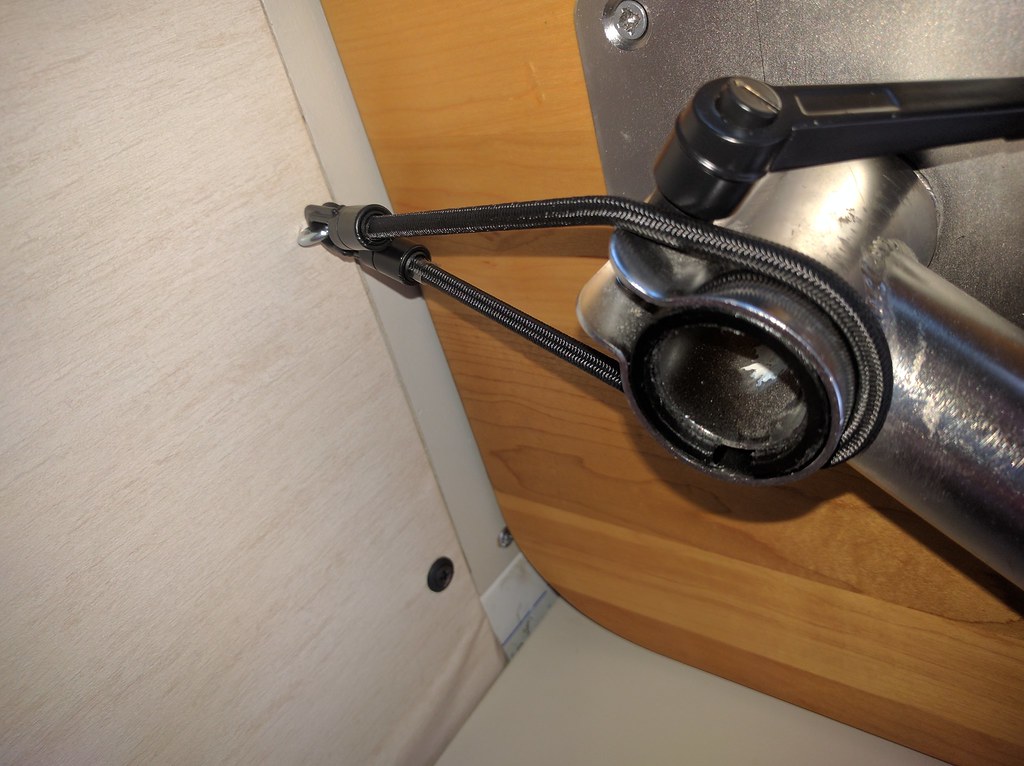
A hold down for the folding table.
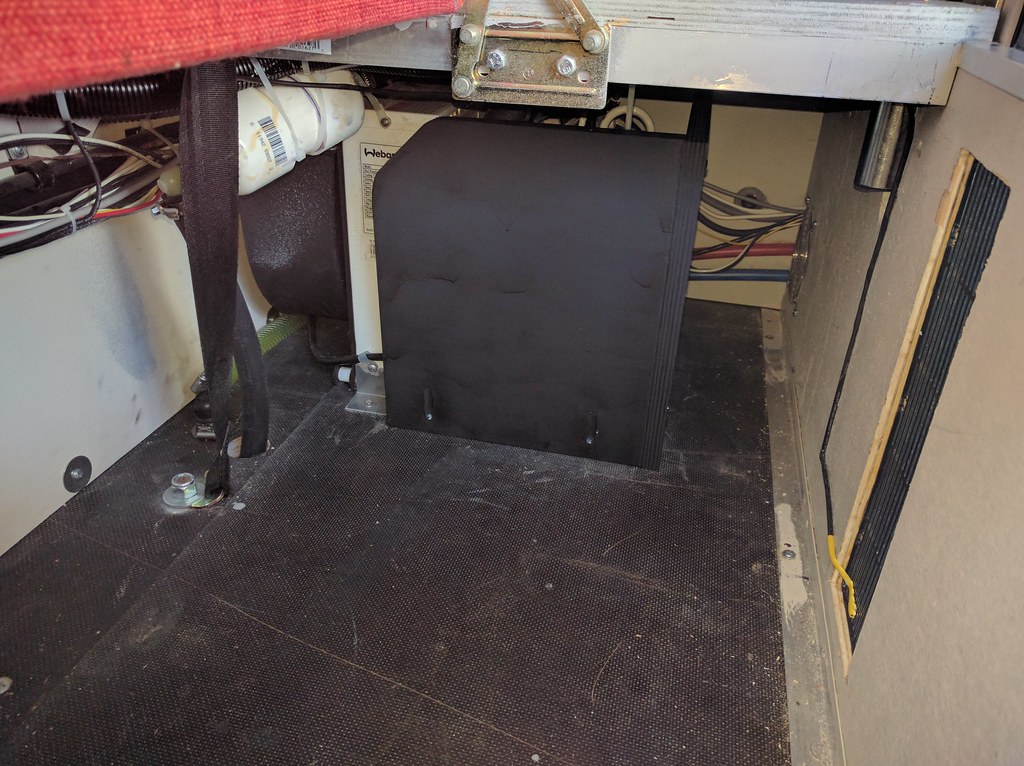
Some protection for the AC unit.
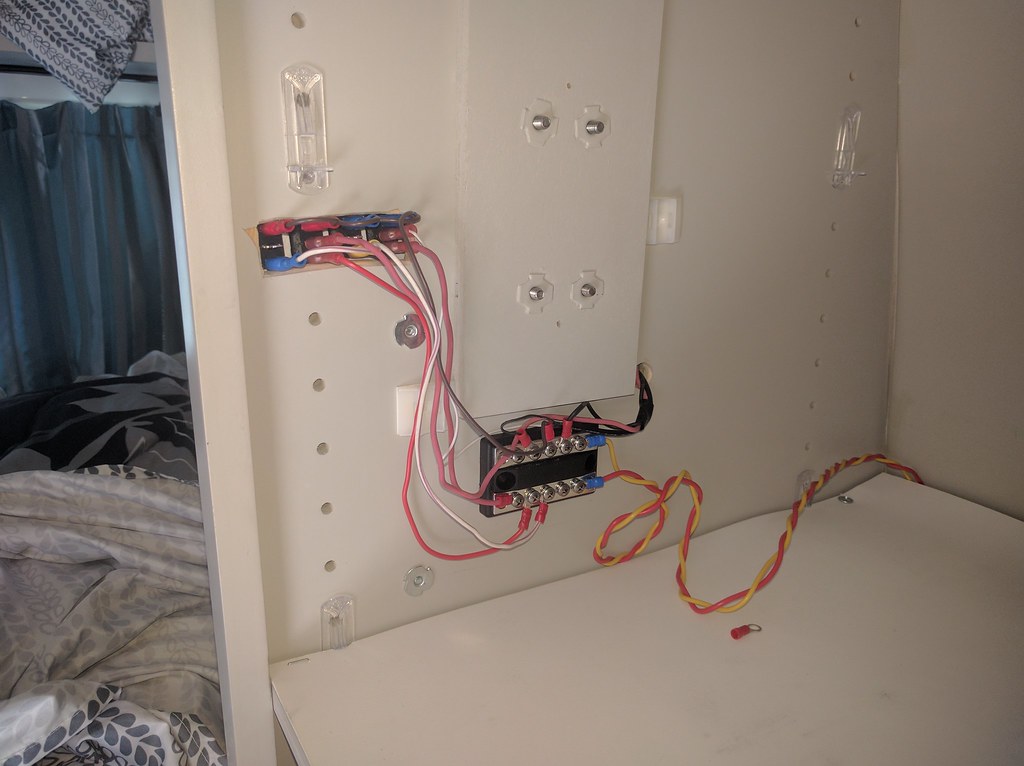
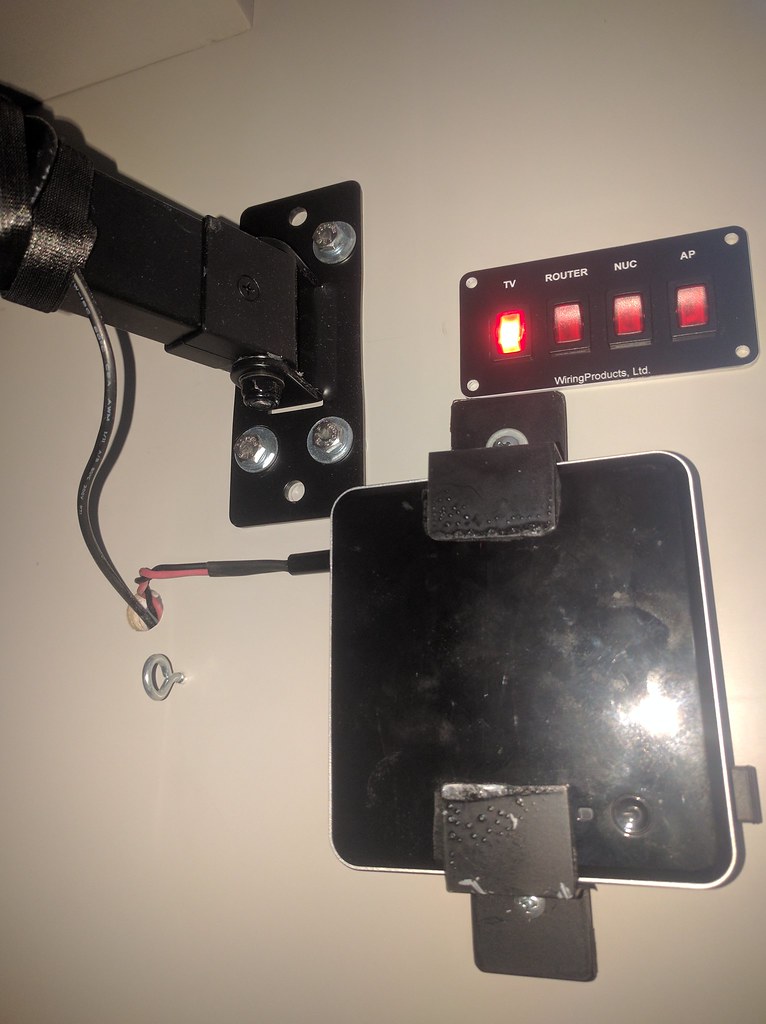
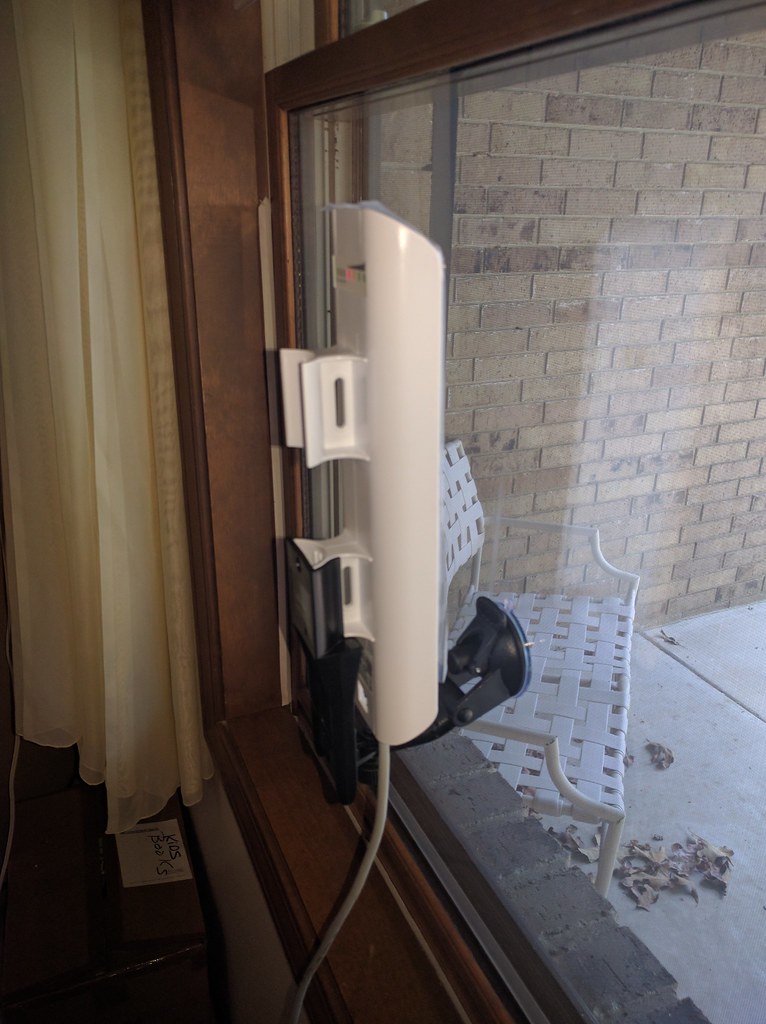
I have created a system to allow for wifi access and a shared network for our electronic devices. A wifi router produces a local network, WAN is provided by a Ubiquity Nanostation. The nanostation has a powerful antenna, and allow us to connect to distant wifi networks. Using a suction cup mount allows us to position the nanostation on a window (or outdoors, as its weather proof).
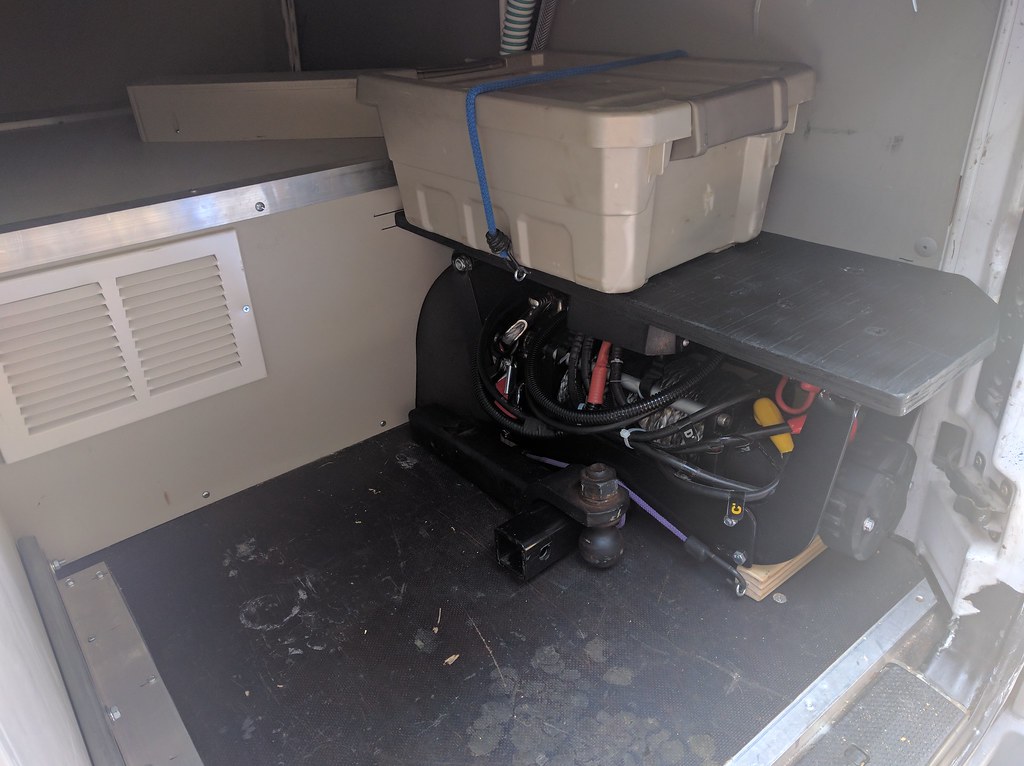
I made a more permanent storage solution for the winch and recovery gear in the rear. Custom length bungee straps and eye bolts allow for strapping everything down.
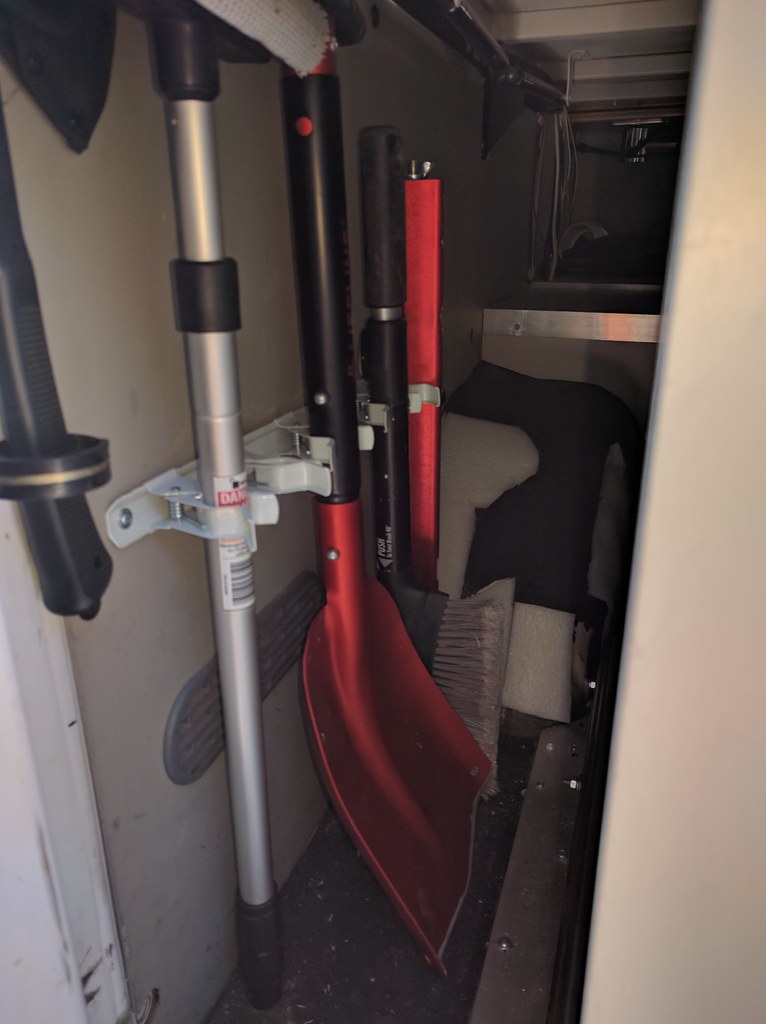
A rack on the other side holds the various hand tools we need on a regular basis.
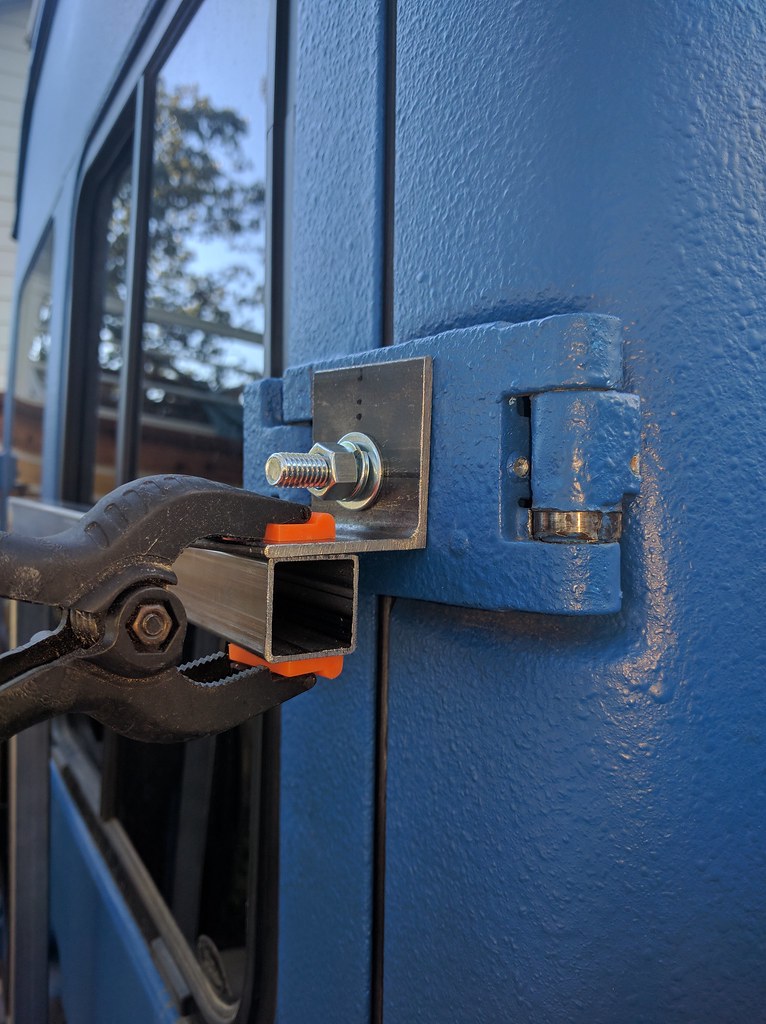
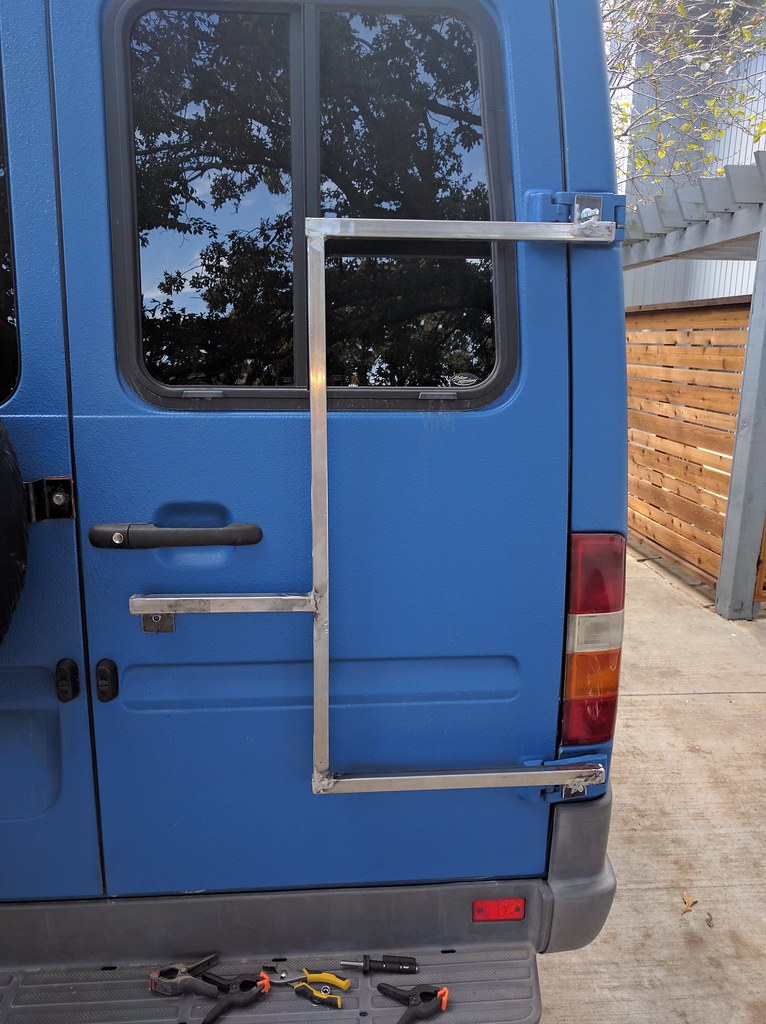
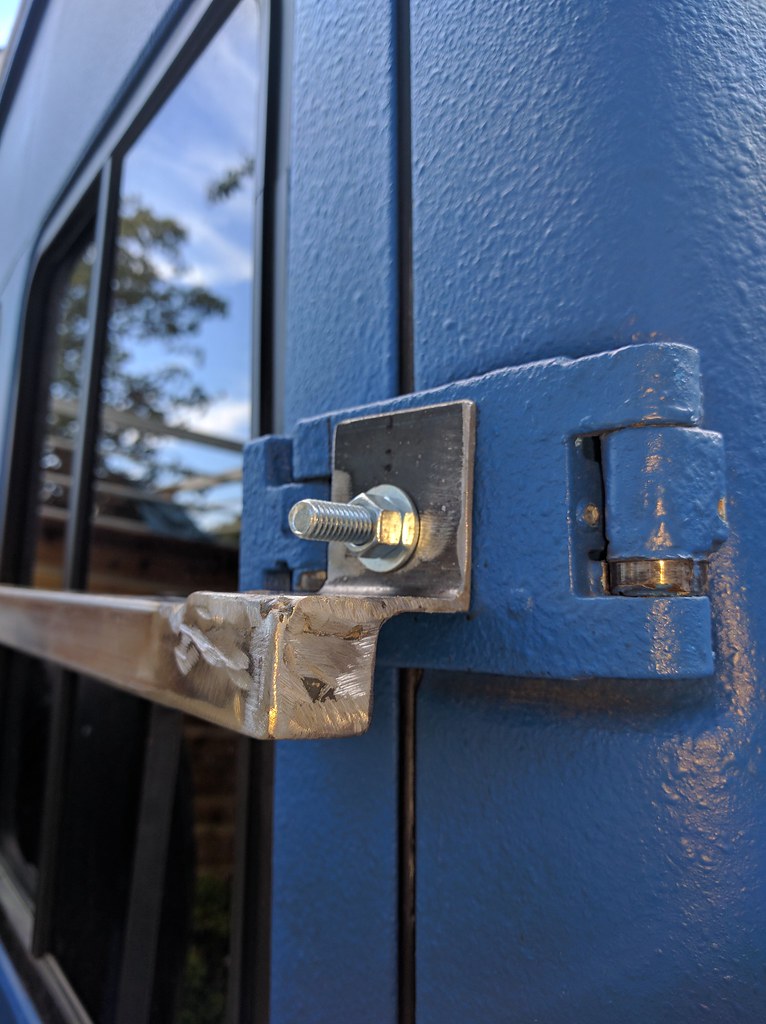
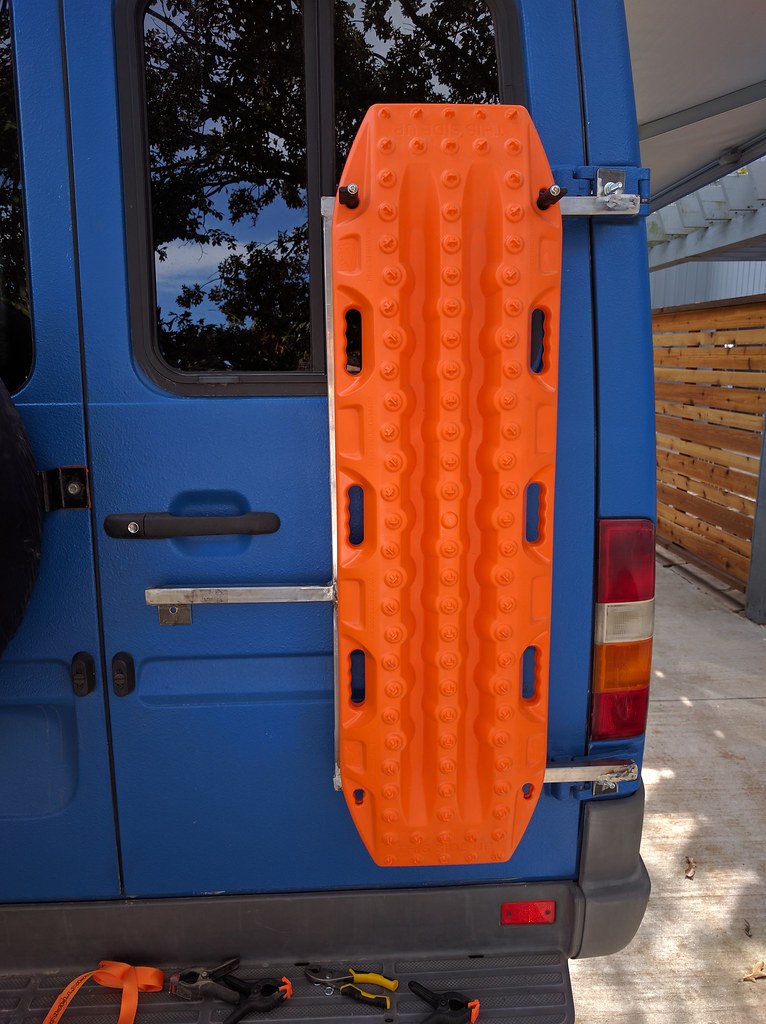
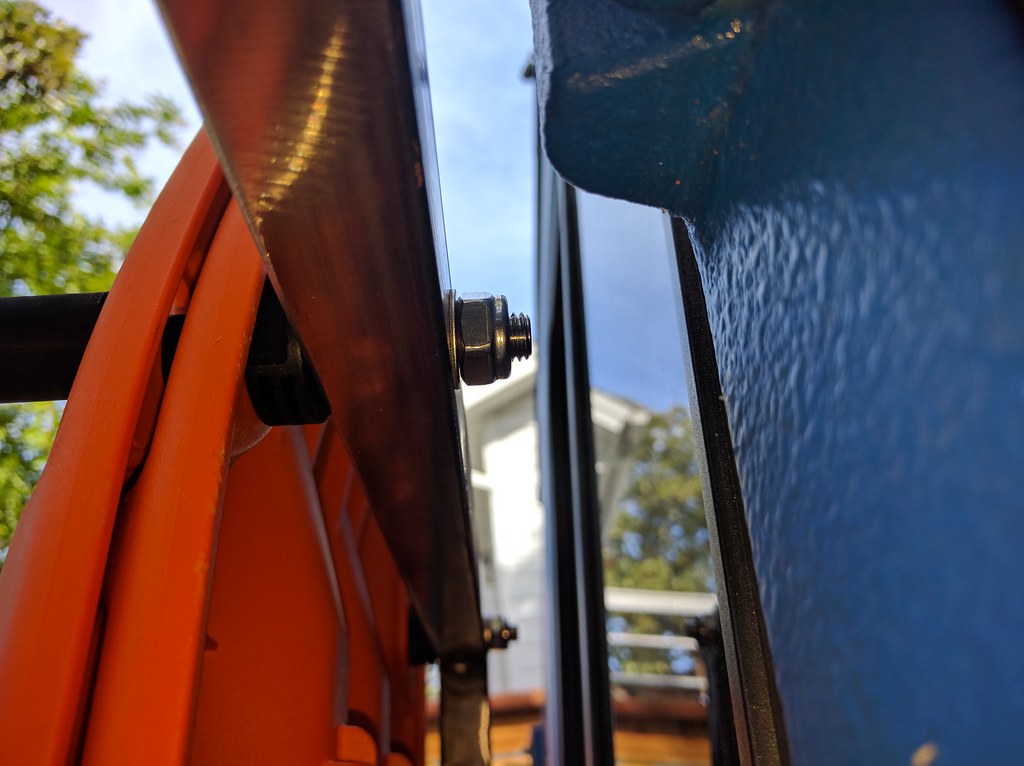
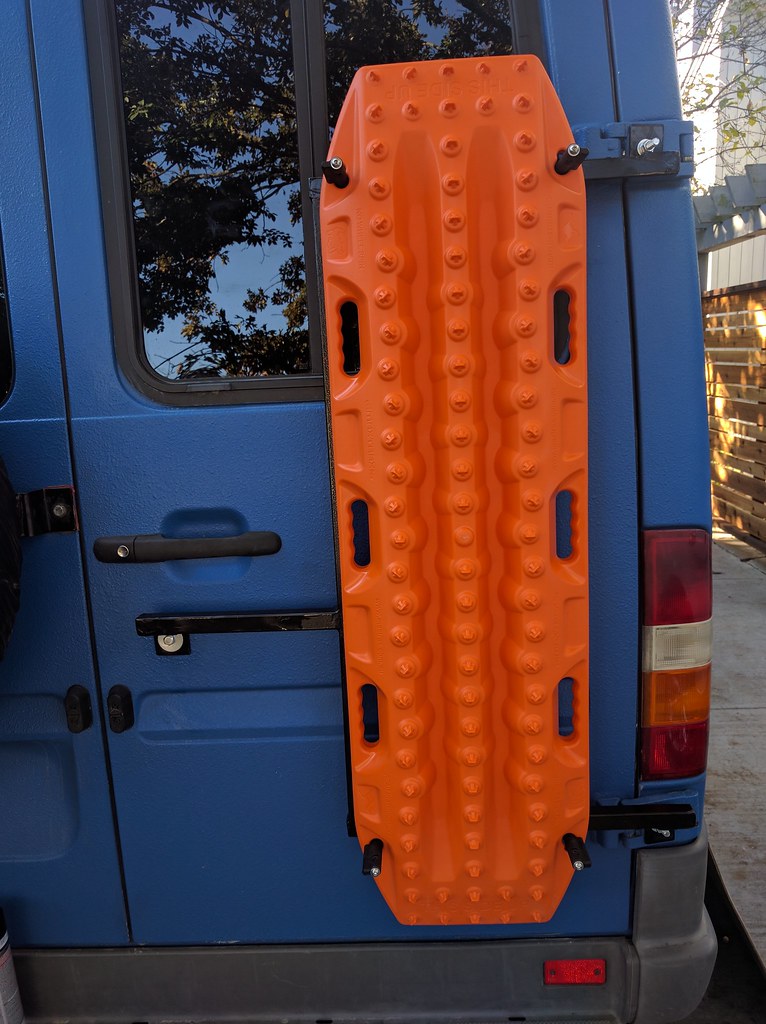
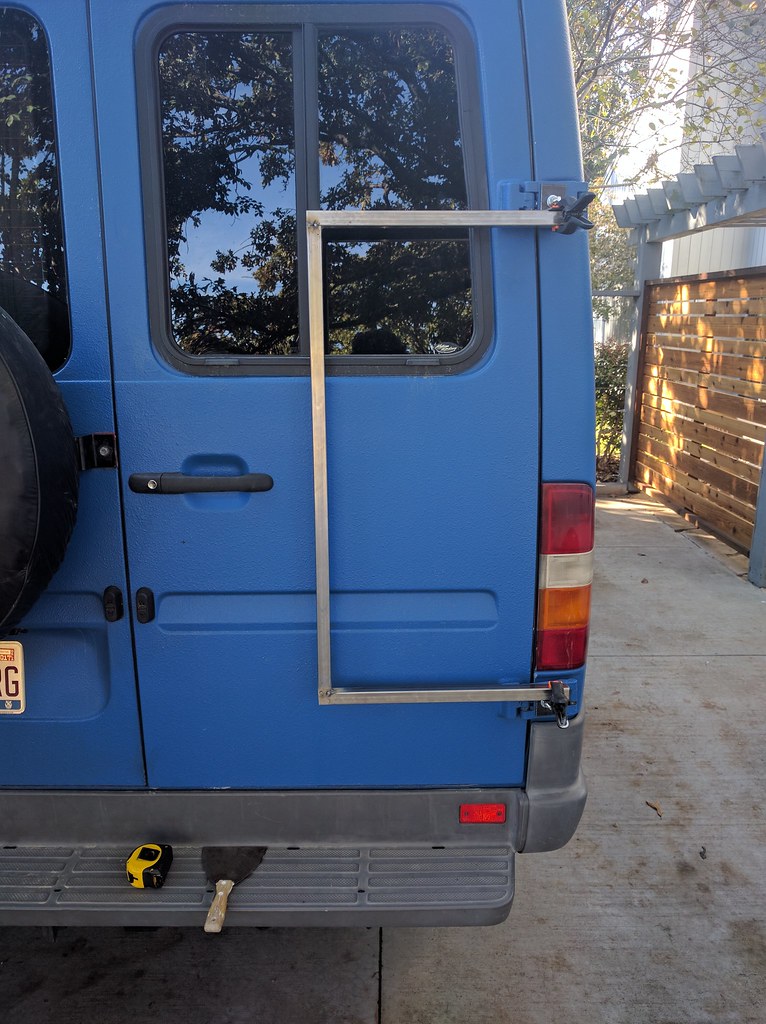
After much head scratching I couldn't find a good place for the maxtrax inside the van. I decided to fabricate a mounting rack on th passenger side rear door. It bolts through the hinges, and uses one hole in the door skin.
vagary (n.) - An unpredictable instance, a wandering journey; a whimsical, wild or unusual idea, desire, or action.
Pages
▼
Monday, October 31, 2016
Tuesday, October 18, 2016
The Retired Life
We are still plugging away at our task list. Taking our time at it as retired folks tend to do. Less and less of it is van related, which bodes well. The little things that remain are what turn an adventure van into a long term abode. For example, having a place for everything. Some of the biggest frustrations can be avoided by having convenient and specific stowage locations for daily use items. Sunglasses, cell phones, shoes etc. Making repetitive tasks simpler by adding latches, loops, velcro, or customized stowage locations improves on task flow. Spending a few days ironing these details out makes daily living in such a small space easy.
Our packing method is to first sort by essential/nonessential, frequency of use, and then group by type. Daily use items are located within arms reach inside the cabin, rarely used items end up sorted inside containers under the bed. Safety and emergency items are kept in clearly marked locations regardless of use frequency. This approach minimizes unpacking, maximizes cargo space, and keeps frustration down. Each container gets marked, and a log of its contents is kept digitally. For critical or emergency items, the list is printed or hand written on the container.
A few random items on the van, they may seem small, but its the details that make the difference.
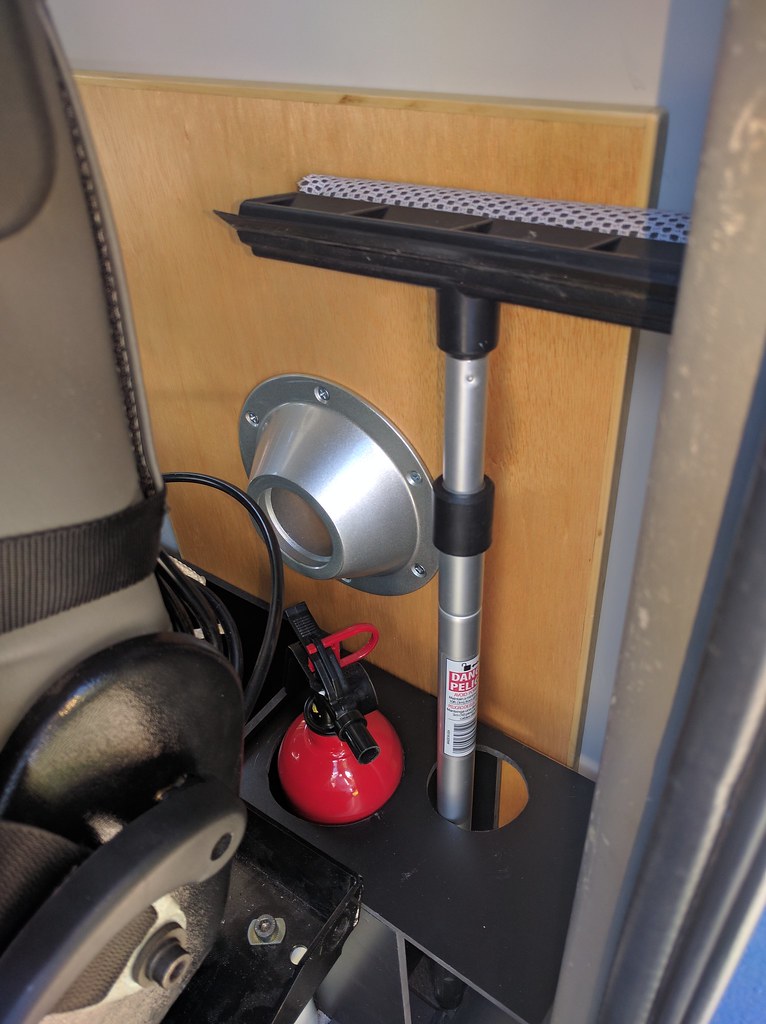
I used some left over Celtec to make a stowage unit behind the drivers seat. A removable trash container, fire extinguisher, and table leg are stowed here in addition to the forward table top.
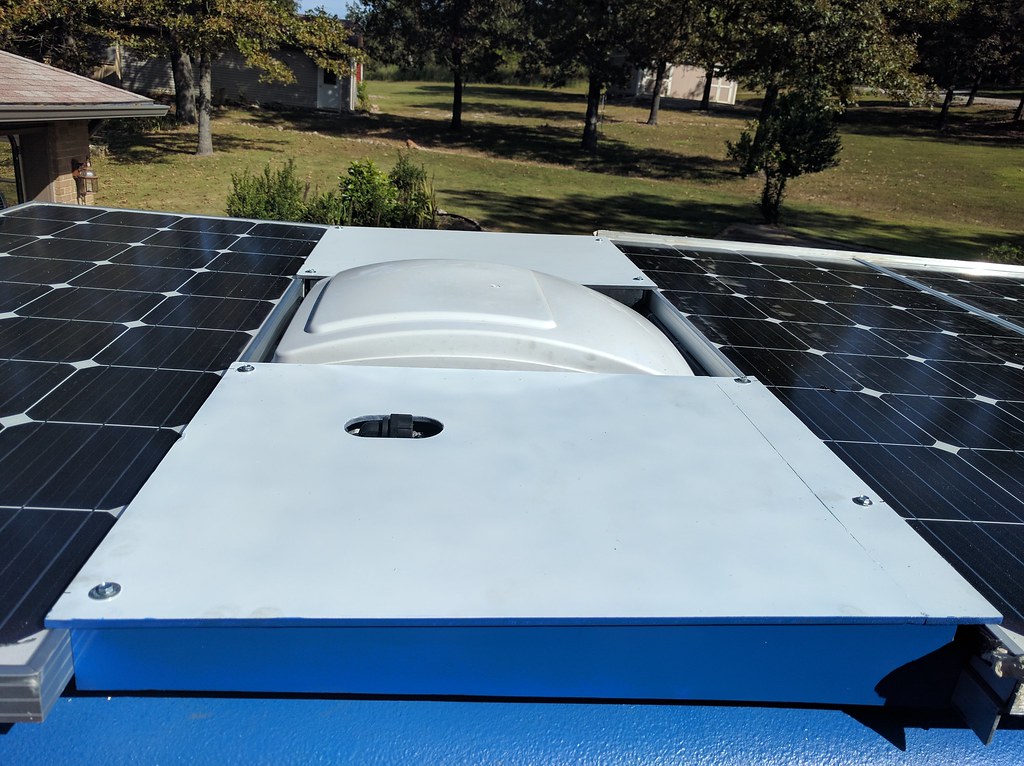
Using Celtec again I made 2 fairing panels for the roof. These fill the space between the forward and aft solar panels. Hopefully they will help to reduce turbulence from side winds. This should reduce buffeting of the roof vent, and lower the noise levels.
The celtec was bonded with CA glue (super glue). After working with the Celtec and CA glue combination, I have found it extremely easy, and good to work with. If I had to make cabinets again, I would strongly consider using the Celetc and CA glue combo for many of them.
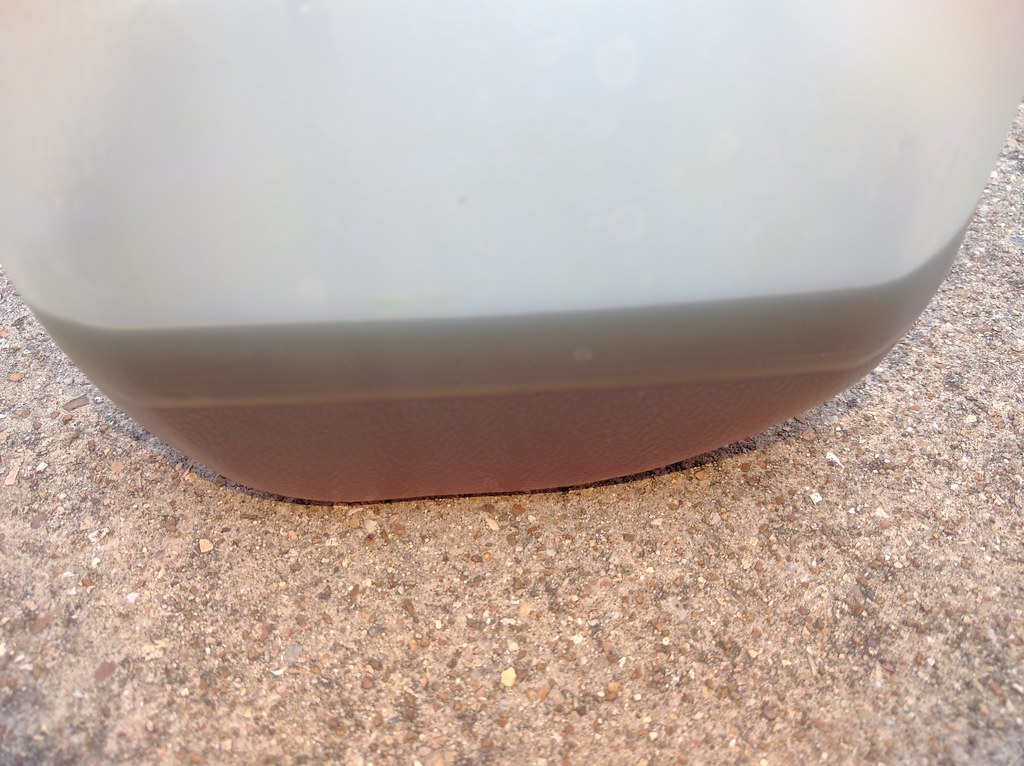
I have also been finishing some final routine maintenance items. Here is the brake fluid, I suspect it is original to the van. It is definitely past its life expectancy.