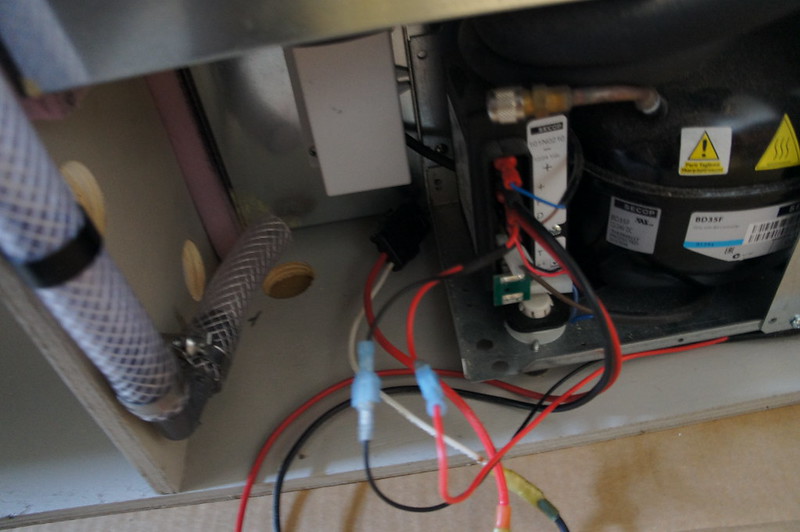
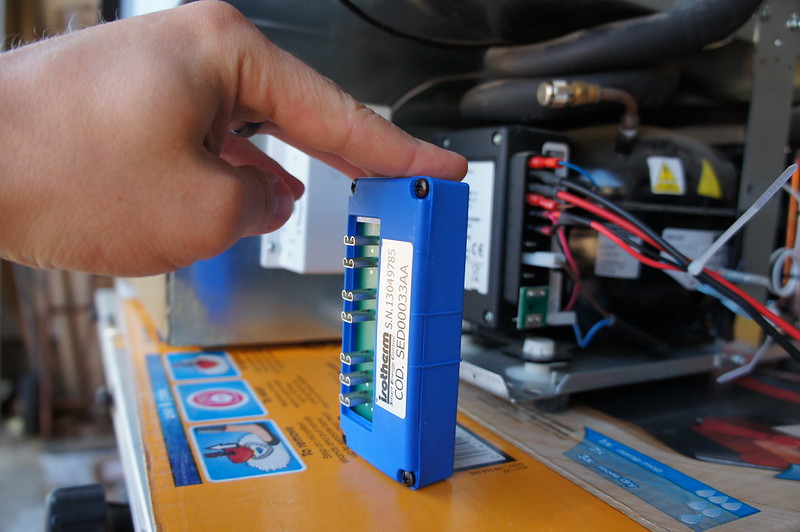
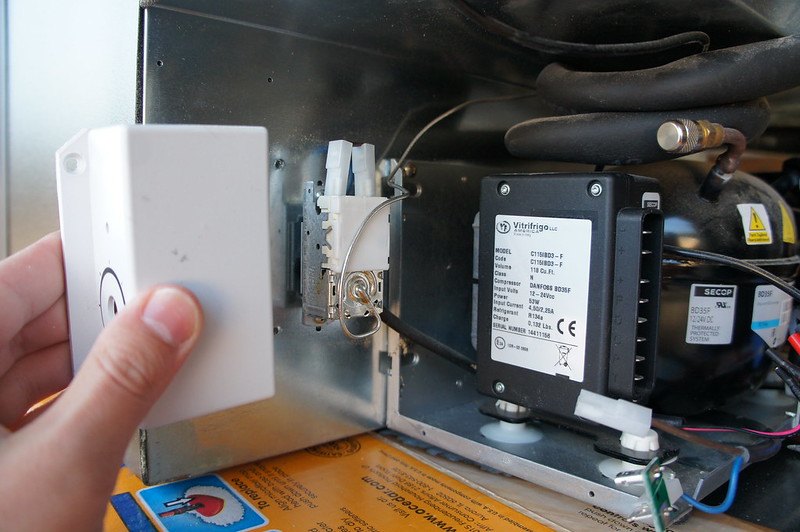
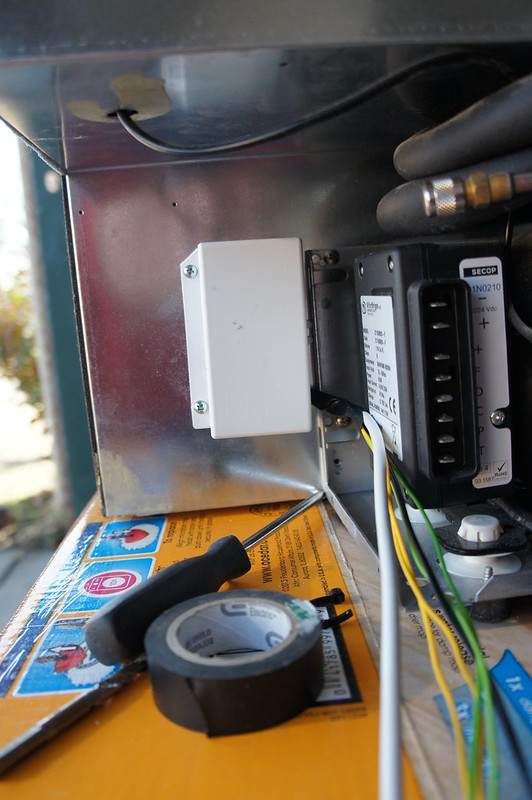
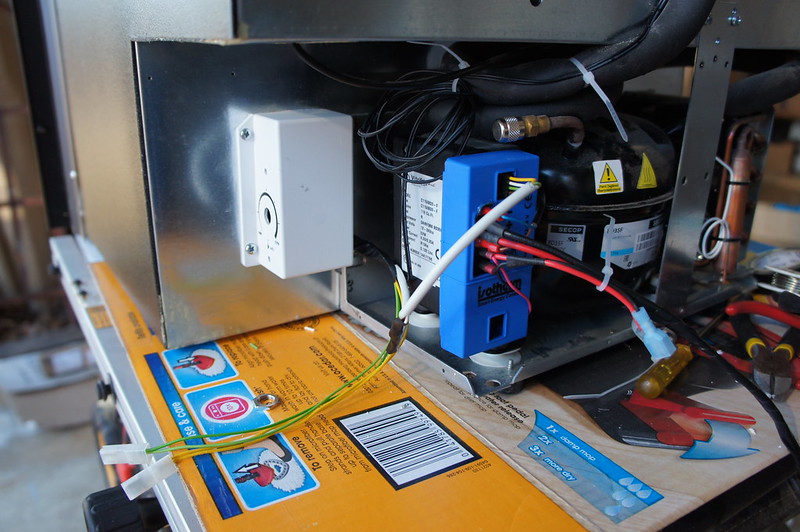
Here is the SEC control unit next to the terminal block for the Danfoss/Secop control unit.
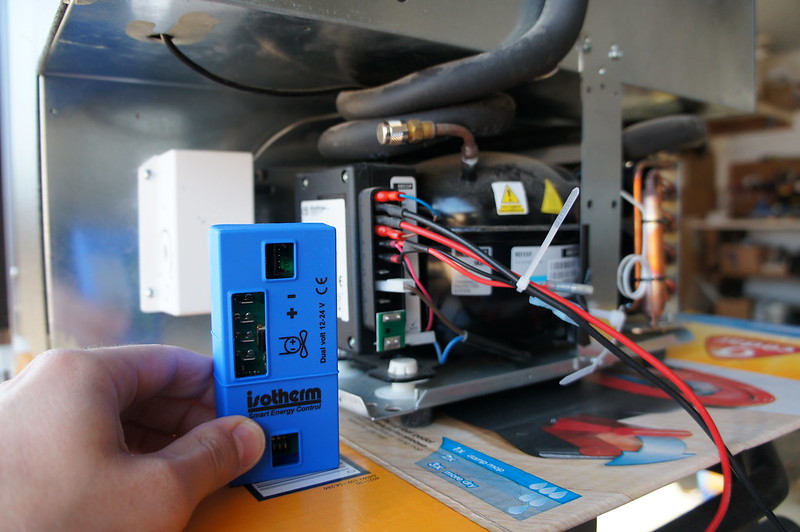
The female spade connectors on the back are quite tight. In order to get the SEC unit to fully seat I had to gently spread the terminals open and apply dielectric grease.
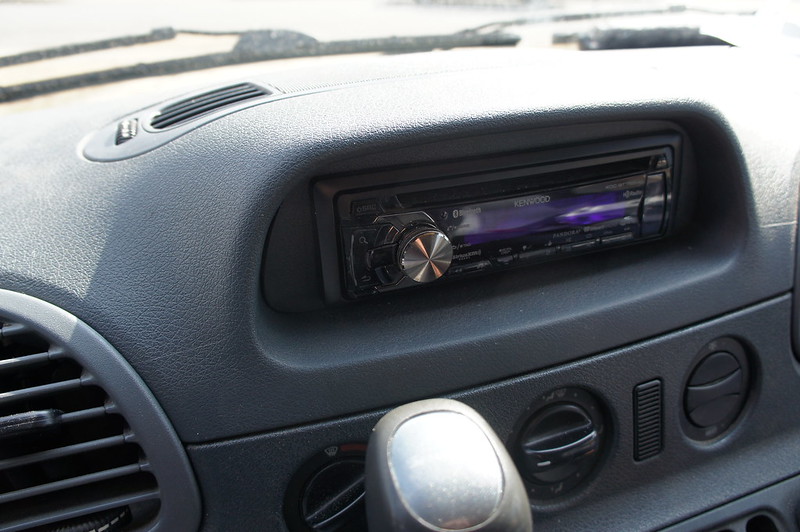
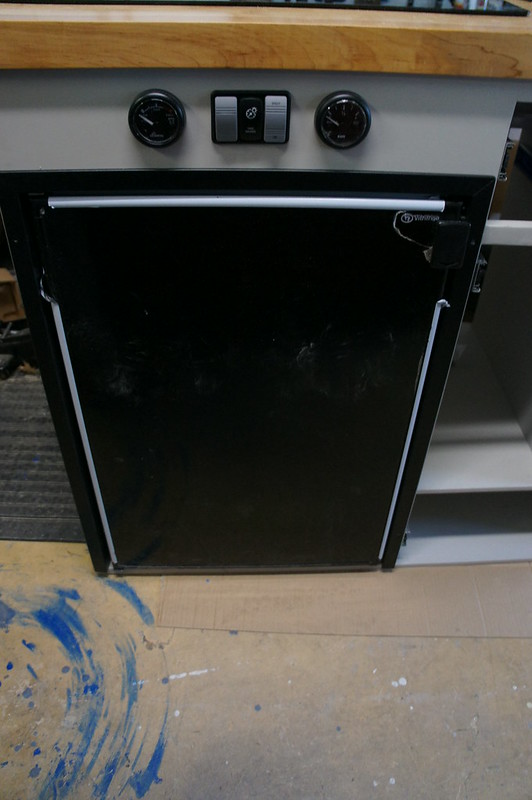
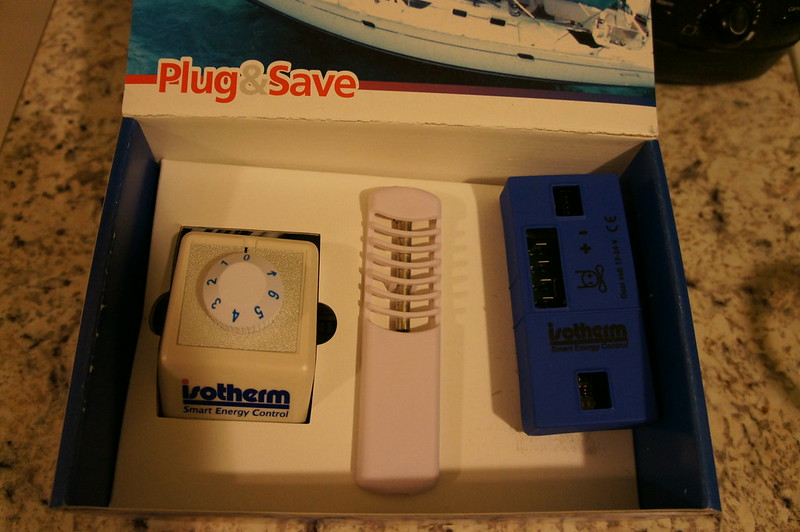
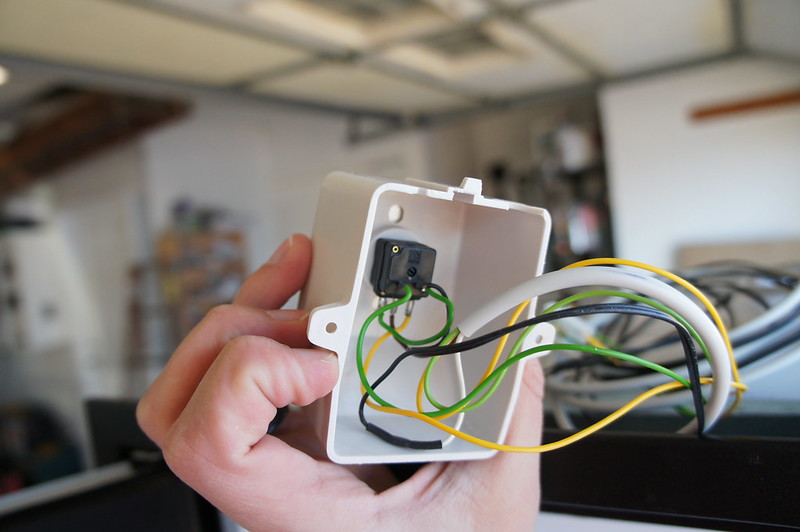
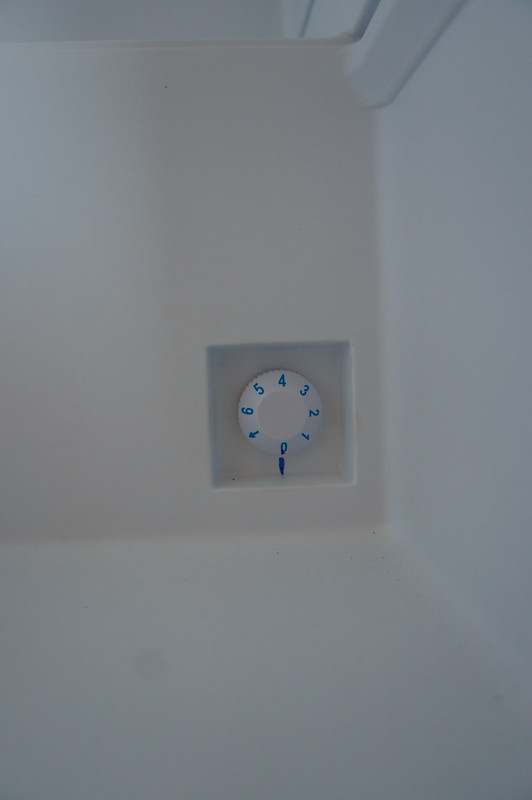
The SEC temp control comes with its own mounting box. But its big and ugly. The stock control knob/thermostat can be removed on my fridge (Vitrifrigo). I used the knob extension with the SEC knob in conjunction with the stock mounting plate. This allowed me to use the digital control in the same location as the stock mechanical one. I cut and spliced the harness to remove the extra length. I completely removed the old thermostat. The SEC is lightyears ahead of the clunky mechanical unit. This should be a stock option on all Danfoss fridge units.
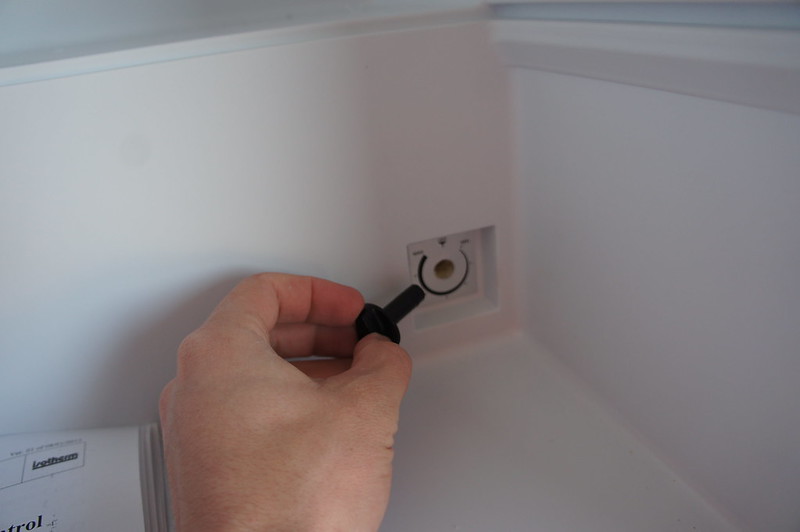
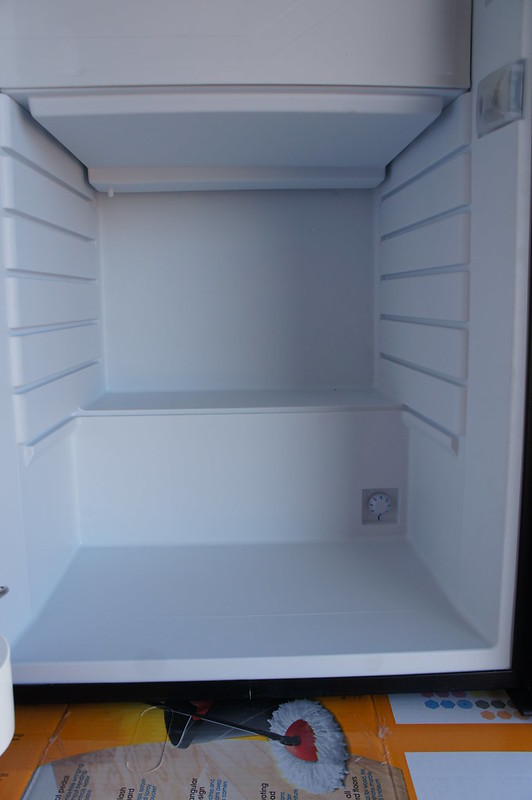
The temperature probe is a thermistor. The instructions say to mount near the bottom and away from the evaporator. The housing was small enough to fit behind the shelving. Two 0.25” holes for mounting and 1 clear through for the wiring.
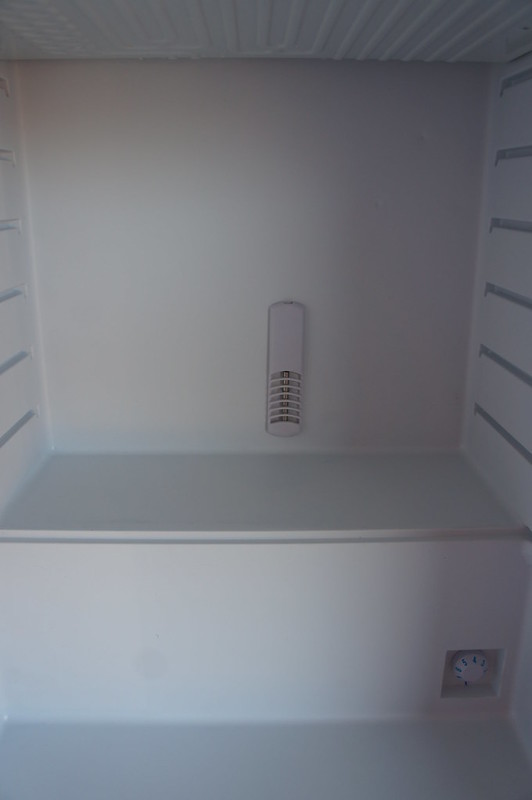
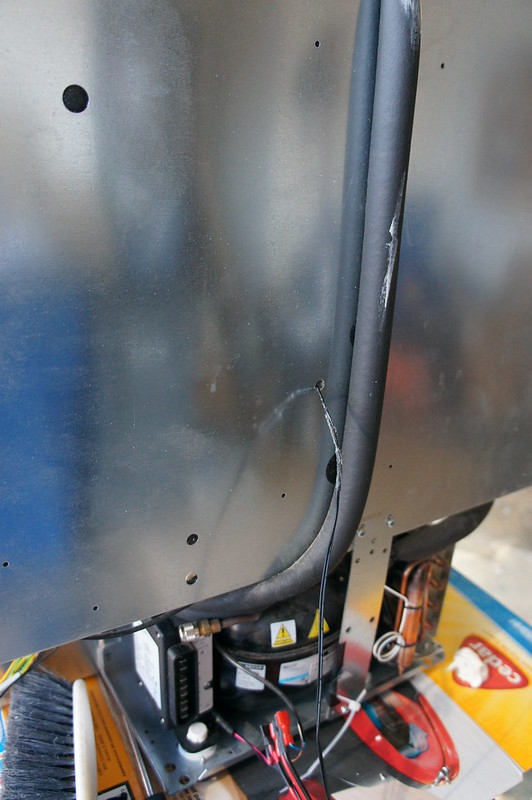
I reused the original cover and connected everything up. The original harness has splitters on the power feed for the interior lights. It was a tight fit, but a bit of material off the SEC case made them fit. I filled the holes in the fridge insulation with the supplied mastic/putty.
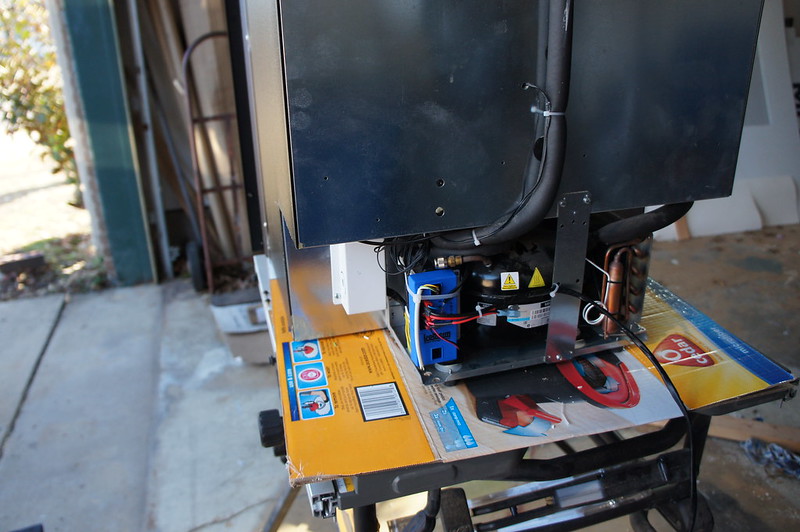
I have the unit connected and running currently. Once it gets down to temp I will check the interior temperature. If necessary, the offset can be adjusted. The reason for this is because during the overcool cycle the fridge gets to about 33F. Any drift in the thermistor will result in frozen food.
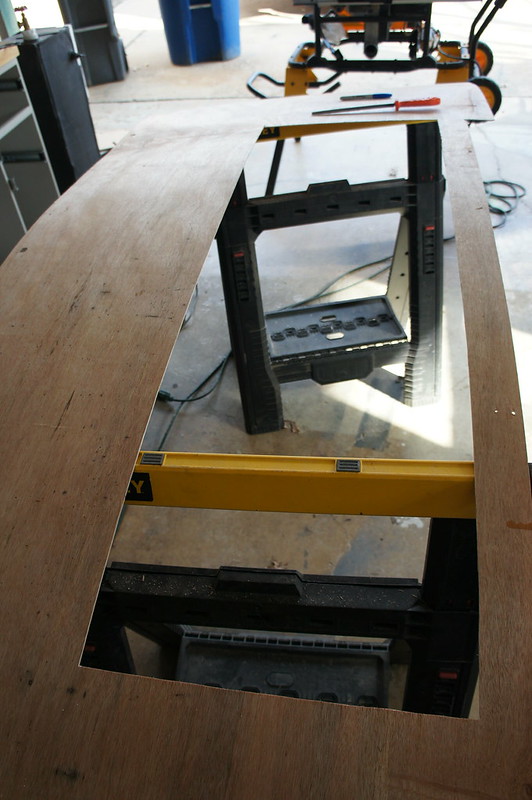
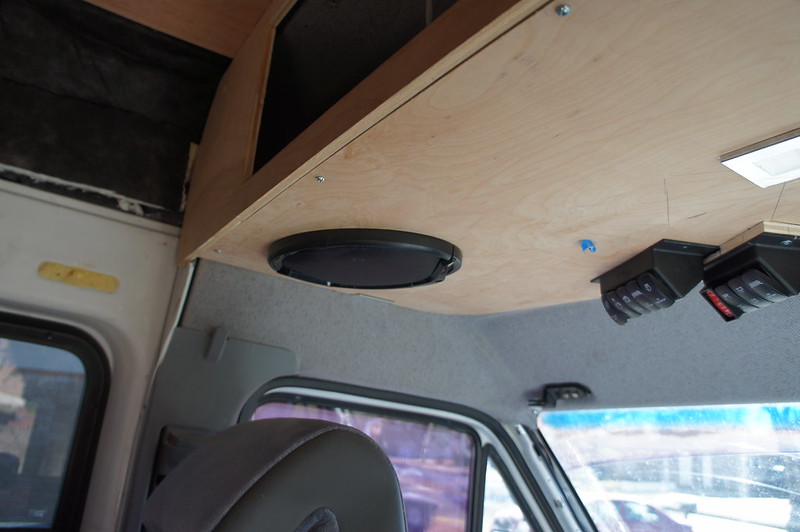
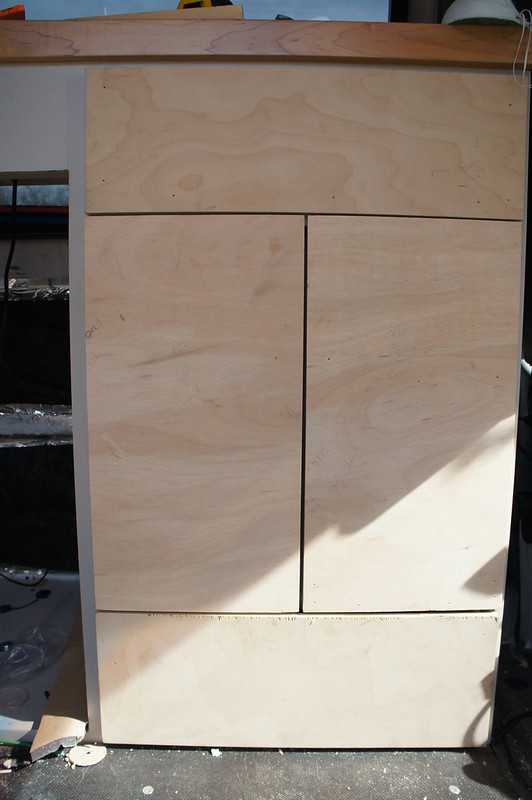
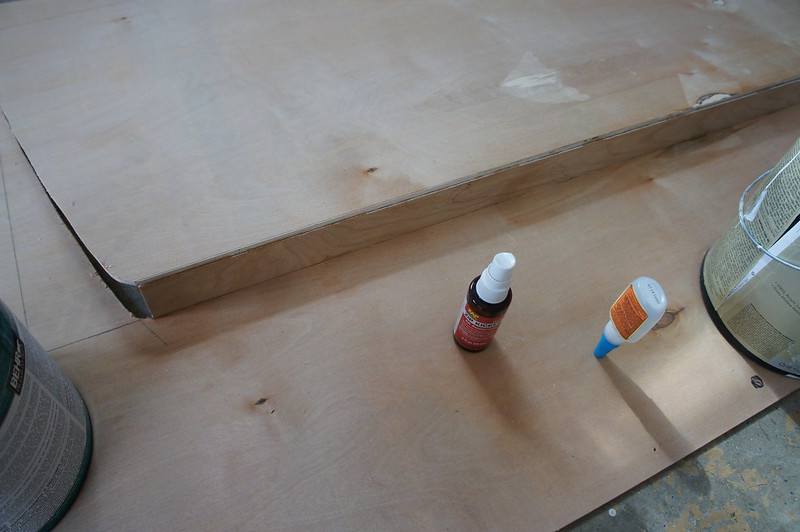
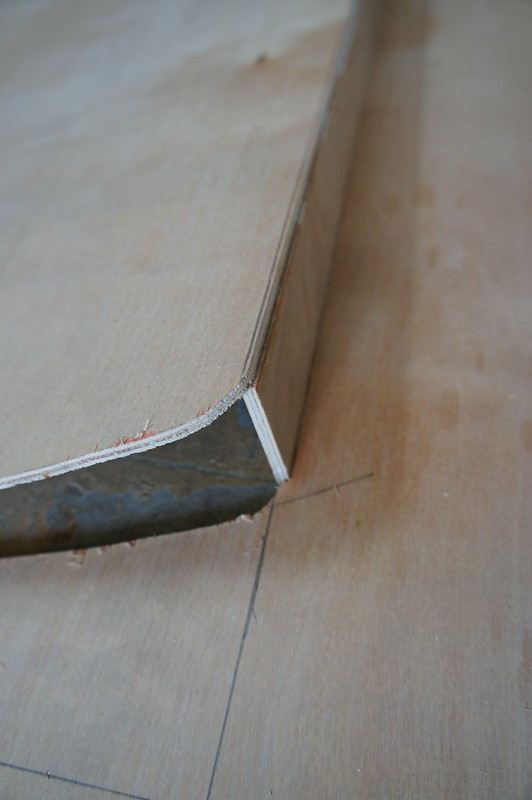
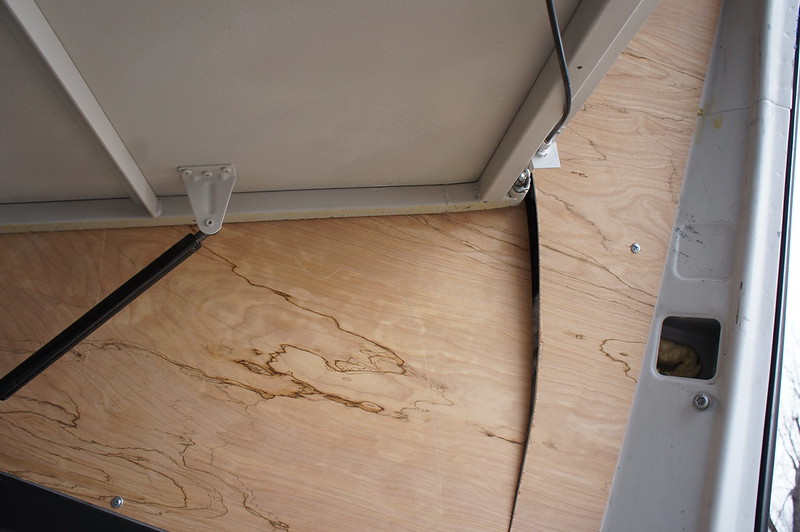
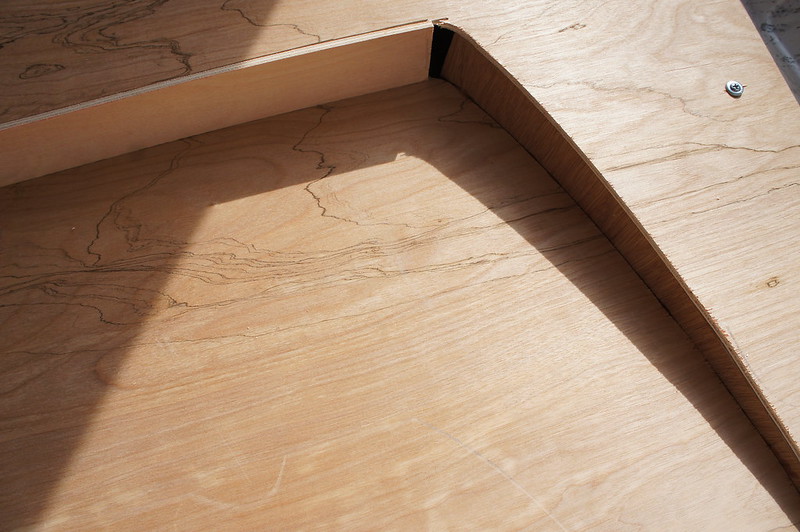
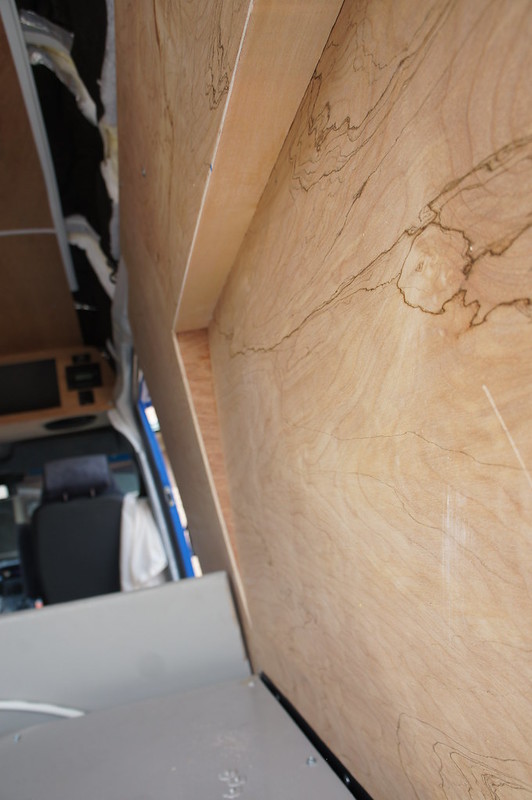
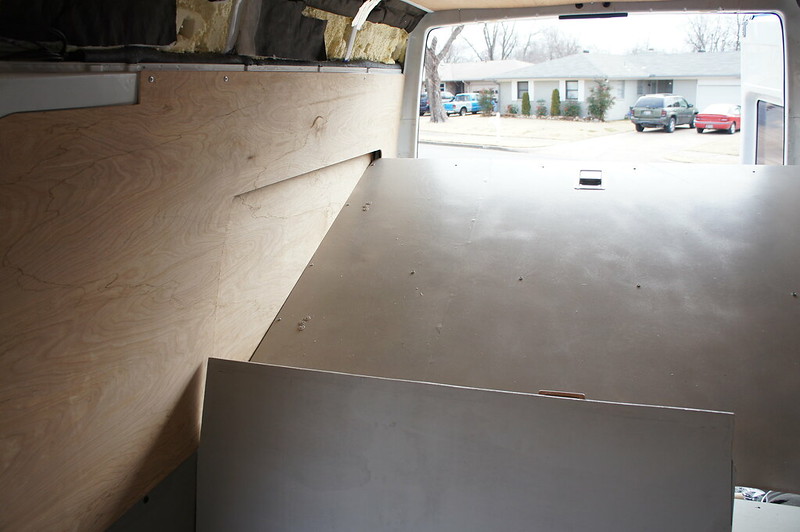
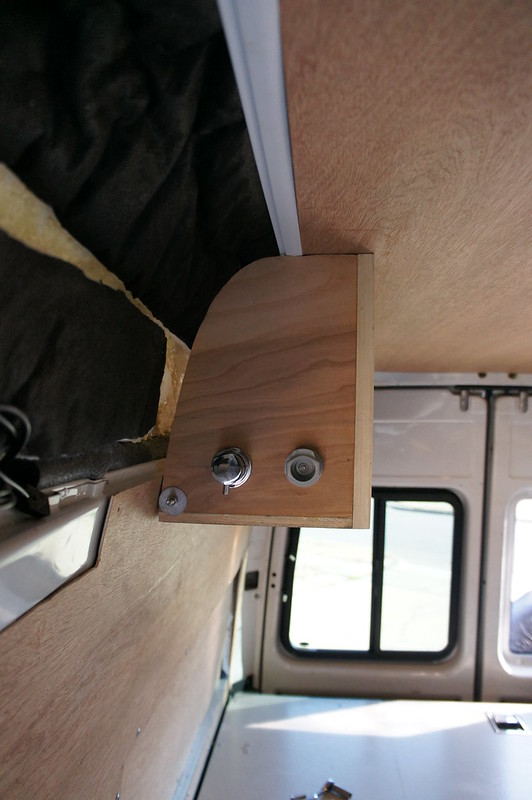
I finished remaking the passenger side wall panel. I used 5mm plywood for the base. I needed a 2.375” offset to clear the bed at full swing. Due to the thin material fasteners were not an option. The panels size made clamping difficult. I opted to use CA glue with accelerator. This allow me to bond the edging in a matter of minutes with no clamping. Pretty strong stuff! I guess CA glues are popular with woodworkers to reduce assembly times.
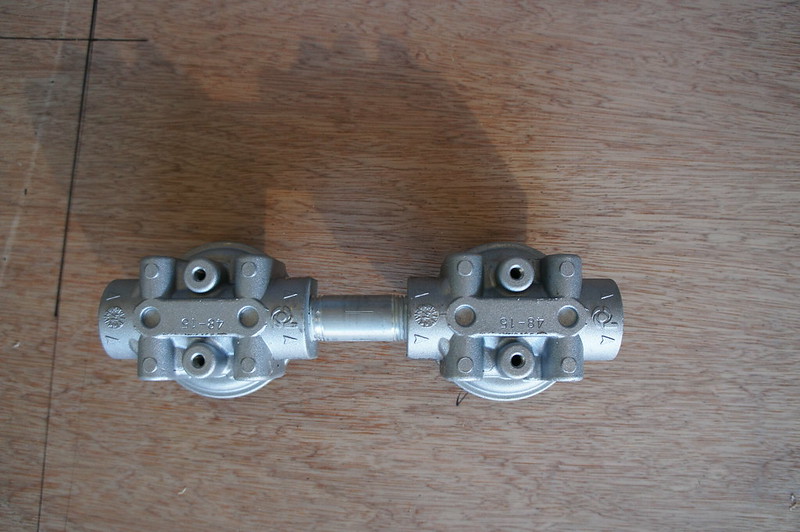
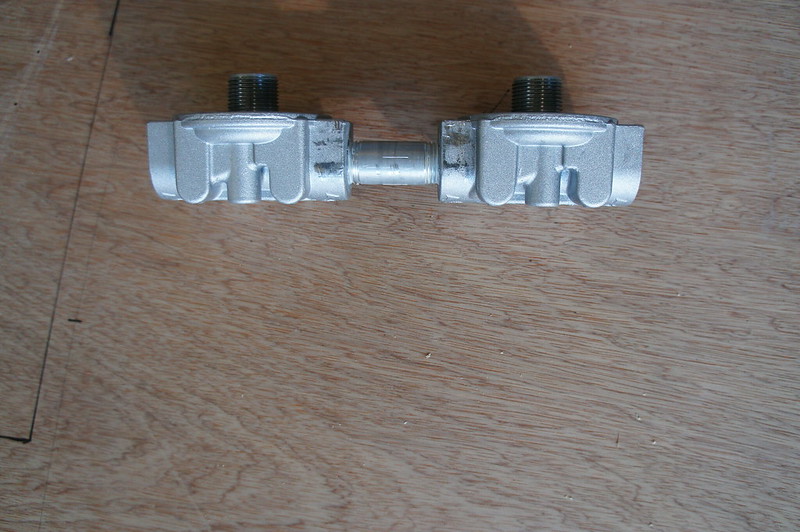
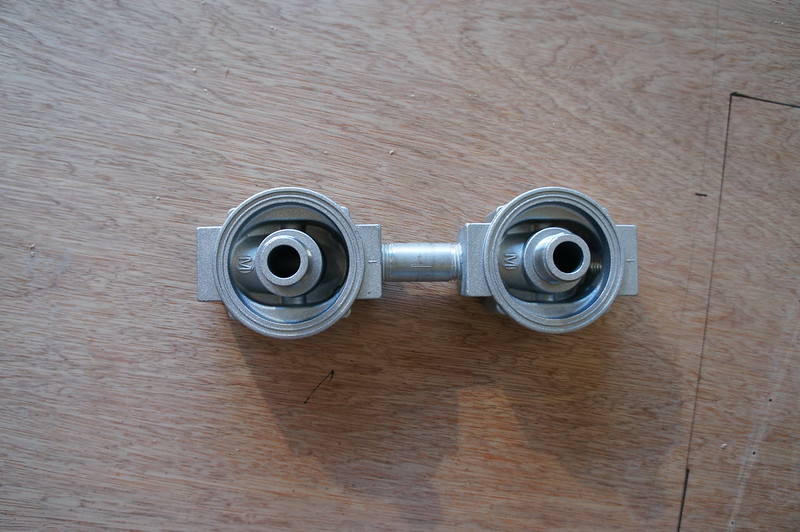
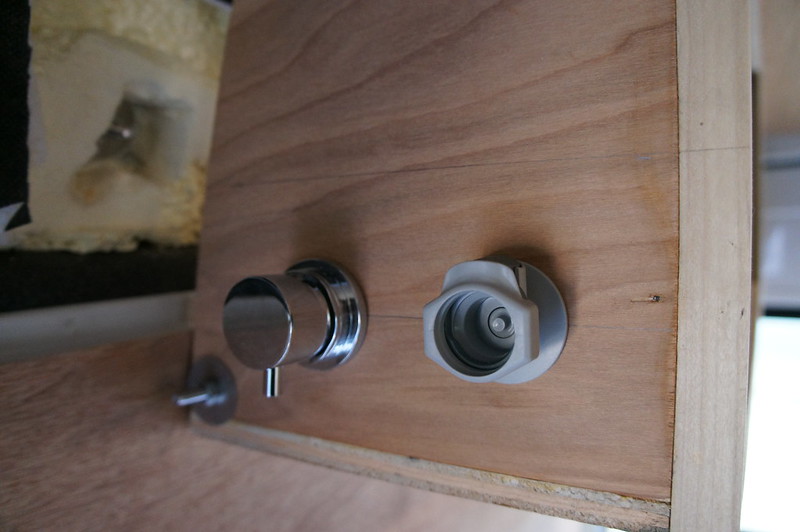
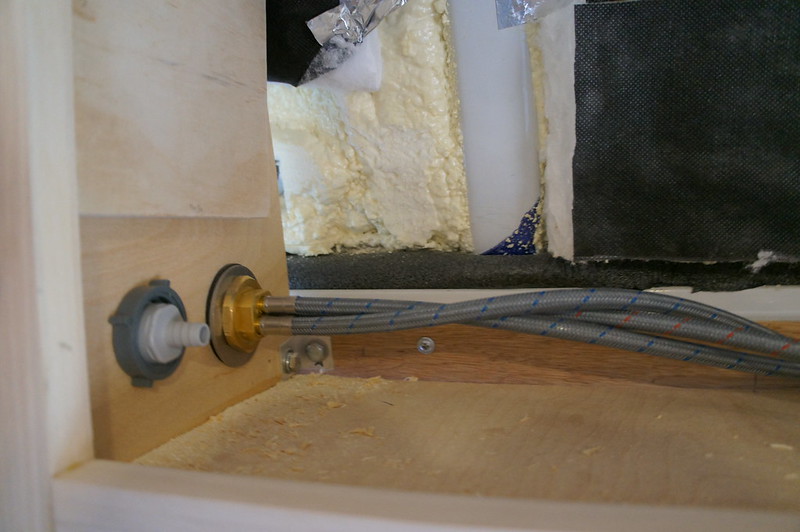
I added a shower mixer and disconnect above the bench seat. I used the following mixer combined with valved quick disconnects from McMaster Carr.
http://amzn.to/1Lu7MHY
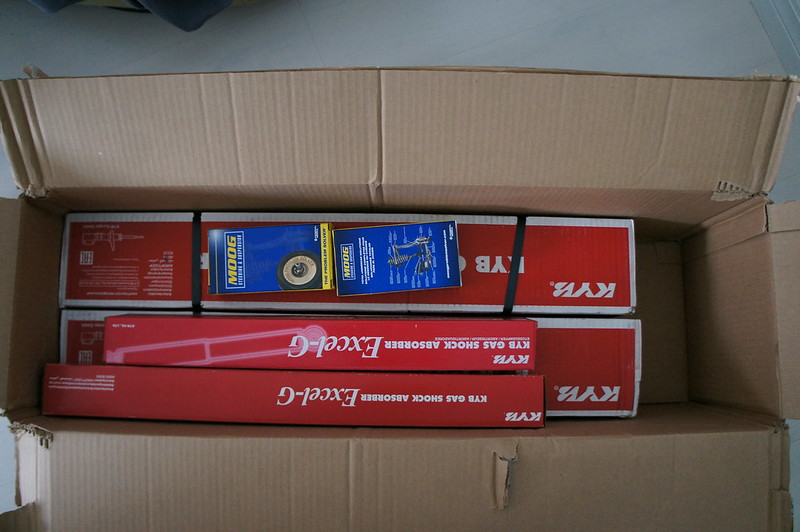
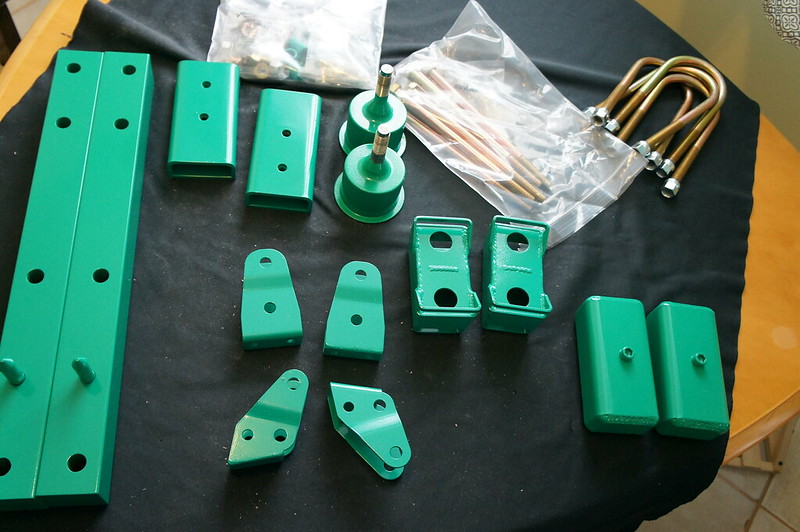
The Lift Kit, shocks, and Struts arrived!
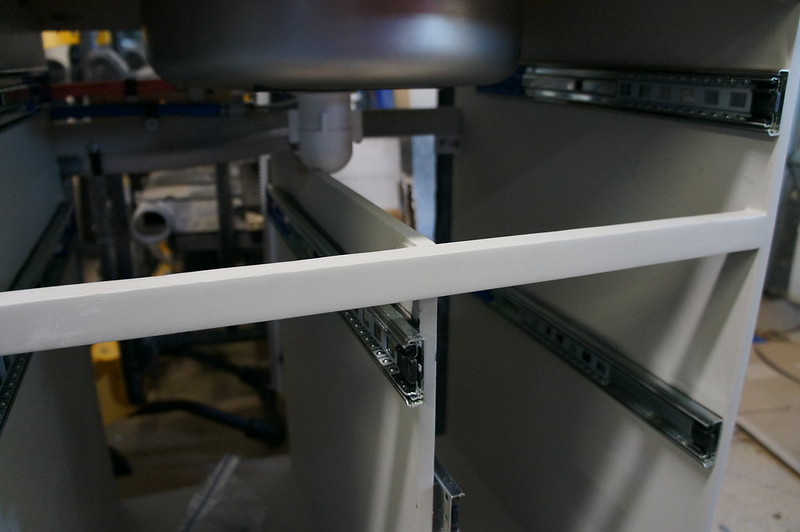
 So I will likely be attempting installation shortly. Estimates put the installation around 16 hours. Hopefully I can beat that. I have the fridge spacers made, once they are painted I can button up the Galley for hopefully the last time...