Well, the first attempt at a flare failed pretty badly. After a few weeks of thinking, I decided I could use the failed flare as a mold and lay-up a new flare inside of it.
First we fill, sand, fill, sand wash and repeat...
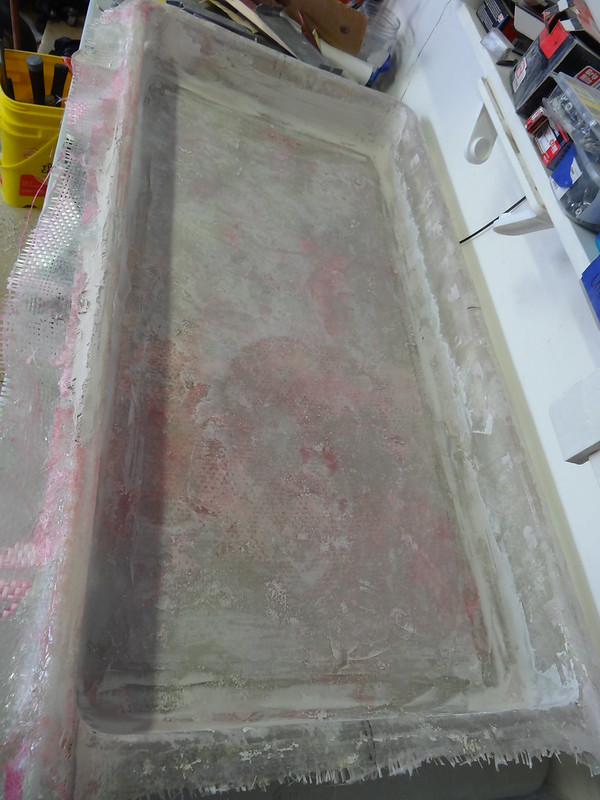
Once we have a smooth enough surface mold release wax and polyvinyl alcohol are applied.

I then sprayed gel coat into the mold to seal the yet to be laid fiberglass.
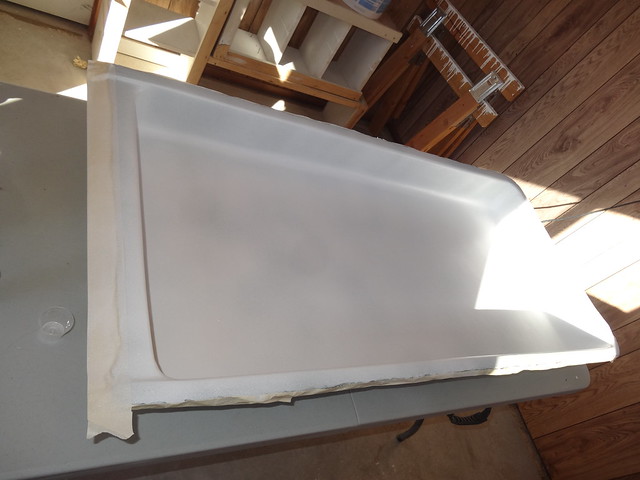
The the lay-up starts. This consists of cutting various types of fiberglass (cloth/mat) to fit the mold. Then the layers are applied with catalyzed polyester resin. This is a time limited process as the resin is curing as you are applying it. In addition air bubbles must be removed! Needless to say its not the easiest work.
Here is the flare about half way into the lay-up.
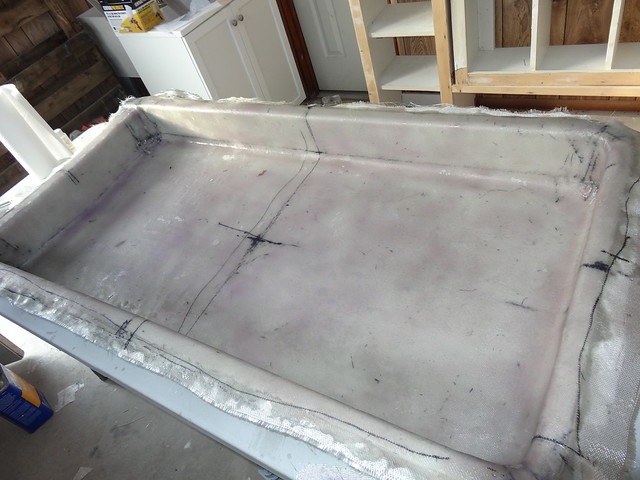
Once the layup is cured, the edges are trimmed and the flare is removed from the mold (at least in theory). It only took me an hour and a half to separate the 2. You can see on the left of the photo below where i did not apply enough wax and the mold stuck.
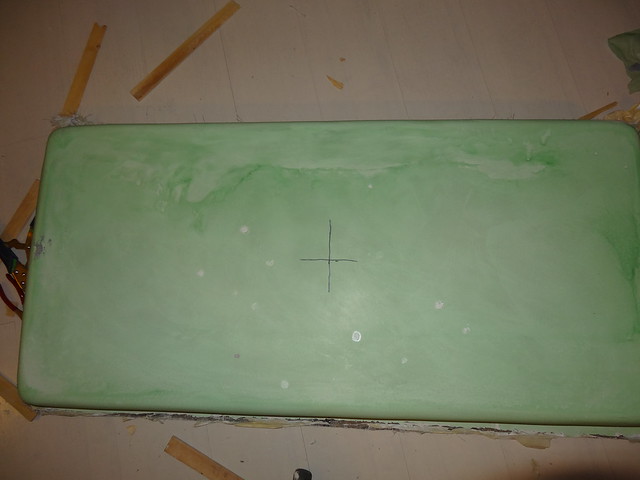
Here is the now flare-less mold.
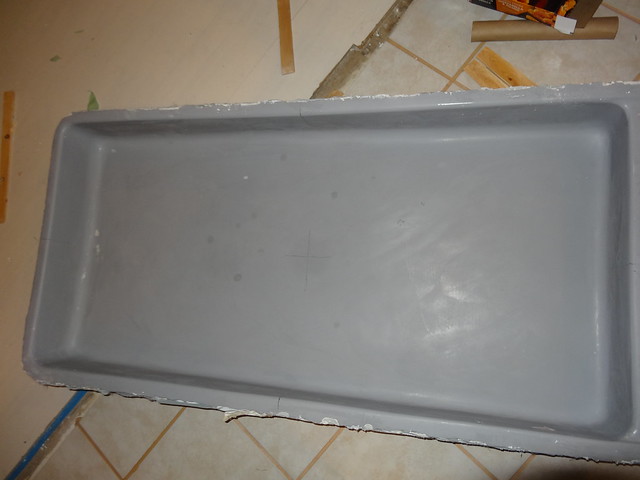
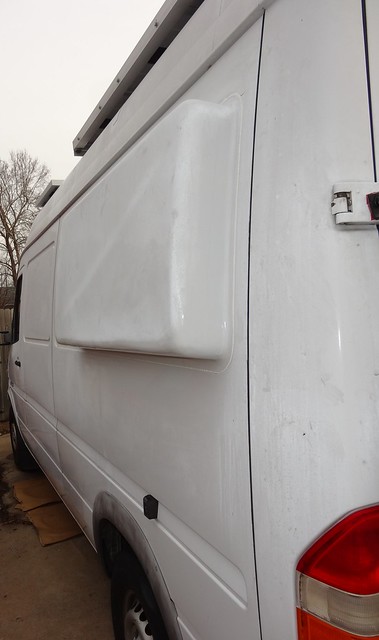
This is the flare's surface after de-molding and water clean up.
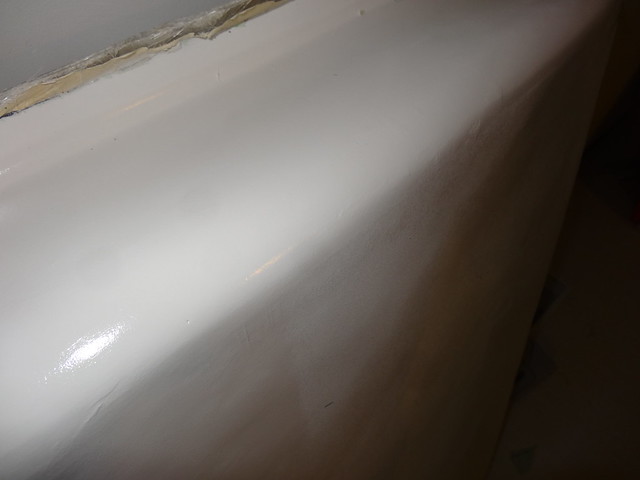
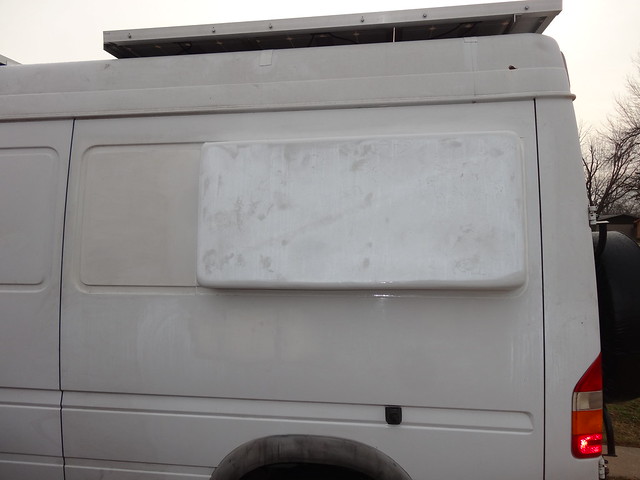
I then proceeded to fill, sand, and paint the flair with van matching paint. (sorry no photos...)
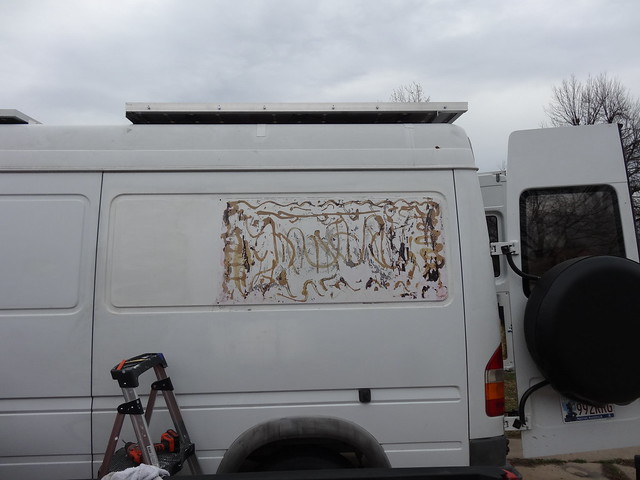
I applied the flare using 3M window weld adhesive.
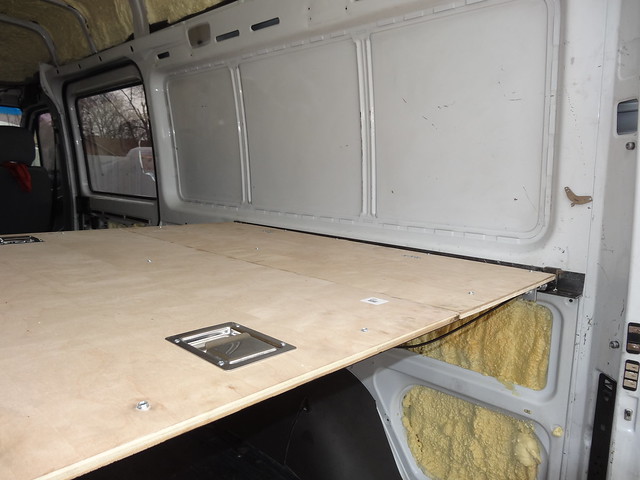
In this photo you can see the complete bed platform.
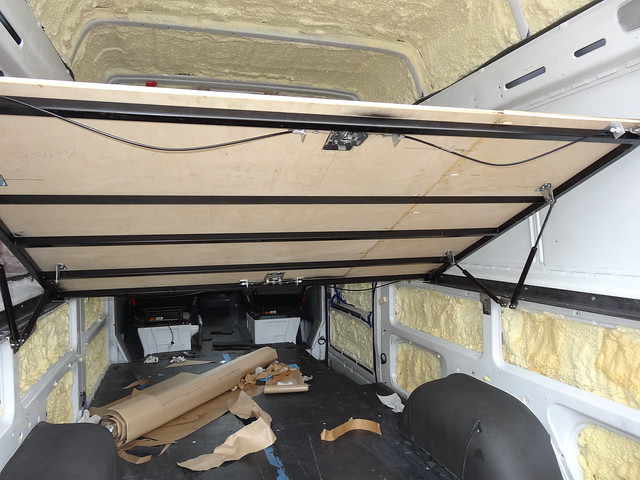
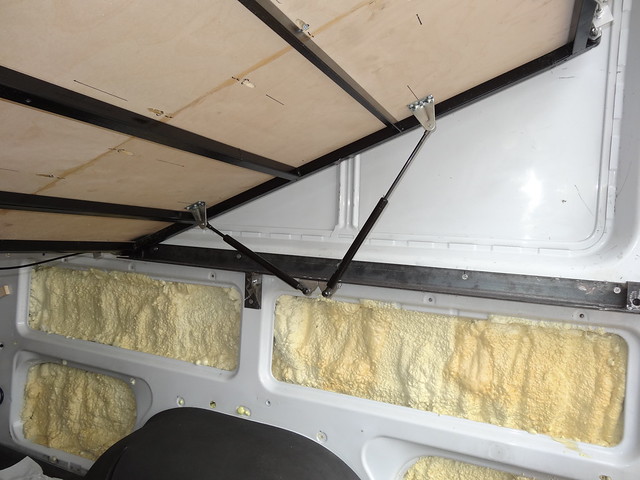
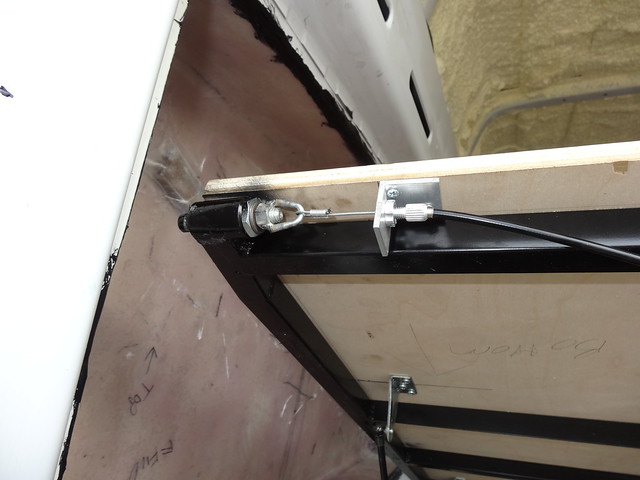
And to wrap things up the spare tire has been moved to the back door. The reason is to allow mounting the batteries under the van.
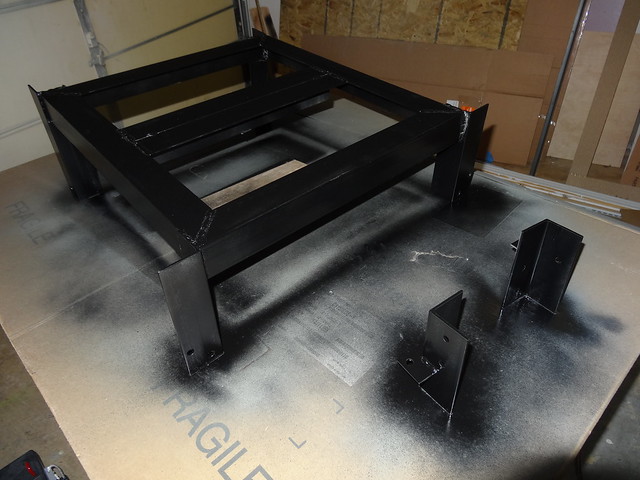

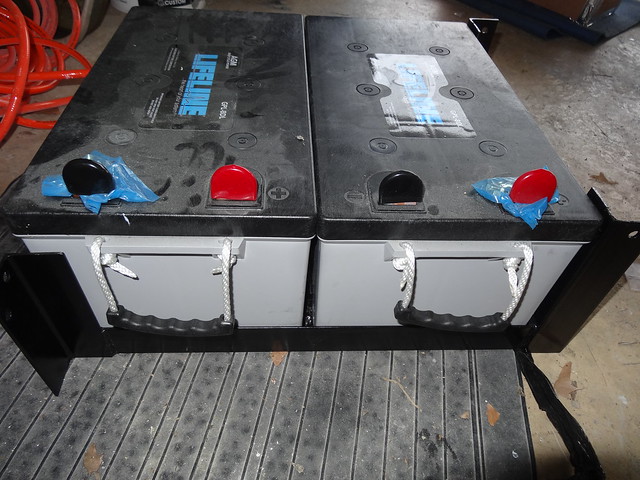
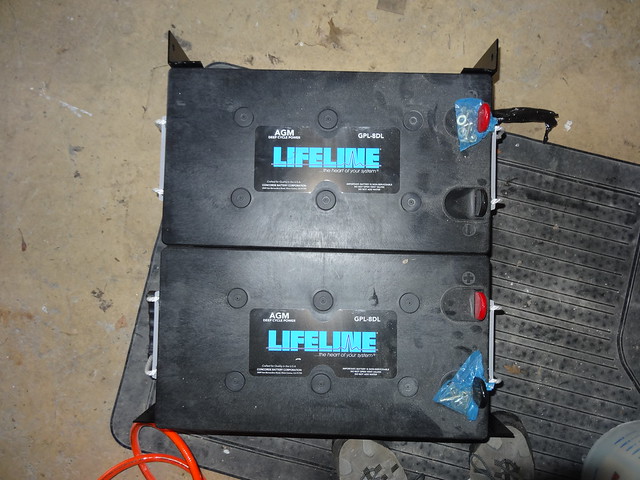
Here is a shot of the rivnuts that hold the battery frame in place.

That's all for now. We just received the last of the galley components, so we are going to start building cabinets soon!



This comment has been removed by the author.
ReplyDeleteI Love the bed design Can you give me any more details? how long are to gas struts and how much lift do they have? Is there anything you would do different?
ReplyDeleteIf I were to do it again, I would hinge the bed from one side only. I will rarely use the rear hinge function. I would also consider mounting the struts in an up/down orientation. This would make the lift assist more linear and easier to control. The lift struts (gas springs) are Mcmaster Carr part 9416k17. They are 12.63" long extended and have 60lbs of lift force.
DeleteDo you have any concerns with how much weight the bed can hold? possibly 3 adults?
DeleteThe bed has had plenty of capacity. 3 adults would not be a problem. I designed the bed for minimal deflection. As a result it is quite stout. The only caveat is that all three adults shouldn't sit in the same edge. There is a small chance that could bend the frame tube on that side.
Deletebut where you fastened it to wall is plenty strong huh? I hope to build a very similar bad in my own. Thanks for all your help and I love the blog.
ReplyDeleteGlad we could help. I bolted directly into the "belt line" structure tube, so it's not going anywhere. There was a bit of flex though. The bracket/brace on the bottom side of the bed rails eliminated that.
Delete