The contents of my weekend was installing a cabin heater in the van. We opted to go with a separate air and water
heating setup. For the cabin air an
Espar Airtronic D2 was chosen. You can
google the all the nerdy details but here is quick breakdown. The D2 uses diesel fuel (also available in gasoline versions) to heat cabin air
which is circulated through several ducts.
All combustion air and exhaust are ducted outside the vehicle. Heating power is 2.2kW at 0.28 Liters/hour
fuel consumption. Electrical power consumption
is 34W max.
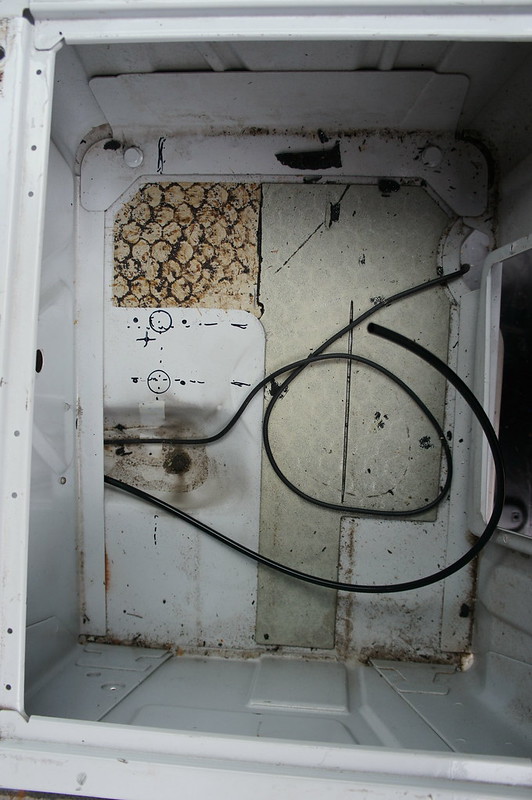
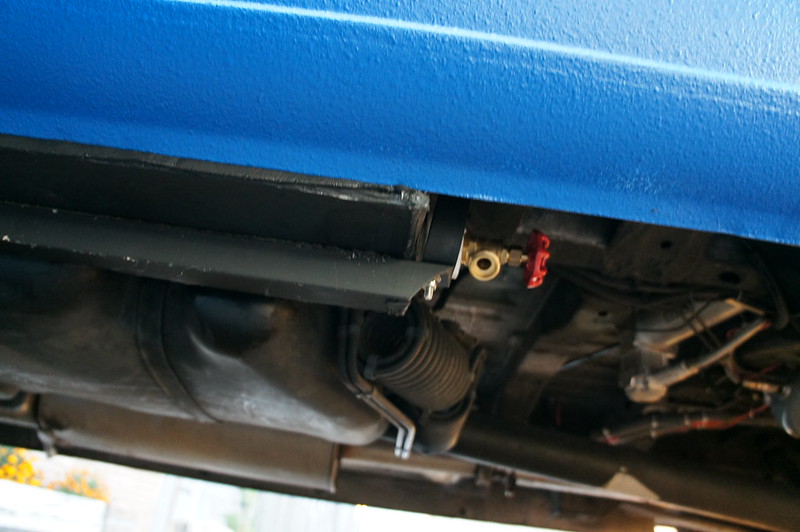
I inserted the fuel pickup into the fuel tank
previously. To begin the heater install
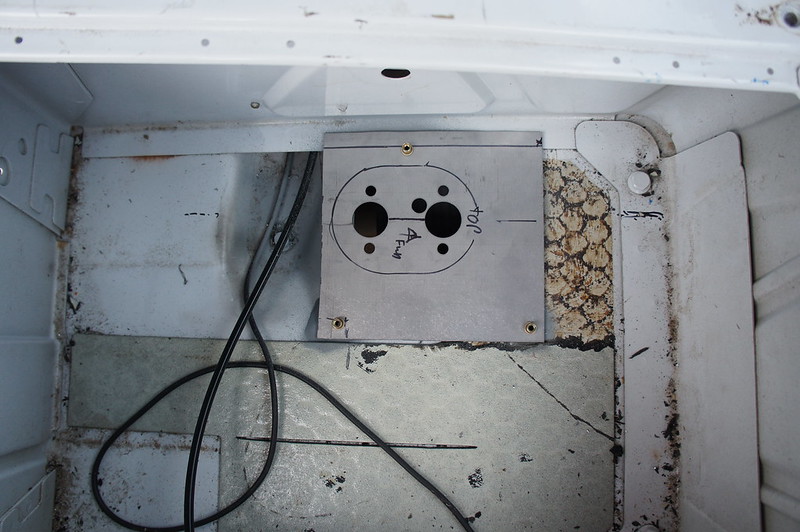
I located an area in the floor beneath the passenger pedestal that was
unobstructed below. By cutting a hole in
the floor the fuel, intake, and exhaust hoses can be routed outside the
vehicle.
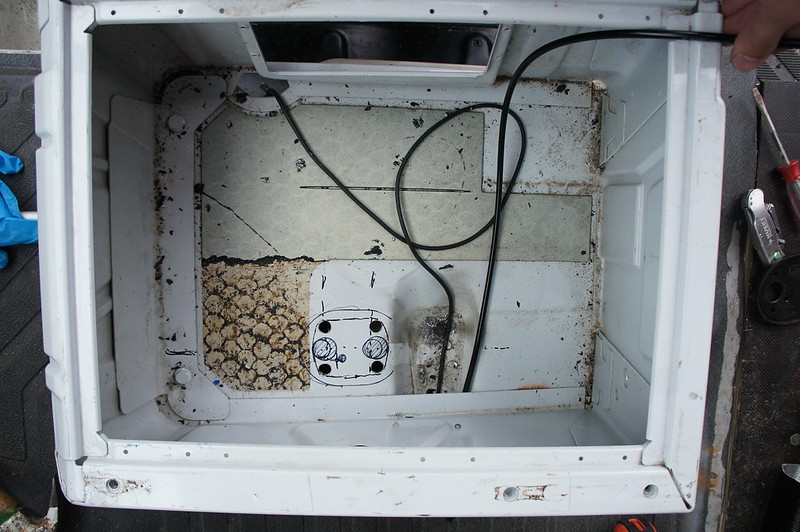
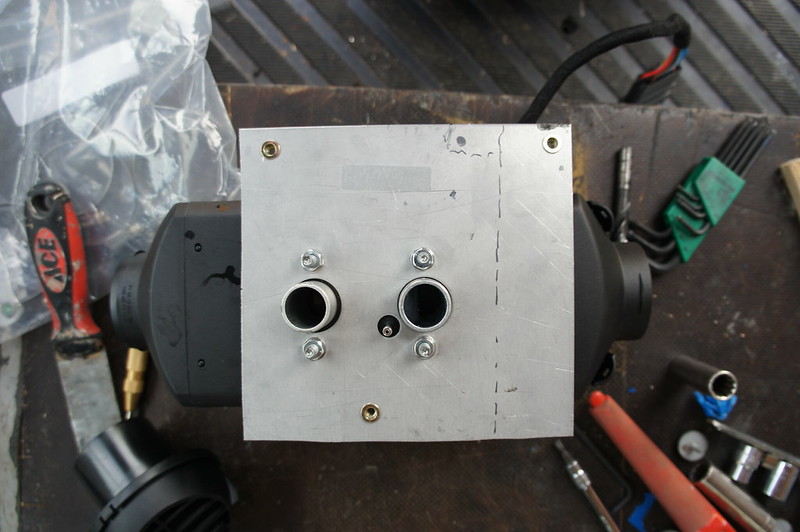
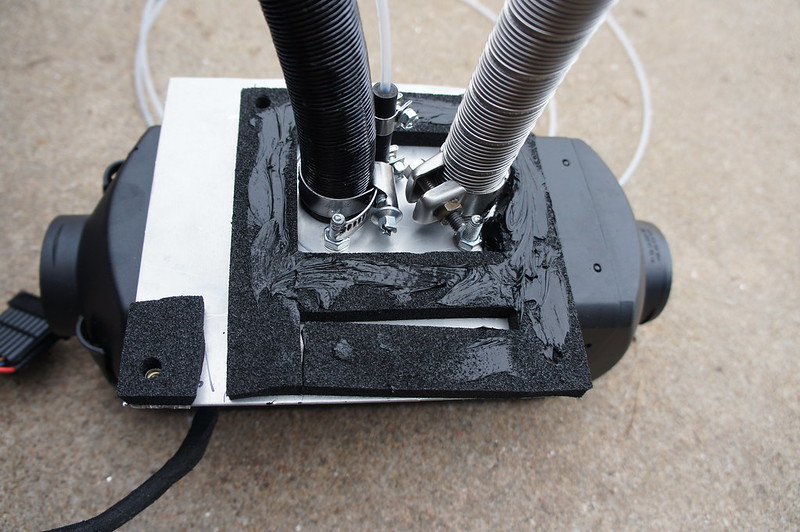
Using the supplied mounting plate (modified for fitment) the
heater was bolted to the van floor with sealant and the supplied foam
gasket. Attaching the hoses prior to
mounting saves a lot of knuckle busting underneath the van.
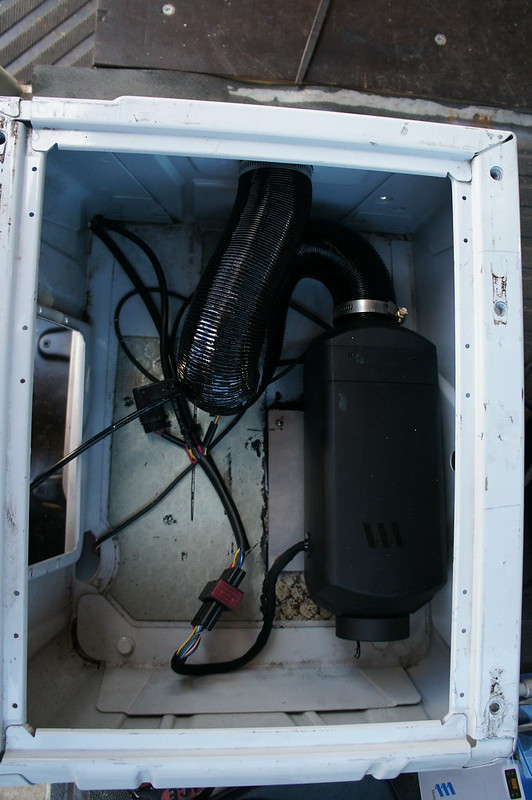
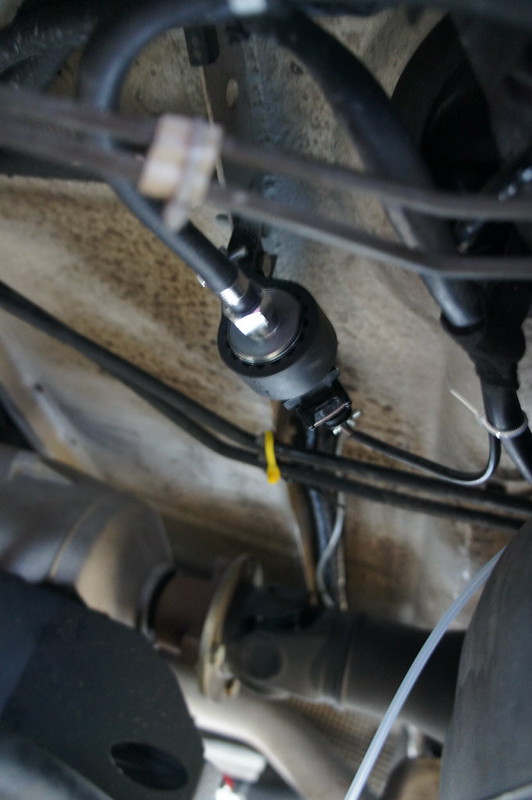
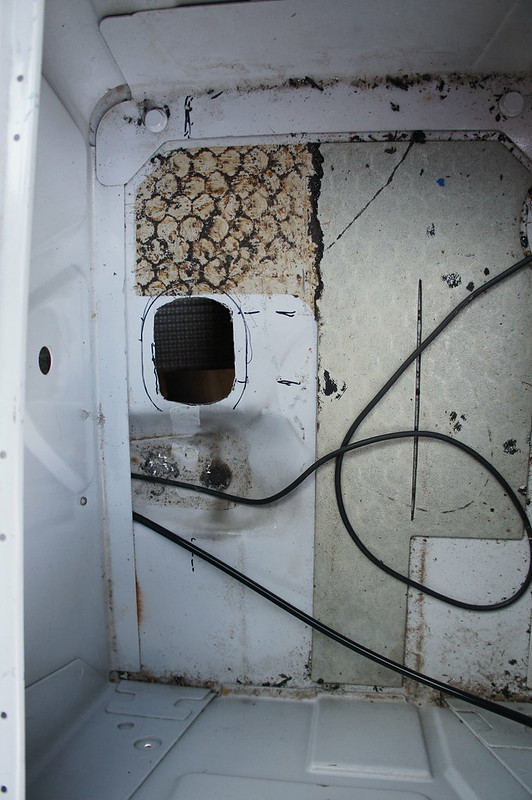
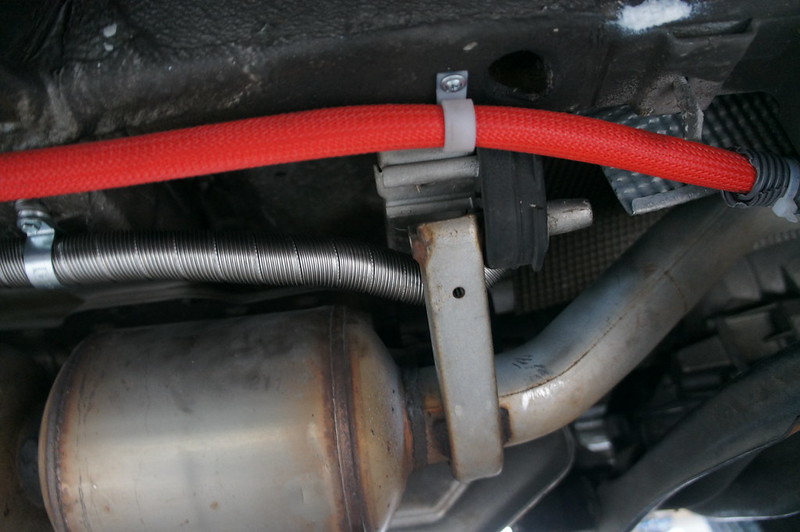
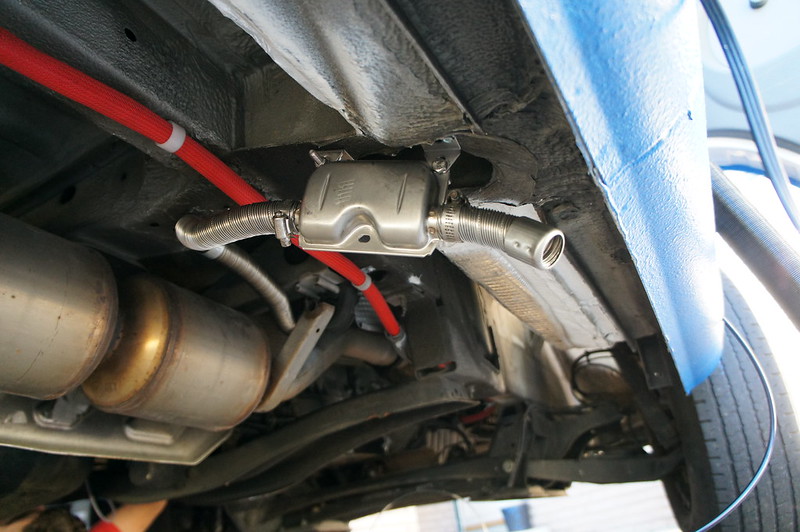
The sprinters exhaust heat shield had to be unbolted and
moved aside to allow access. The fuel
line and intake/exhaust hoses are mounted and a muffler is attached. The fuel pump harness was routed between the
seat pedestals and out through the main wiring boot.

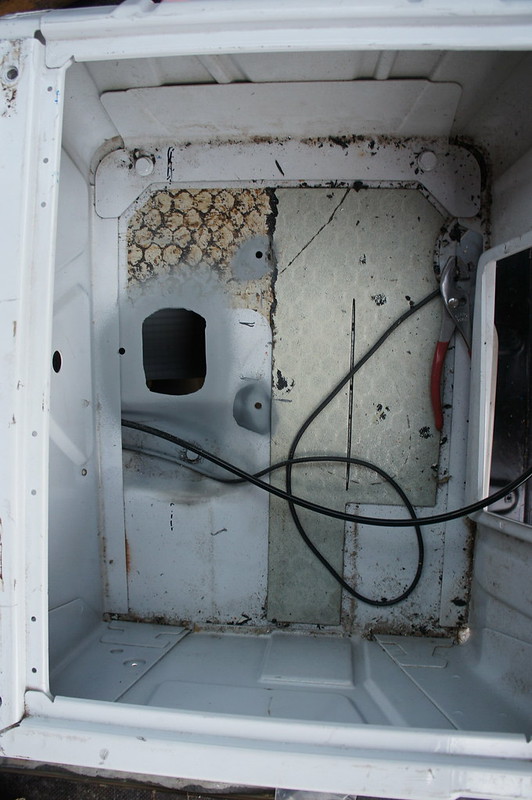
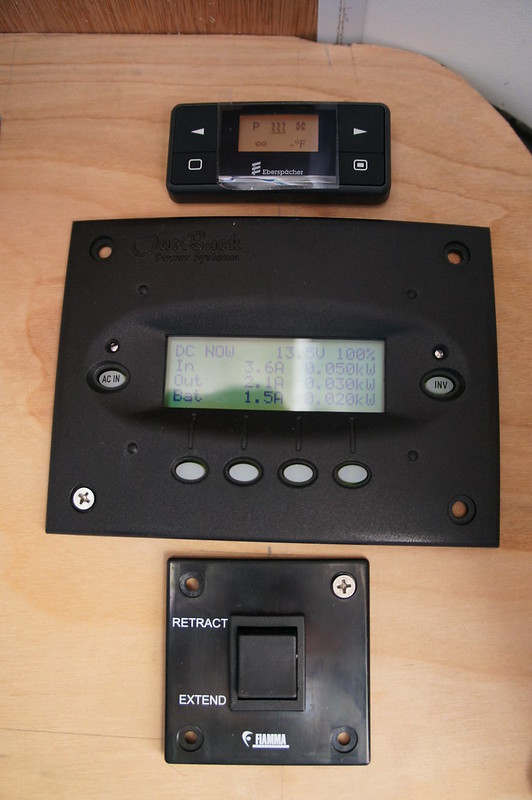
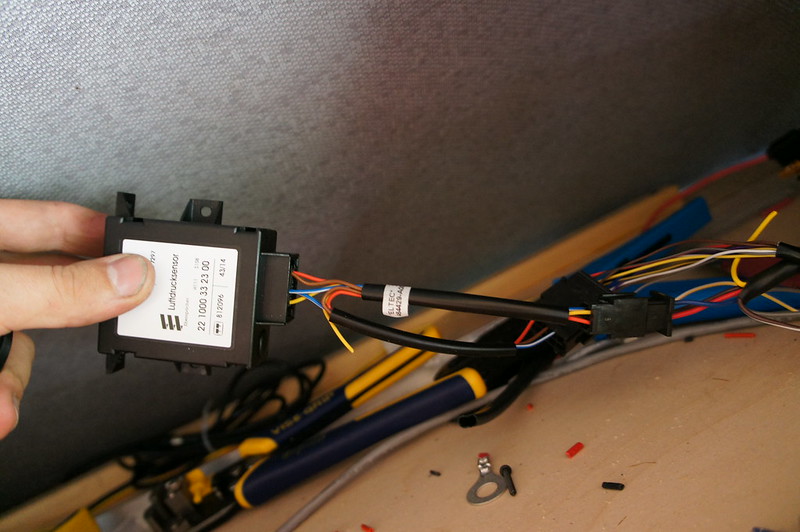
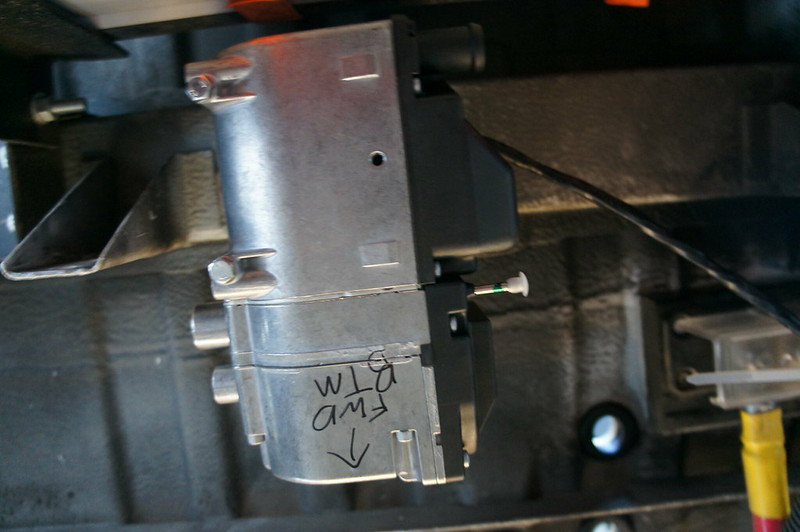
The main harness was easily routed up the B pillar into the
overhead cabinet. This is where the
altitude sensor and control panel are mounted. We will also be installing an Espar Hydronic D5 to heat fresh water and the engine if needed. The D5 will also be controlled from the same panel (Easystart Timer).
The D2 is a really nice piece of kit; Low power and fuel
consumption, quiet, easy to control. It
is a huge step up from most propane fueled RV furnaces. An exception to this is the Propex line of
heaters. These are the gold standard for
propane cabin heaters.
There were few surprises during the install. Planning ahead and following the installation
instructions makes for a simple job. Now if only there was an instruction manual for van conversions...
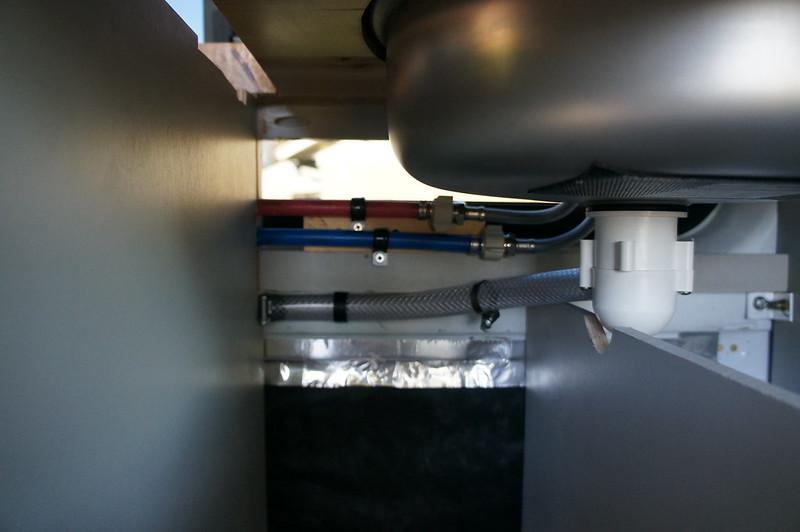
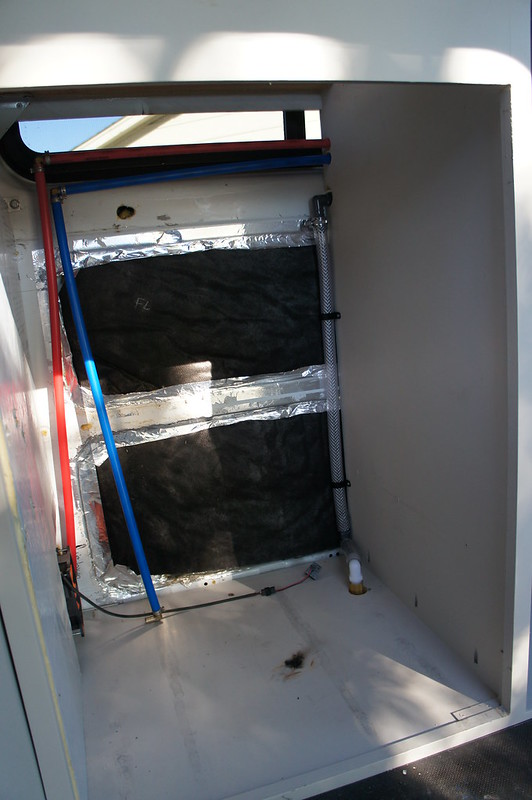
The gray water tank is permanently installed now. You can just barely see it sticking out from under the van.

The sink drain line has been fitted. Also the water tank enclosure has been painted and is ready to for plumbing to begin.
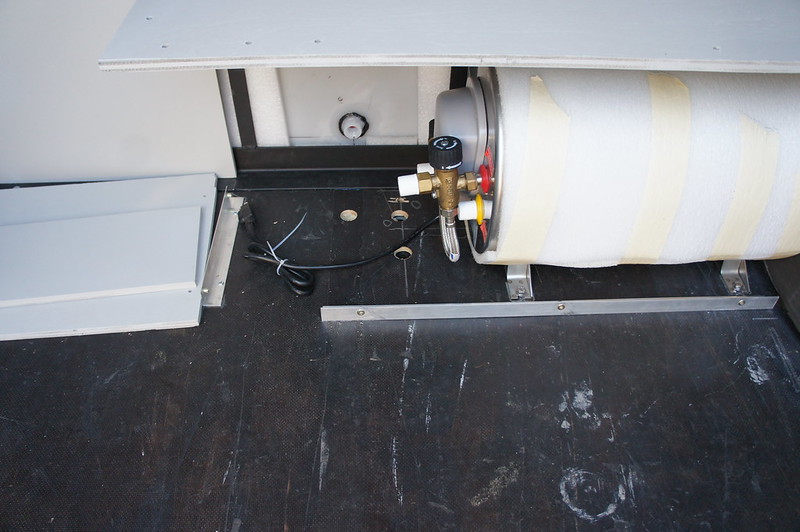
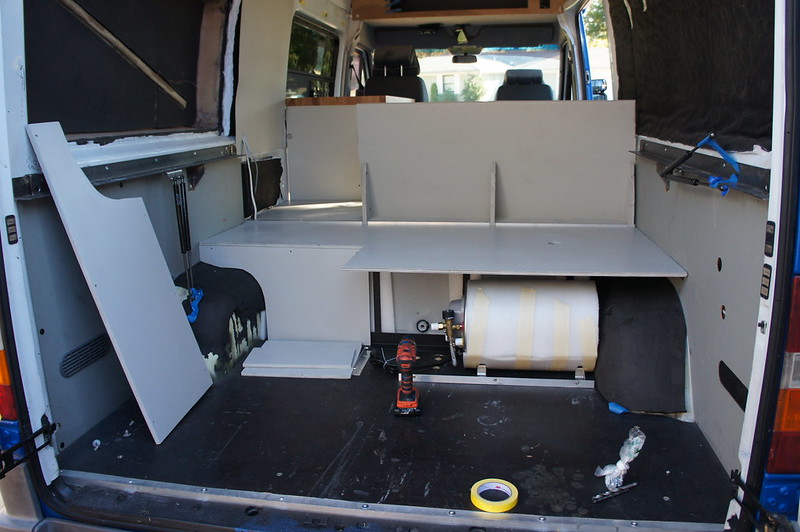
I was able to mount the hydronic D5 before sunset on Sunday. It is going just in front of the batteries. Which is below and left of the water heater.


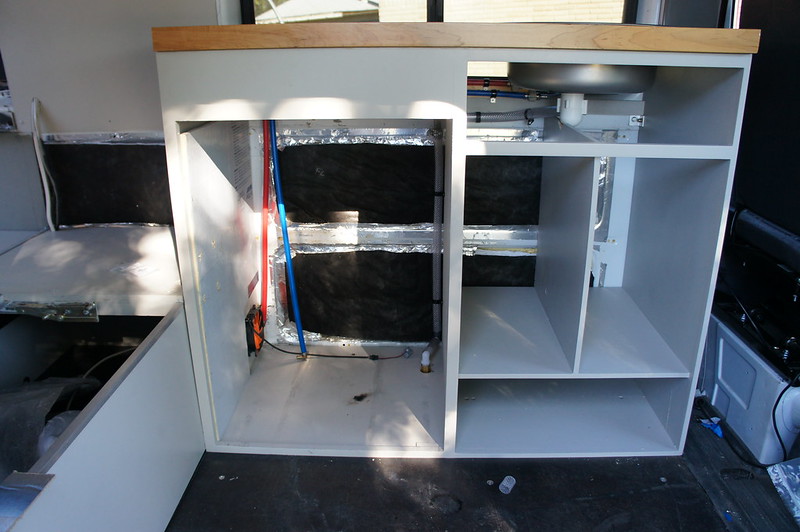
Next week will mostly consist of epic amounts of plumbing and various attacks on the cabinetry. Keep calm, and try to find that leak.
The gray water tank is permanently installed now. You can just barely see it sticking out from under the van.
The sink drain line has been fitted. Also the water tank enclosure has been painted and is ready to for plumbing to begin.
I was able to mount the hydronic D5 before sunset on Sunday. It is going just in front of the batteries. Which is below and left of the water heater.
Next week will mostly consist of epic amounts of plumbing and various attacks on the cabinetry. Keep calm, and try to find that leak.
No comments:
Post a Comment
Note: Only a member of this blog may post a comment.