Wednesday, January 20, 2016

Winter Update #5

I received the lights and the mounting channels/diffusers arrived from Hong Kong. We decided on neutral white for the interior lighting. Some links below. The flush mount square lights use 3.1W each, and make 185 lumens.

http://amzn.to/1ODw8FS
http://amzn.to/1ODwe0a
http://amzn.to/1ODweNy
http://amzn.to/1ODwfkw

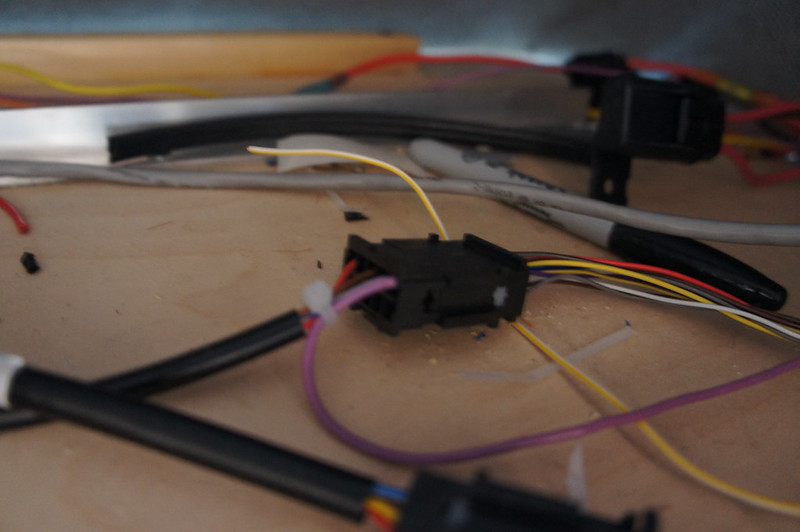
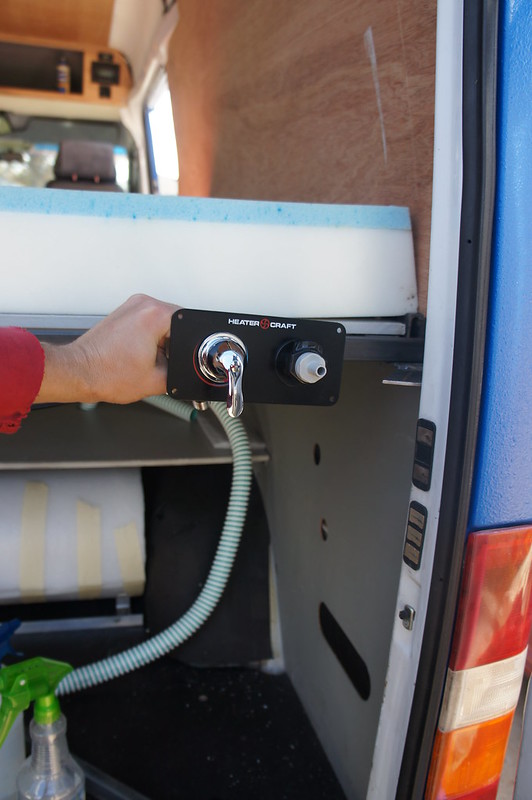
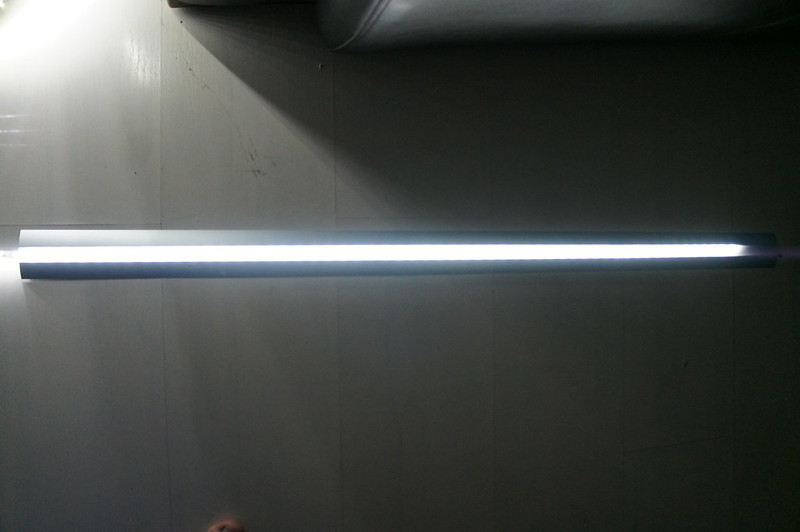
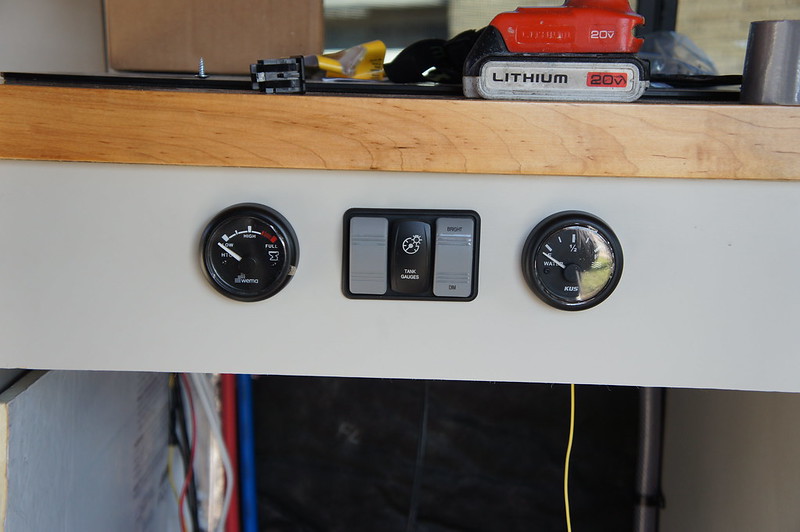
We are using a Blue Sea dimmer to control the lights. A really useful feature of this unit is the ability to connect multiple control switches in parallel.

http://amzn.to/1VxojB0


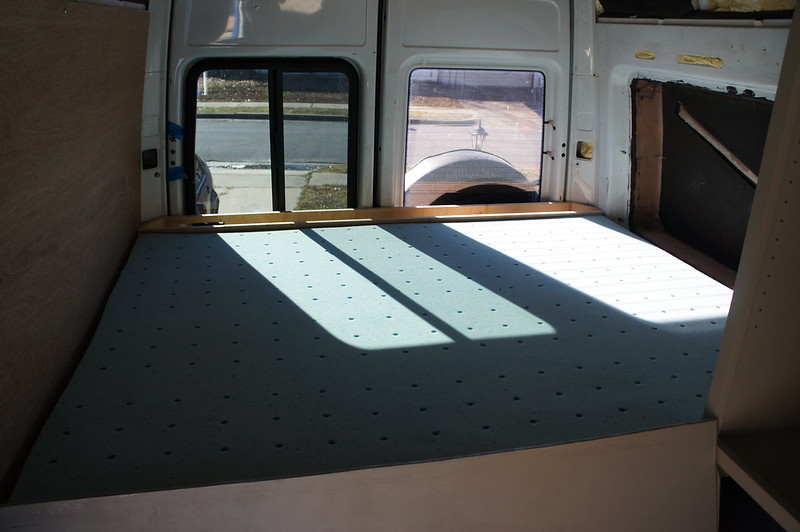
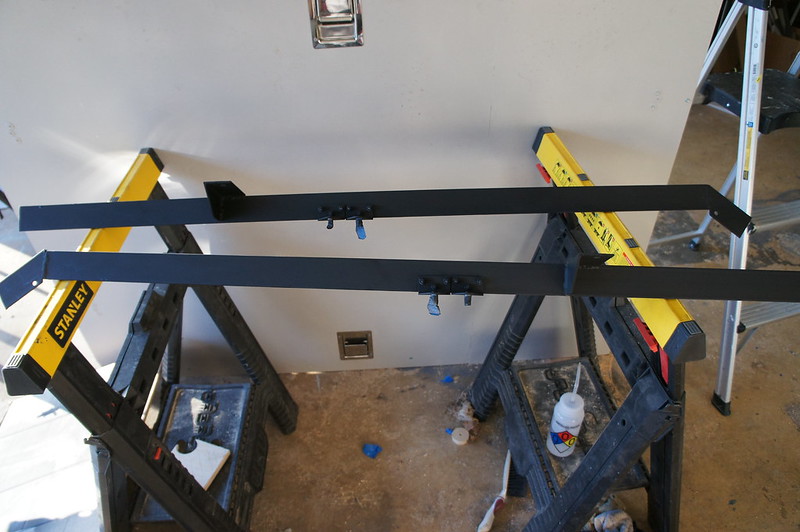
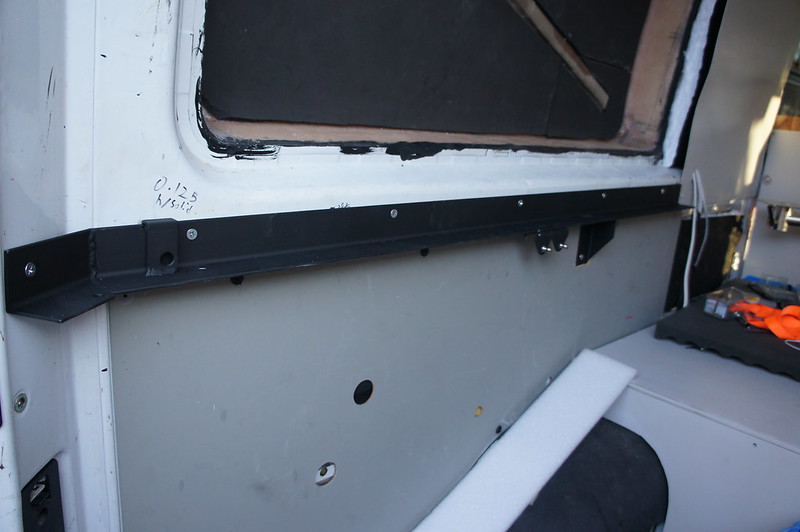
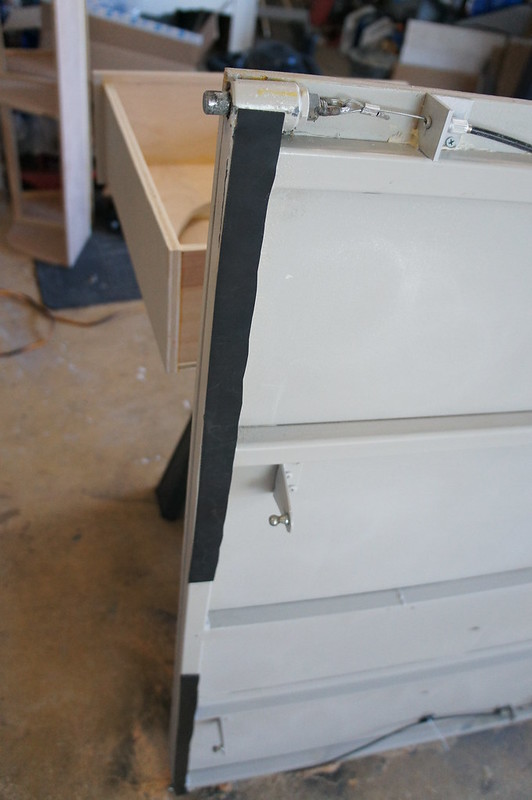
The welding on the bed supports has been completed and they have been painted. Rubber has been bonded to the bed frame to eliminate rattles.


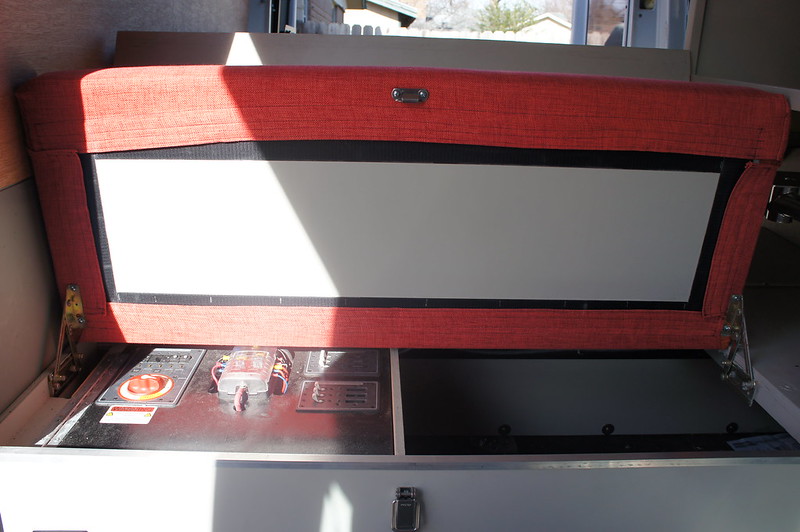
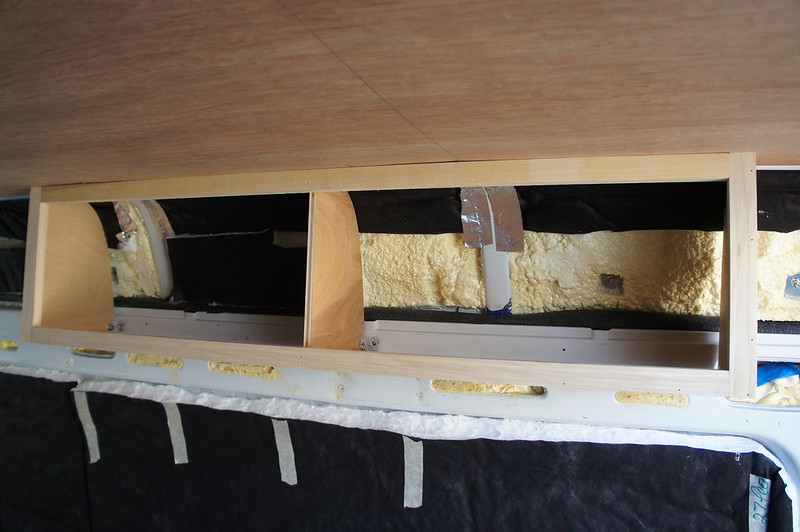
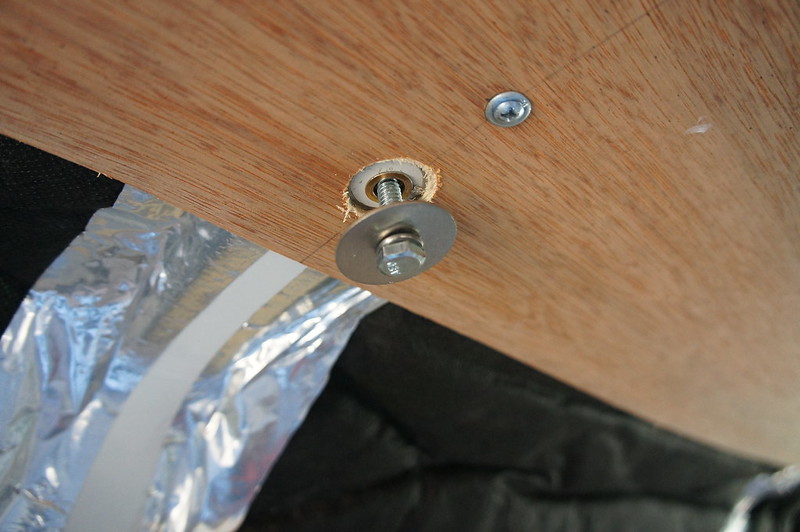
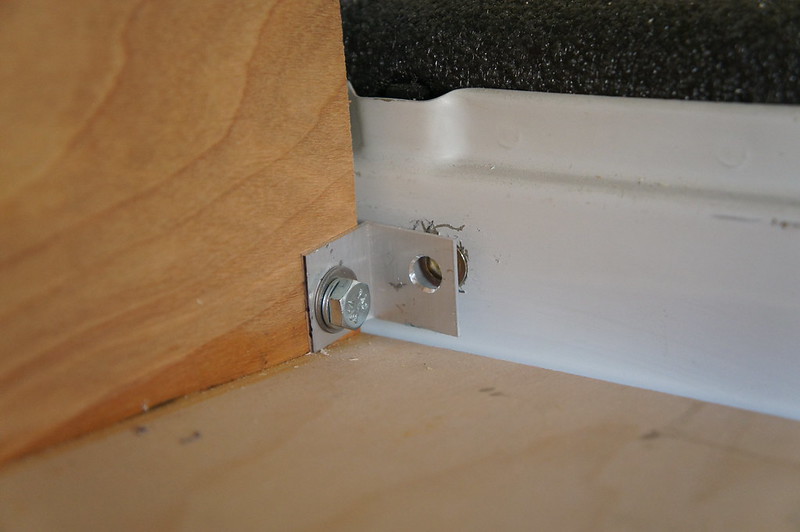
The 2 mistake cabinets have been mounted over the bed. The lengths worked, so no additional modifications were necessary!  (We have to get lucky sometime right?) Some photos show how I mount the cabinets to the van body. I used ¼-20 rivnuts and 90 degree brackets. When 2 cabinets meet they are connected with ¼-20 bolts and T-nuts.


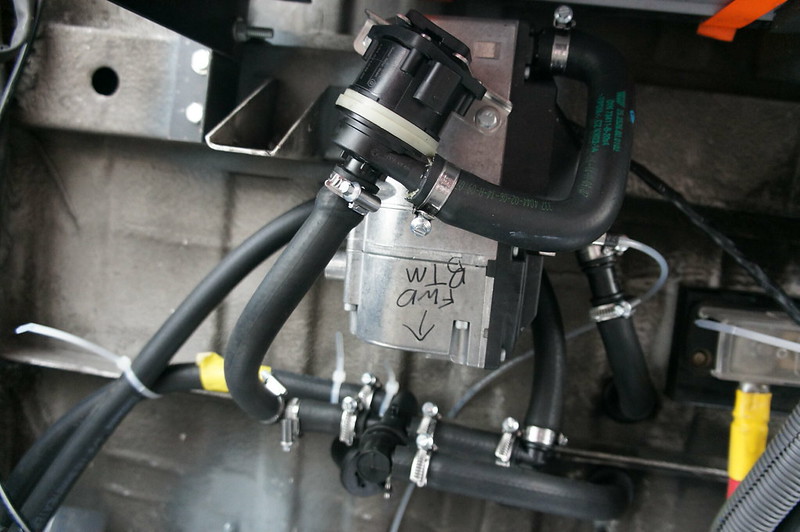
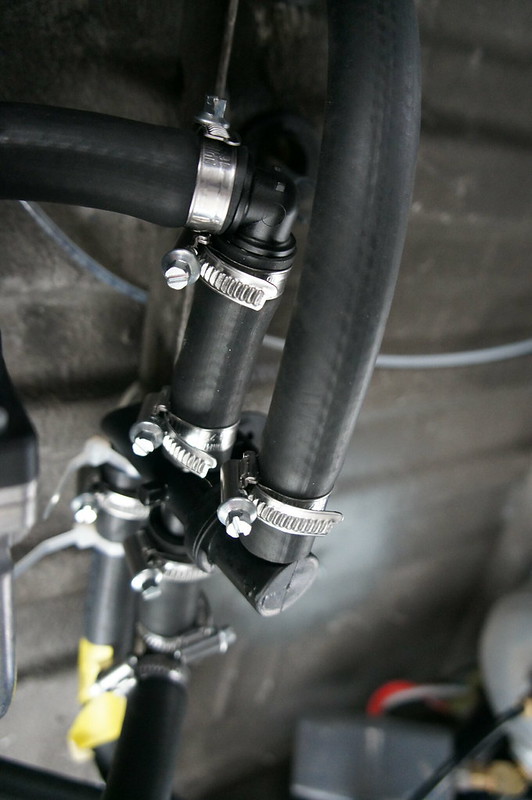
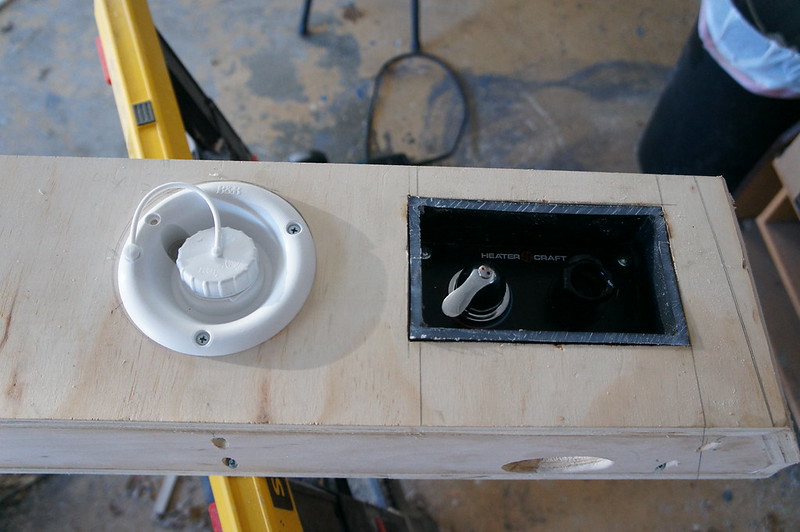
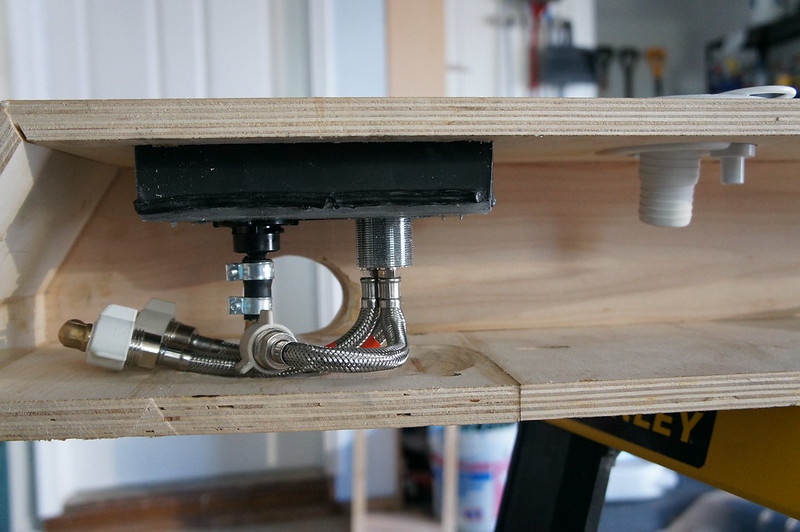
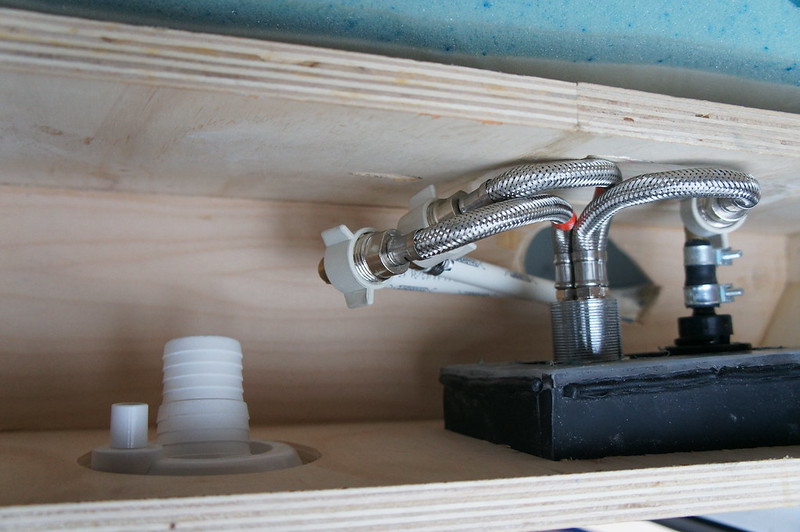
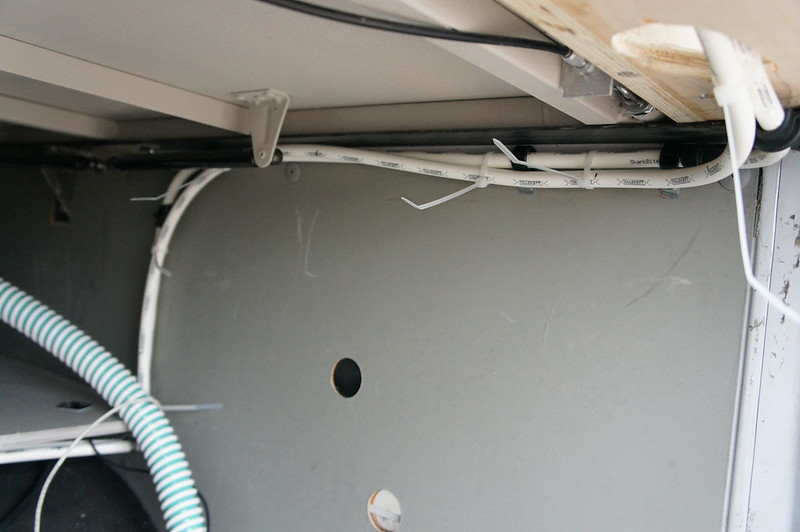
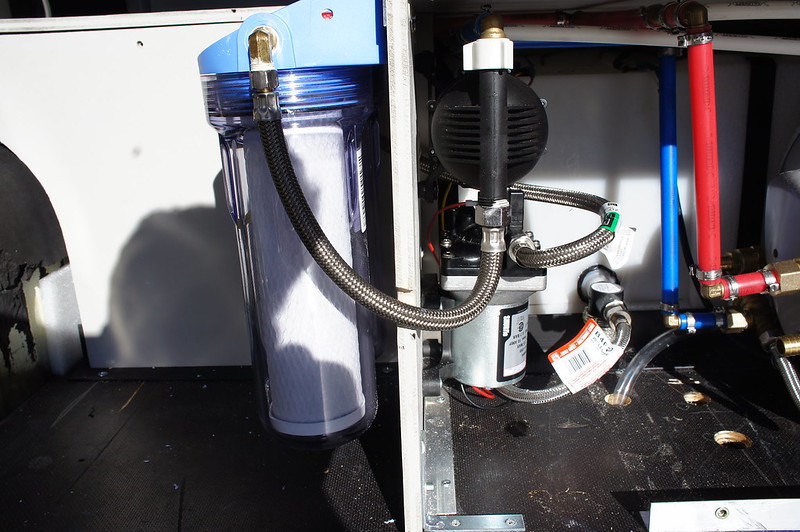
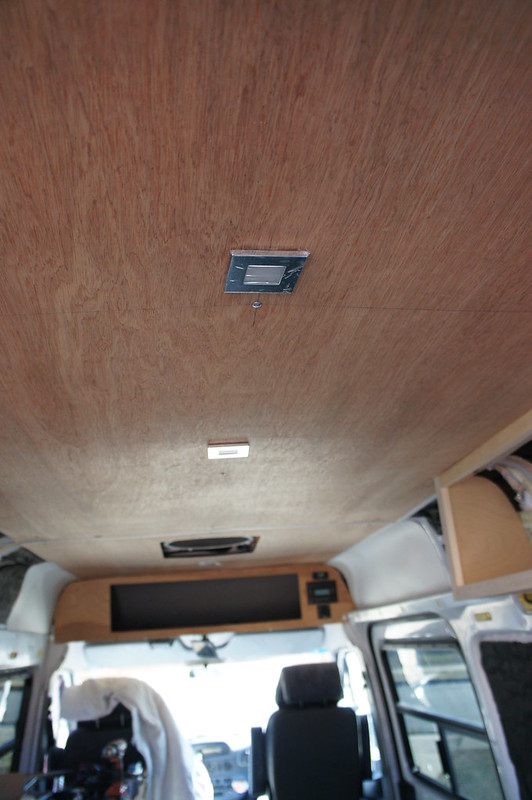
The wiring for accessory outlets and task lighting is coming slowly. There is substantial vibration proofing needed for plumbing and wire harnesses prior to closing up the cabinets.


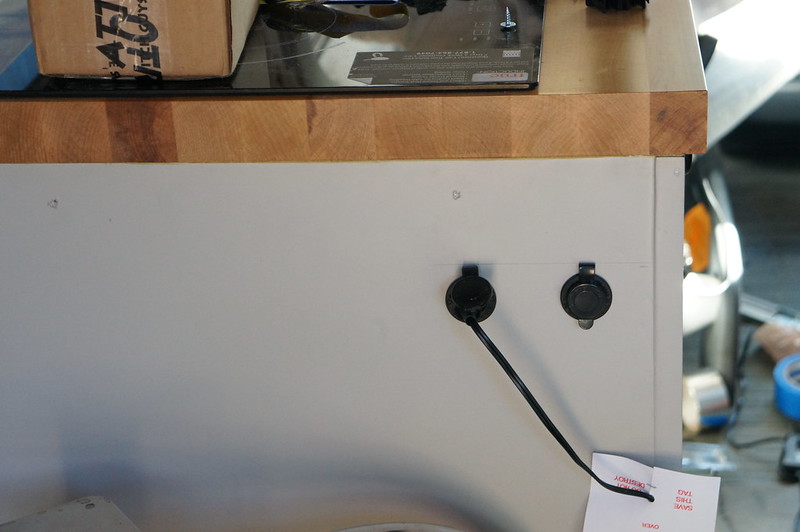
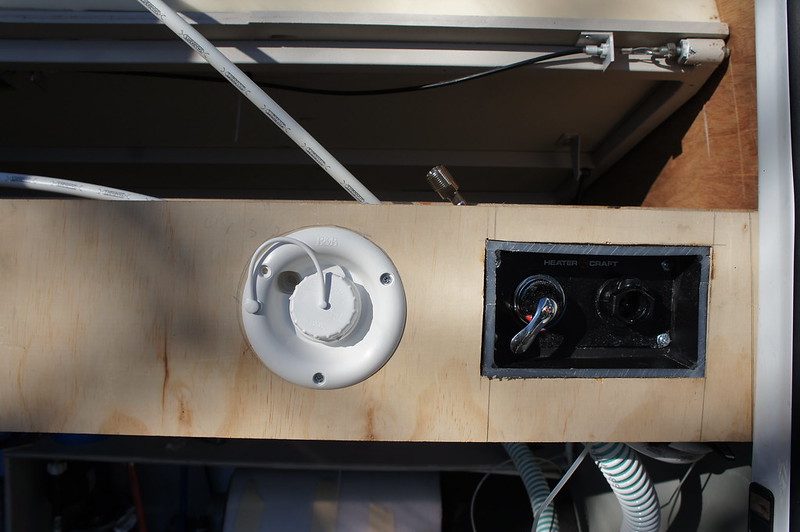
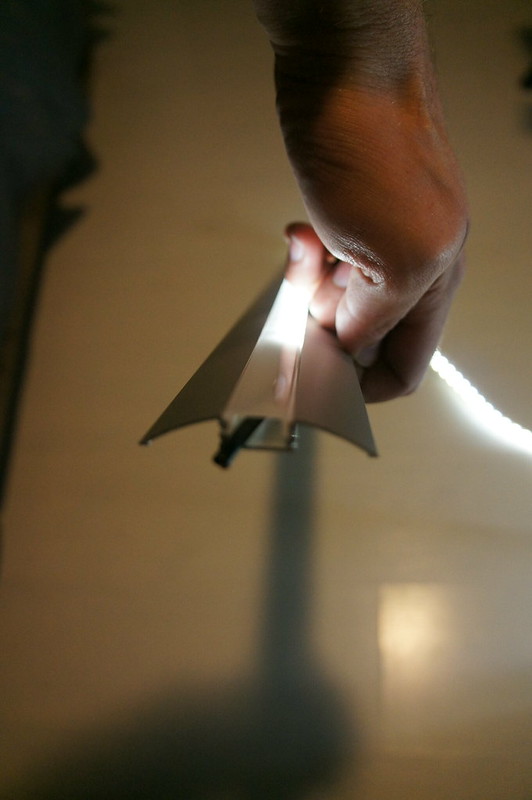
Here are the USB and 12V outlets I am installing. I have read some reports that the USB outlet may not have the correct wiring pin out to enable high speed charging in some devices. I need to take one apart to confirm if the pin-out needs modified for optimal charging.

http://amzn.to/1VxpTTq

http://amzn.to/1Vxq1lU


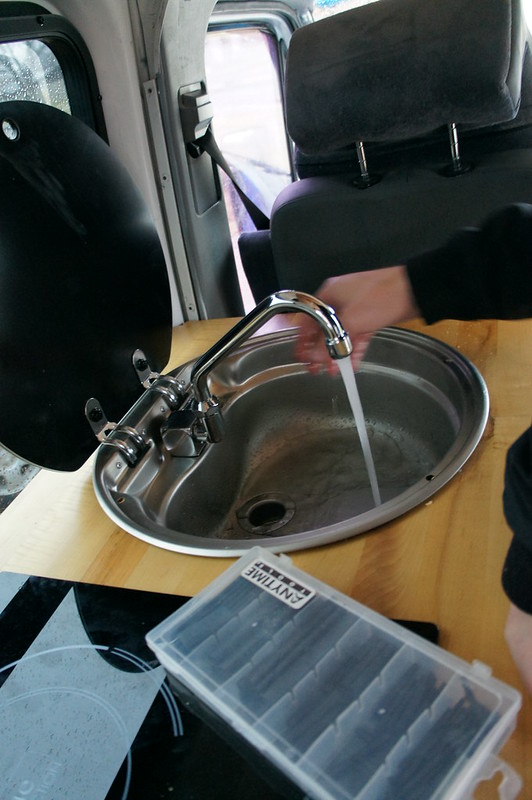
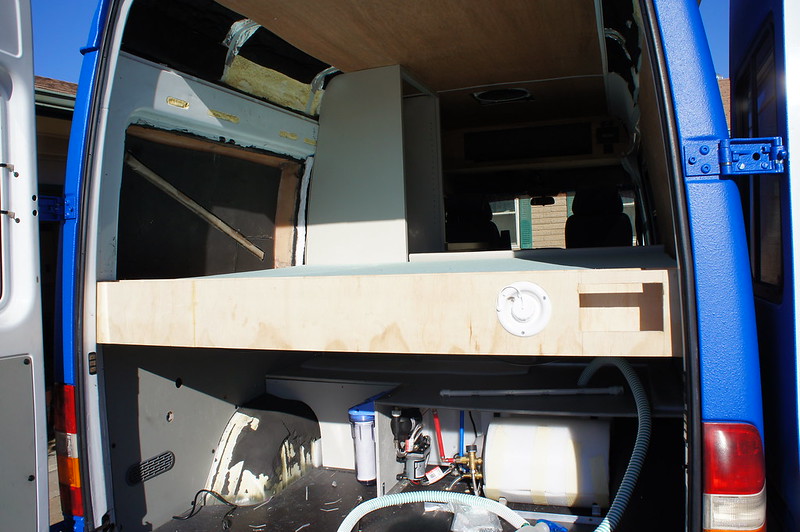
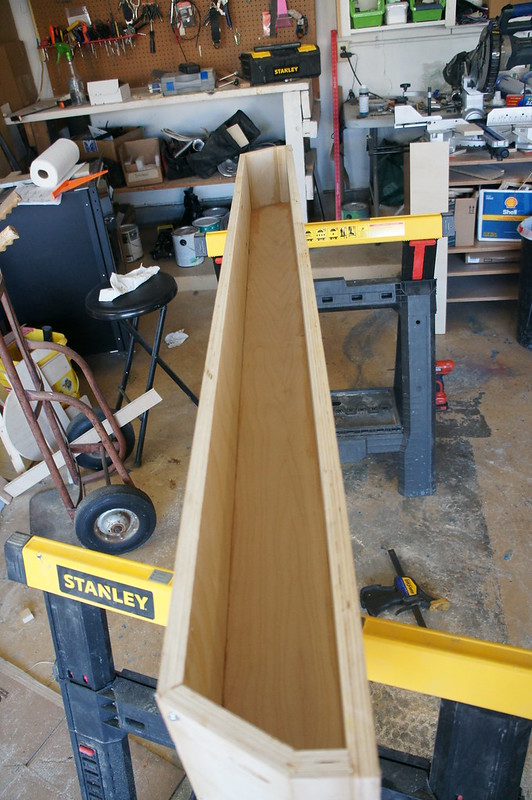
Wall covering is on order, should be able to start covering wall panels when the weather warms. The cabinetry is mostly done at this point. All that is needed is hardware and painting.


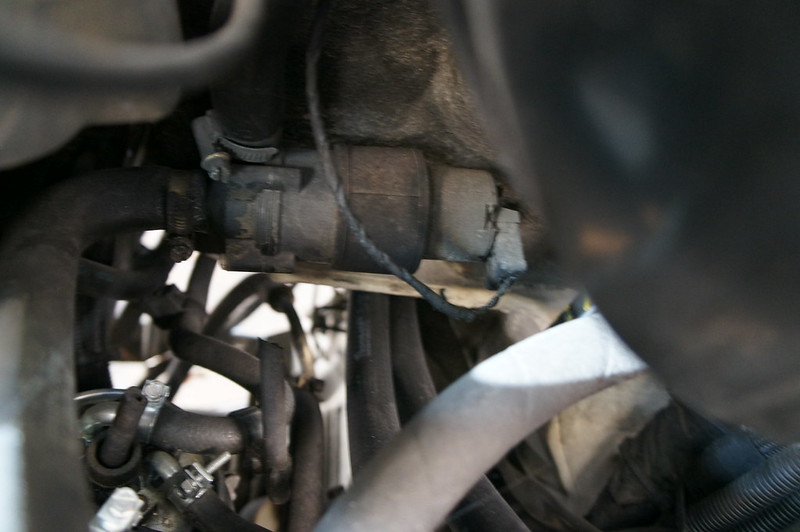
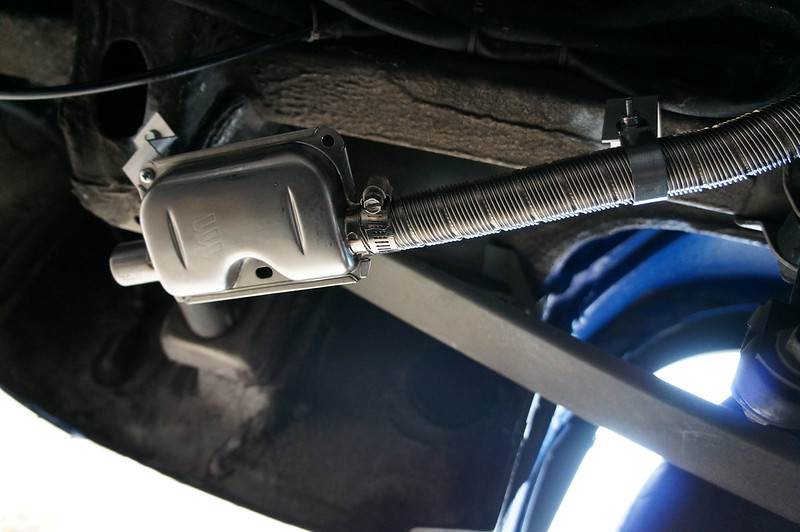
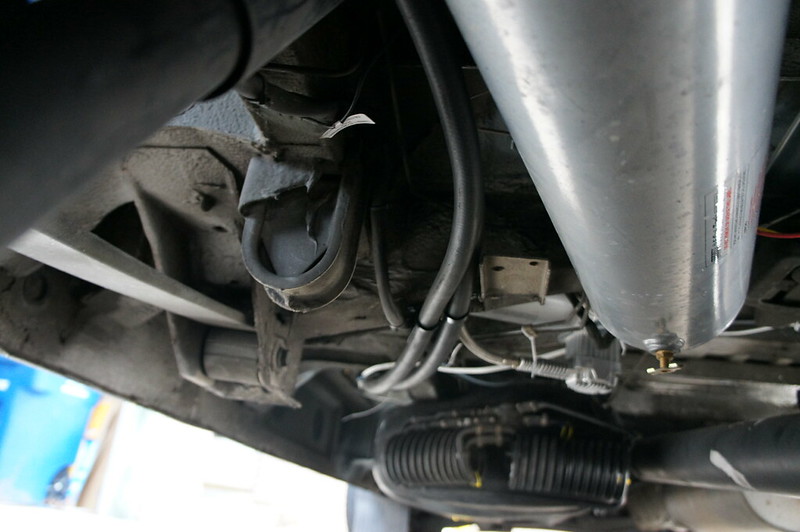
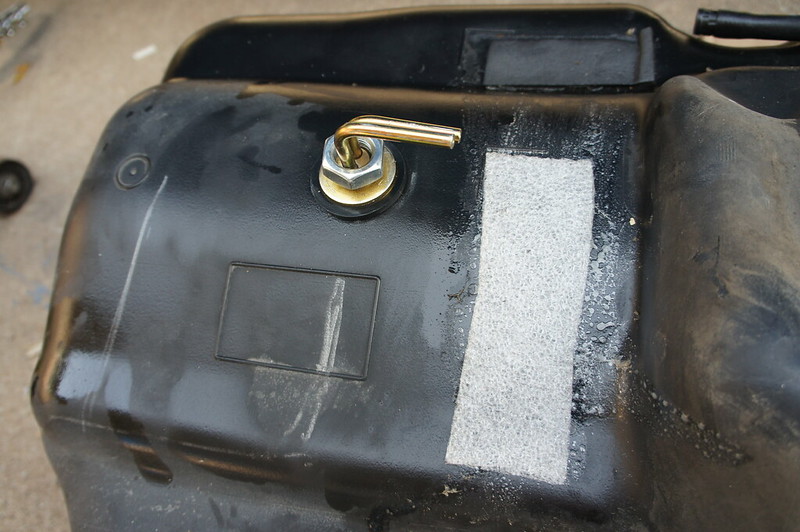
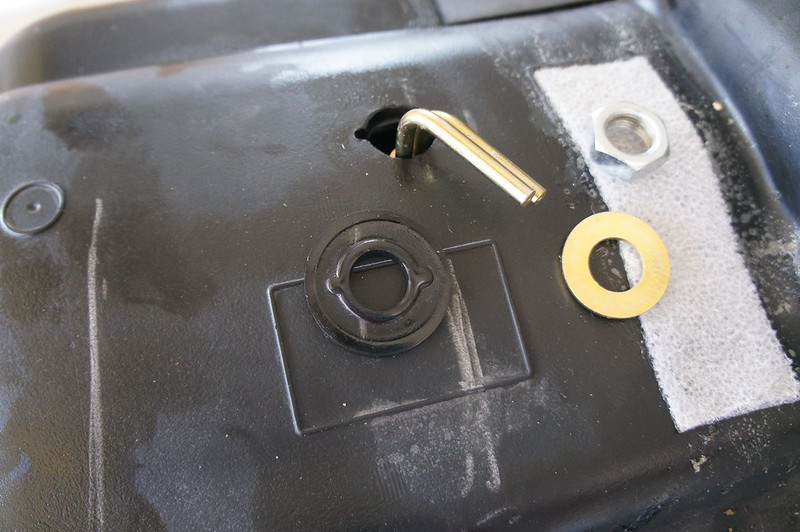
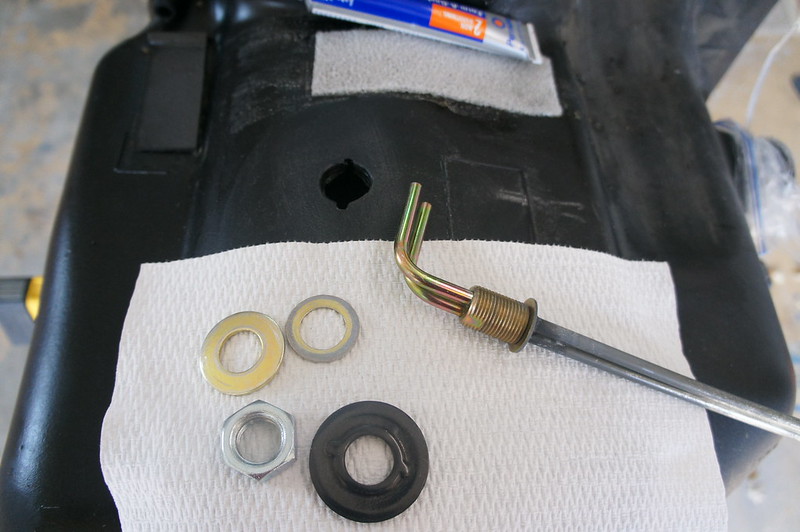
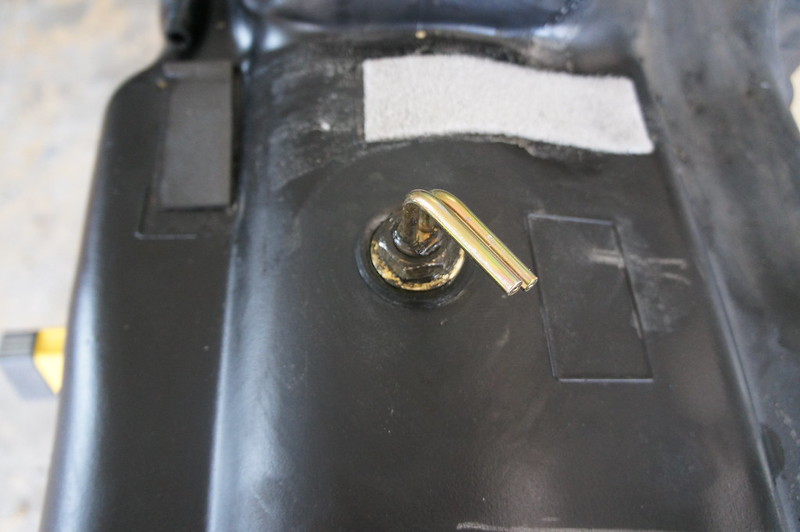
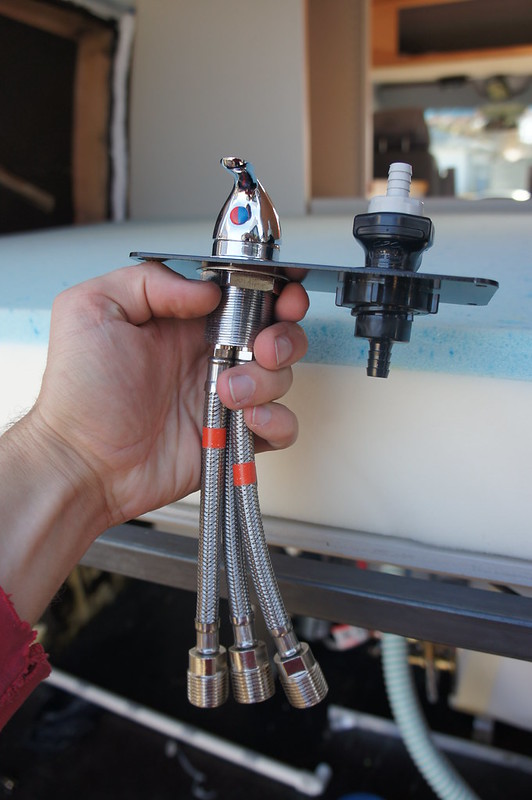
Edit: I checked the Espar Fuel Pickup today. NO LEAKS!!!!

Monday, January 18, 2016

Winter Update #4


All the coolant lines for the Hydronic/Isotemp loop are completed. I am using this heater bypass valve. It is vacuum actuated so I can use the engine vacuum supply to control it. In the normal position both loops are isolated. When actuated the valve connects the espar D5/isotemp loop to the engine. This allows the engine to heat the water tank, or the espar D5 to heat the engine.


http://amzn.to/1OeATnf


Here are the hose clamps I used.


http://amzn.to/1OeAYr3


My stock cooling pump had almost completely worn out brushes, so I had a replacement on hand. Here is the original pump in its stock location below the brake booster.


Here you can see the two hoses I ran for the espar loop.


Here is the new bosch replacement. It uses an O-ring seal on the main case. This allowed me to split the pump body and re-clock it 180 degrees.


Here is the pump installed. I used a ¾”-5/8” coupler. The pump output now goes downward and into the espar/isotemp loop. The return from this loop continues upward and to the sprinter heater control valve. I will likely need to insulate the long hose runs to prevent reduction in cab heater output.


I took the van for a drive and no leaks that I could identify appeared. There were a few seeps on 2 connections at the heater bypass valve. I may need to change clamps if the seeps persist.


Wiring was very simple as just one wire needs connected to the EasyStart Controller, and 2 wires to the fuse panel for power. Control is via the EasyStart controllers Add-On feature. This allows the operation of a second heater of any type. Because It is connected using the diagnostic line the EasyStart can also read fault codes.


Here is the exhaust and intake routing. I am short a clamp, so the exhaust ending will have to wait for a bit.


Saturday, January 16, 2016

Winter Update #3

Most of my time has been spent working on plumbing and related goodness recently. First up is the spacer cabinet behind the bed. I opted to use the RH side of this cabinet for ware fill and shower hookups. This method does not obstruct the storage area below. It is tight clearance to fit all the hoses in here. It took a lot of head scratching to work the routing out. I used 3/8” pex tubing. For easy of fitment braided vinyl tubing could also be used. This cabinet will also be receiving 120VAC and 12VDC outlets.


Looking pretty comfortable back here.  I had to resist taking a nap in the sun...


The water filters are hooked up and I pressure tested the water system. No leaks after a 2 hours pressurized!!! I made a guard for the pressure release buttons; I will be making another for the filter bowls.


The shurflow pump is very quiet and with the mounting/hose provisions used, no noticeable vibration or pulsing is present in the lines. I filled the water tank to ¼ no leaks, and the gauge works.

Due to the chance of freezing I purged the system. This is done by opening the dump valve on the water heater and letting the pump run. Because the pump is a diaphragm type it will pump air into the lines. I then opening the faucet/shower and allowed the remaining water to clear. At this point I removed and dumped the filter bowls.

Some of the coolant lines for the Hydronic D5/water heater/engine loop are run.  Soon I will be able to heat water from the engine or the D5, and also preheat the engine if desired.


Thursday, January 14, 2016

Winter Update #2

The filters and housing arrived. These should take care of particulate and odor causing contamination.


I dropped the fuel tank (again) to fix the leak at the Espar pickup tube. I should have have used a sealant (despite the instructions not requiring one).


Upon inspection the leak appears to have been through the threads on the pickup body. The rubber washer does not fully seal this area.


So I disassembled, cleaned, and applied permatex #2 sealant to all the affected surfaces and to the threads. Hopefully this is the end of leaks from here.


The bench seat latch is installed.


Here is the rear shower assembly. It is pretty compact, but still requires substantial room for the plumbing. Note the drip-less quick disconnect.


The filler/cabinet aft of the bed is partially assembled.


I made and mounted the shore power outlet box. I was originally considering a 15A connection. I only wanted to do this once, so I opted for 30A service. There are some very nice marine style plugs that don’t require twist to lock. I would suggest checking them out if you are in the market.