Wednesday, March 30, 2016

Spring Update #11 Nostalgia!

I have been slowly uploading photos of our last roadtrip to my Flickr account.


Take a look here for hundreds of full resolution photos.

https://www.flickr.com/photos/129334372@N04/albums


For those who don't have the time, I have selected a few for your enjoyment.  Here is a bit of Vanagon Westy nostalgia for everyone.


DSC03969

DSC03468
__________________

Monday, March 28, 2016

Spring Update #10


I have no time for creative post titles. So get used to boring numbered posts for the next couple of months. So much work and so little time!

Here is where I mounted the ground lights I made earlier. Relieving oneself in the pitch blackness of a night at a remote campsite can be a challenge. A bit of indirect lighting makes avoiding the rocks much more pleasant without spoiling your night vision. They are mostly hidden except at great distance or low angles.


Here is the bracket for mounting the spin-on fuel filter assembly I made a few weeks ago. It mounts the driver’s side fender wall about 12” forward of the fuel tank. Clearance is good at about 18-20”. The filters are 5” or so above the lowest part of the fuel tank. The subframe assembly also provides substantial bash protection. I could have mounted the filters higher, but the D5/isotemp coolant lines are directly above the filter which drops it down about 3”


Here is is installed.  Hopefully this will eliminate some of my fuel quality concerns.  


As a plus, filter changes take only a few minutes, with much less cursing. I started the van up earlier, and no leaks on the first try.
 

Saturday, March 19, 2016

Spring Update #9 - Miscellanea

At this point we have no less than 10 van projects in work. Our garage is a jumbled mess. I am starting to get silent judging stares from Jen. Sooo... It's time to finish some of these items...  I am lucky if I can spend an hour or two on a single project, before having to switch gears on something completely unrelated that needs to happen first.  Order of operations or something like that.


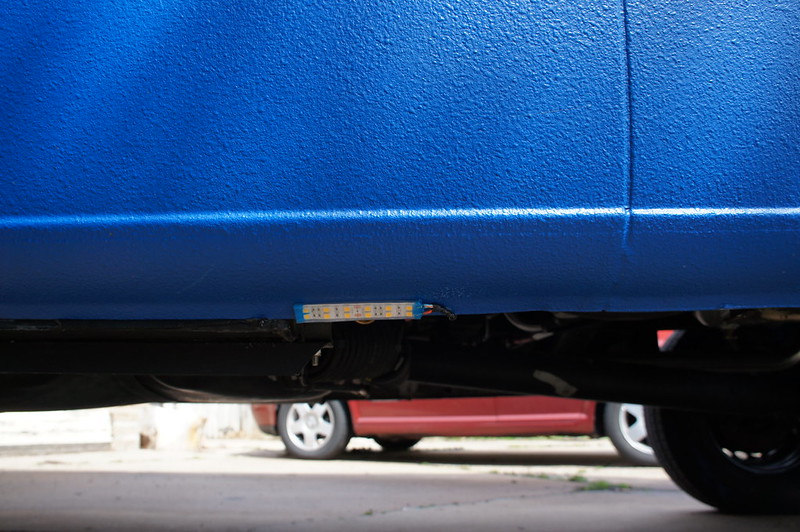
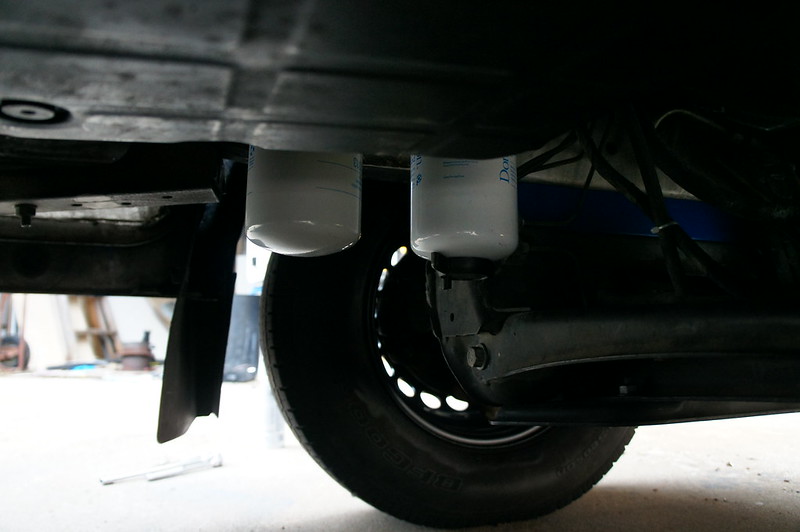
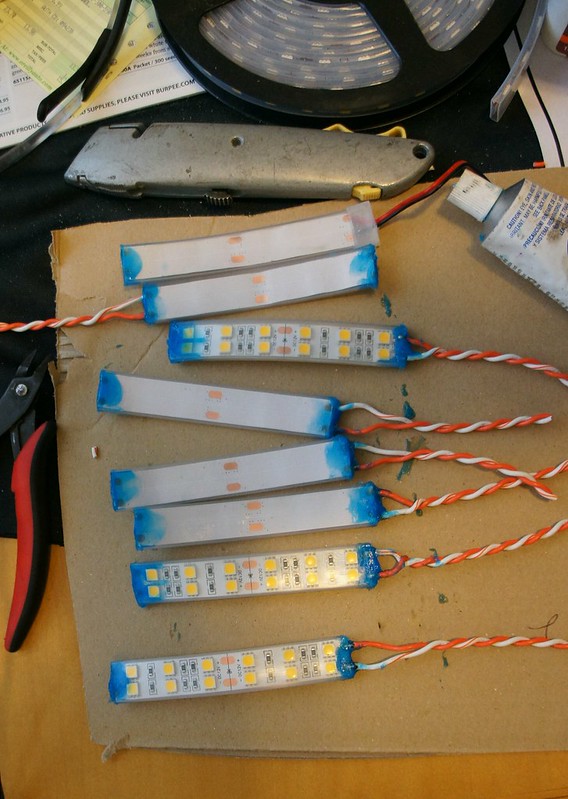
I made up some waterproof mini LED light strips. I am thinking a few under the van for indirect nighttime lighting. A couple under the bed and in the cabinets as well will make digging for items much more pleasant. I sealed the ends of the silicon casing with some automotive gasket maker I had lying around. It bonded to the silicone surprisingly well.


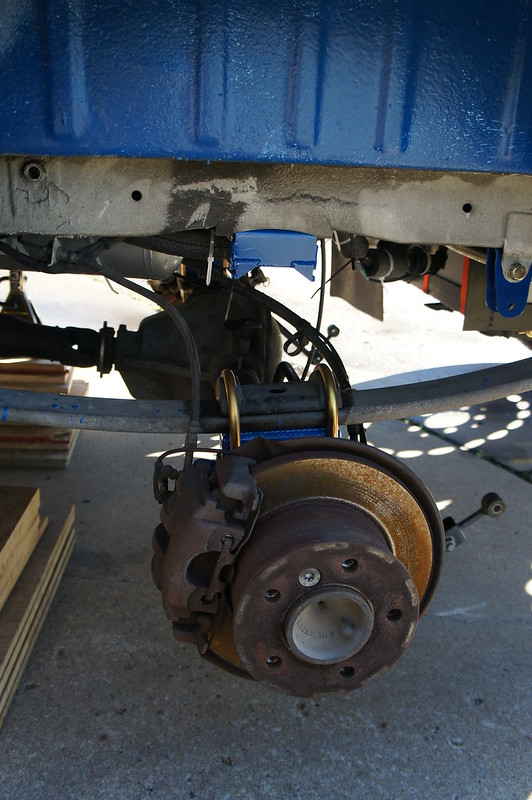
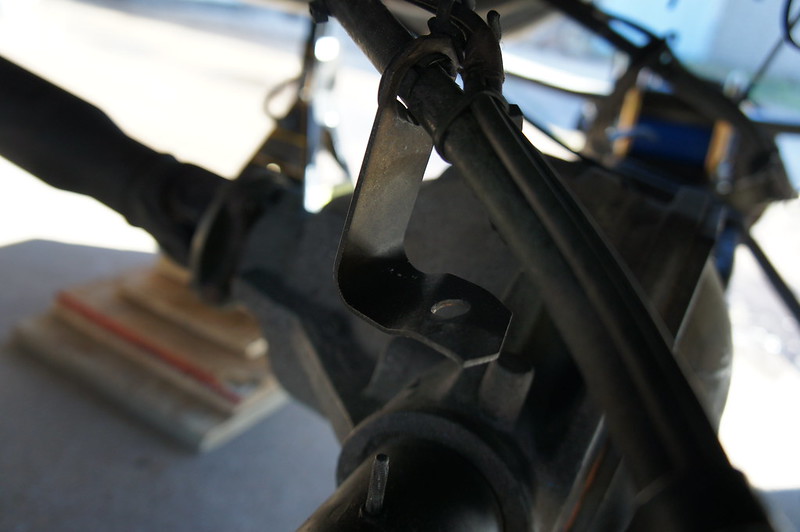
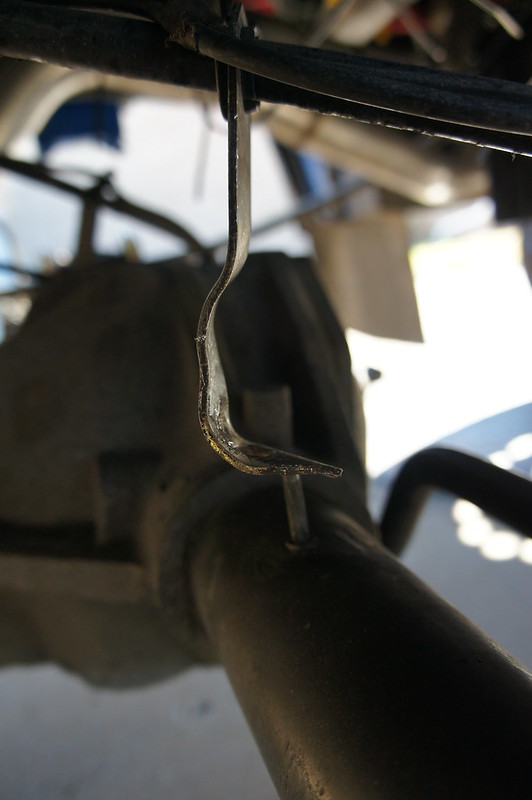
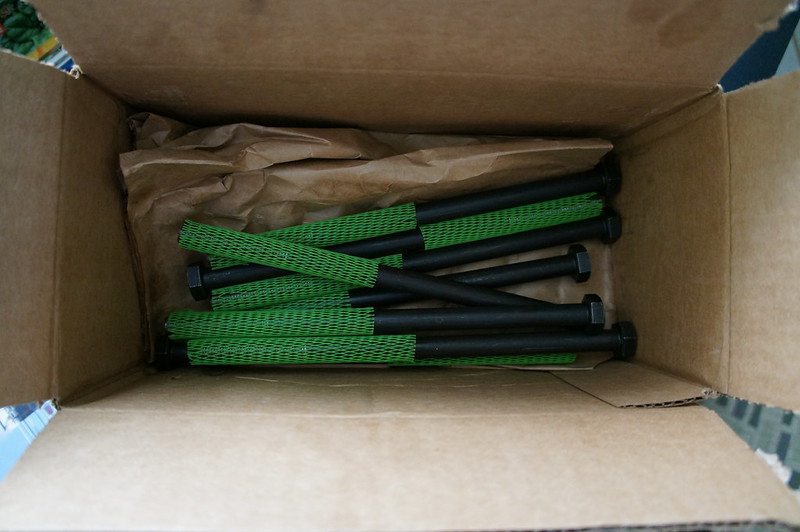
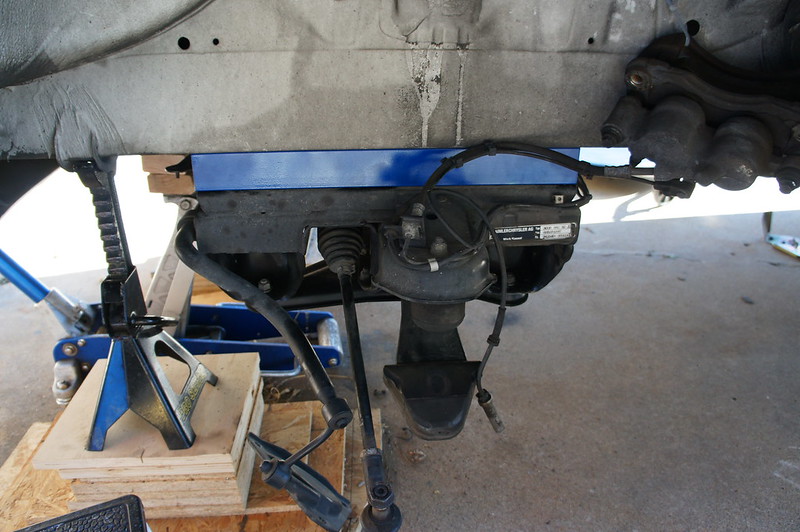
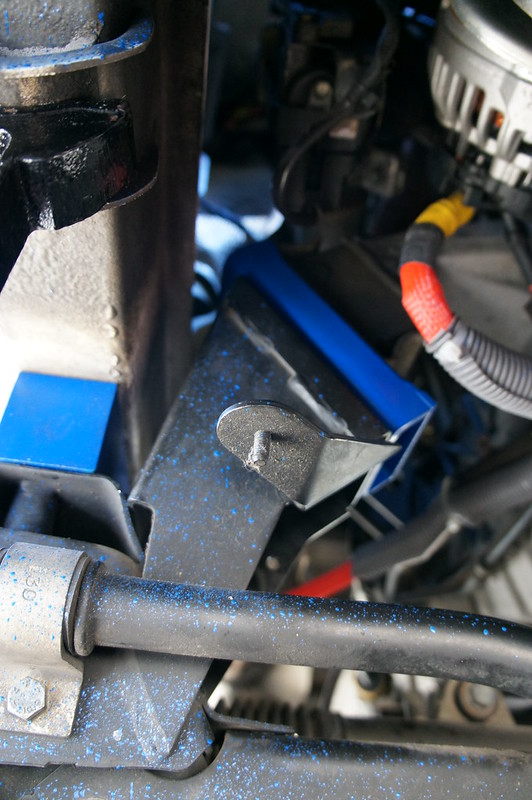
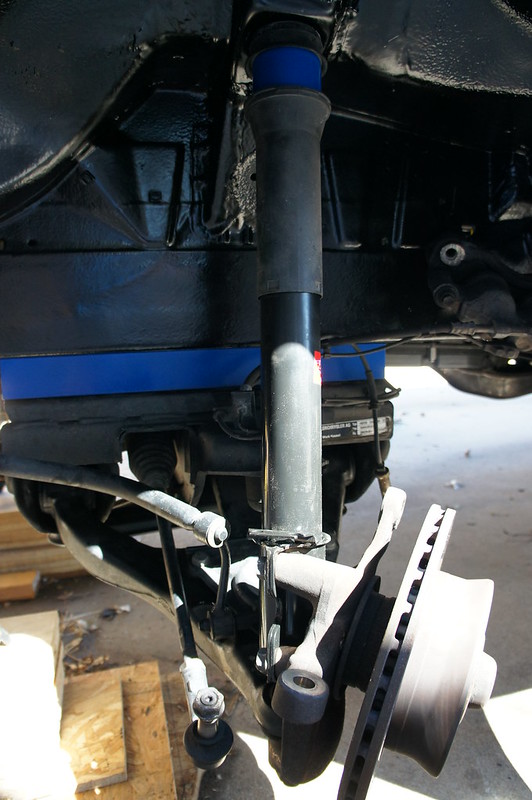
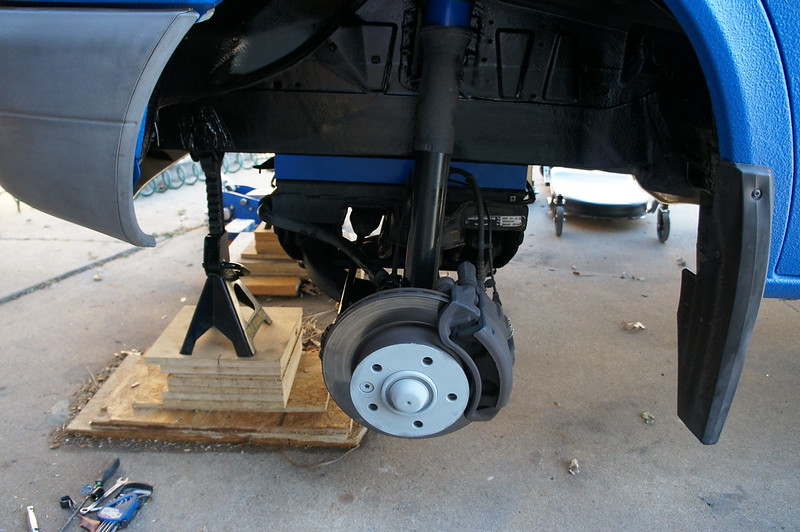
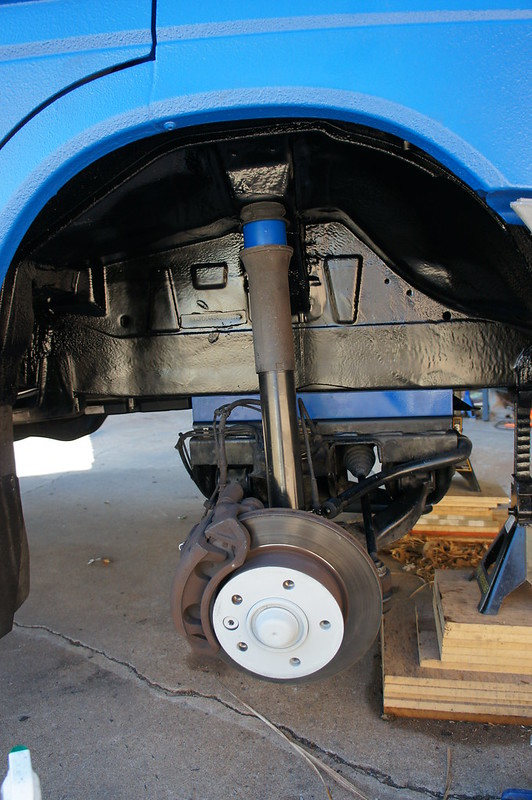
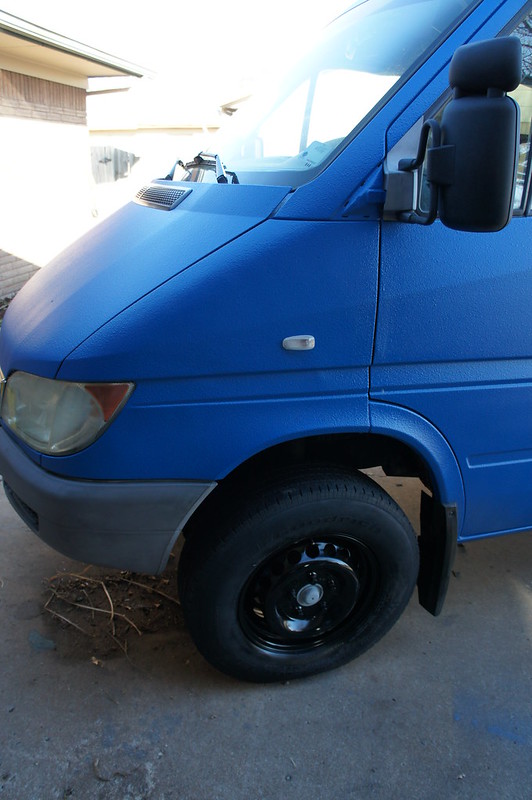
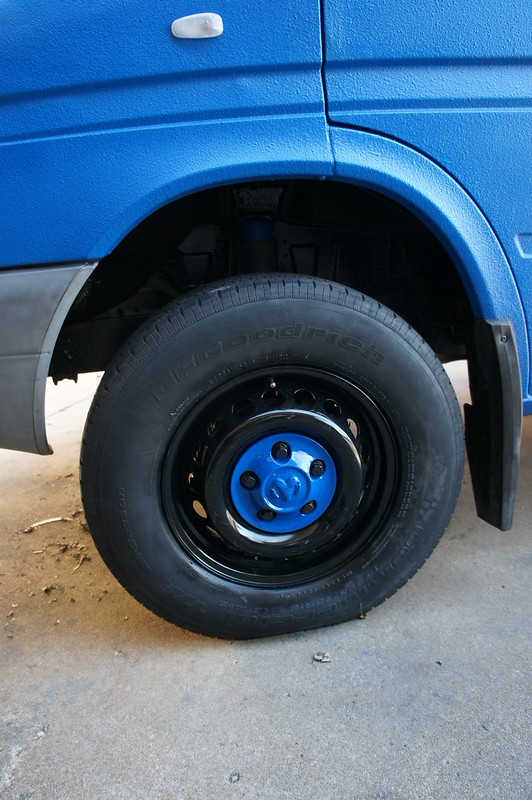
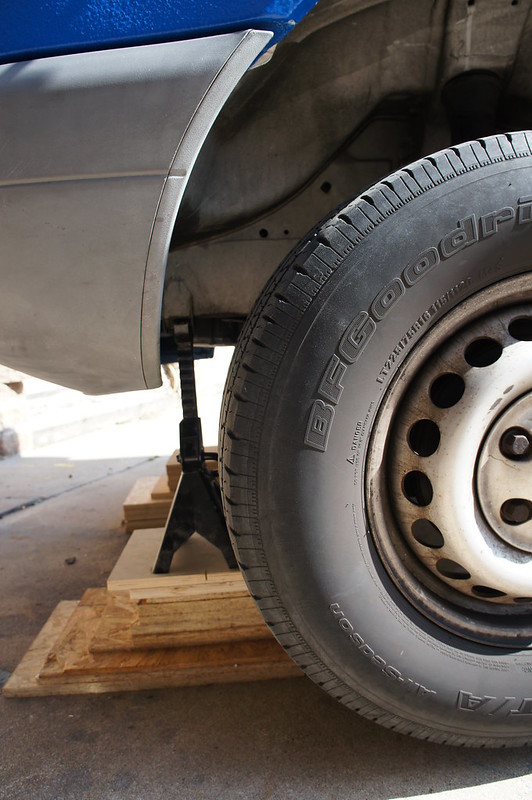
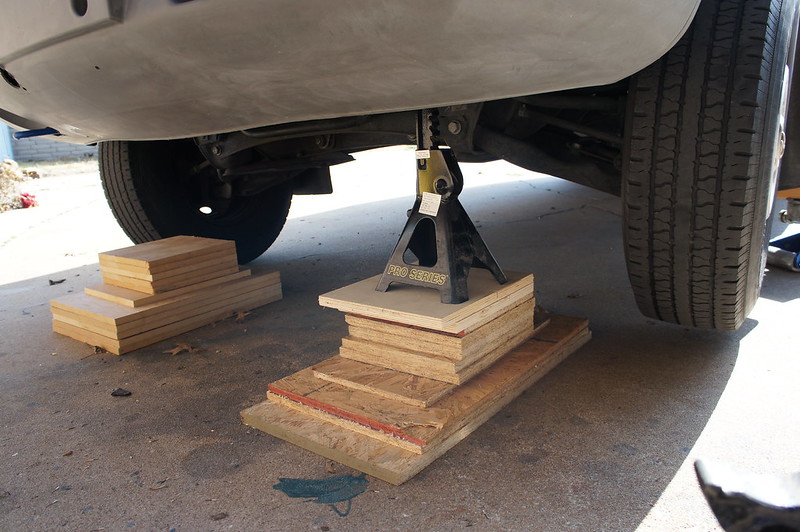
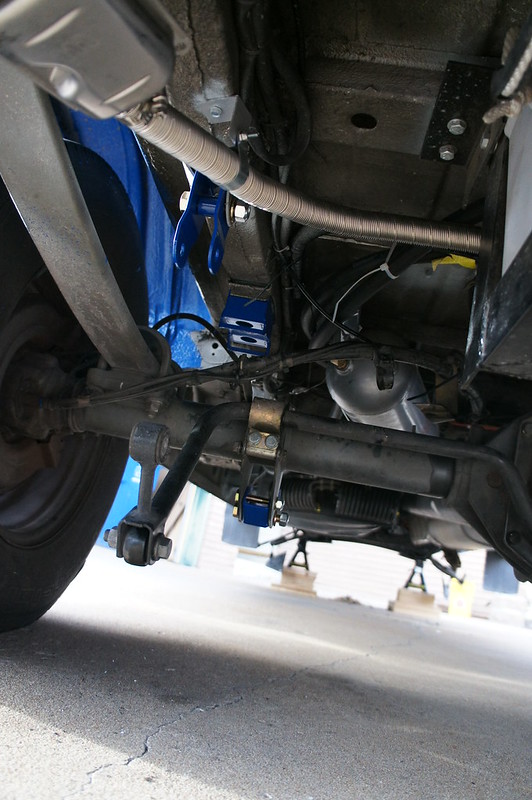
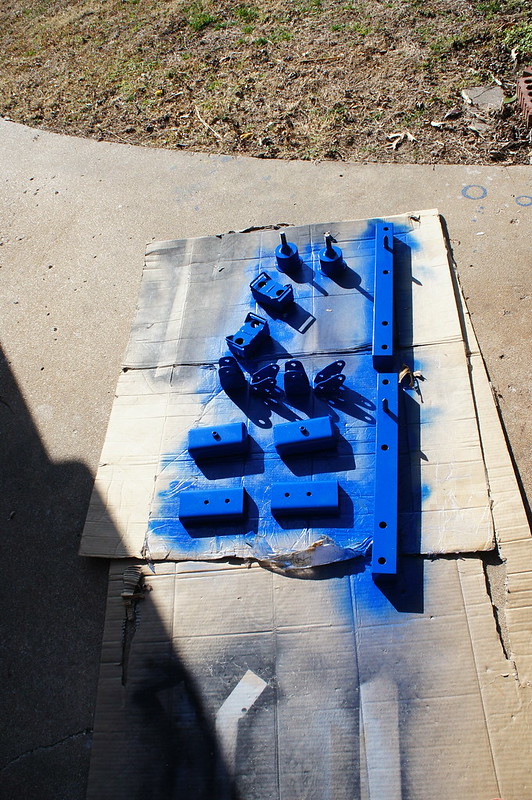
I tackled installing the camber shims this morning. Took about an hour per side. Use Loctite on the bolts.


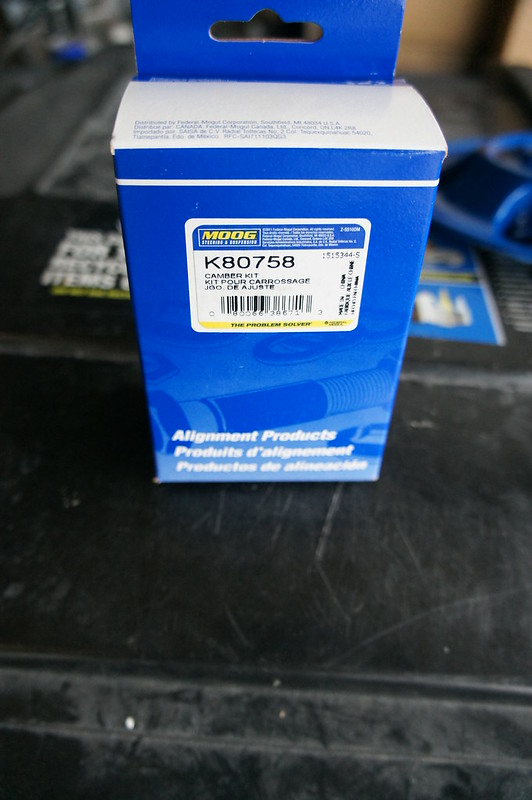
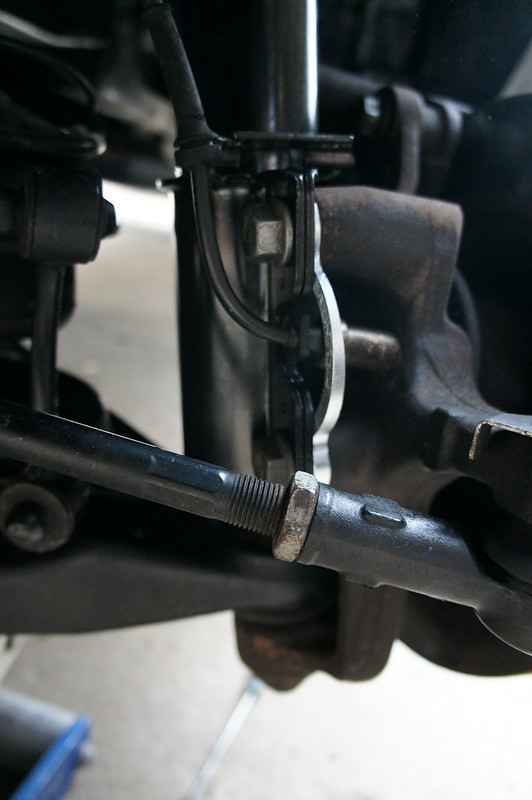
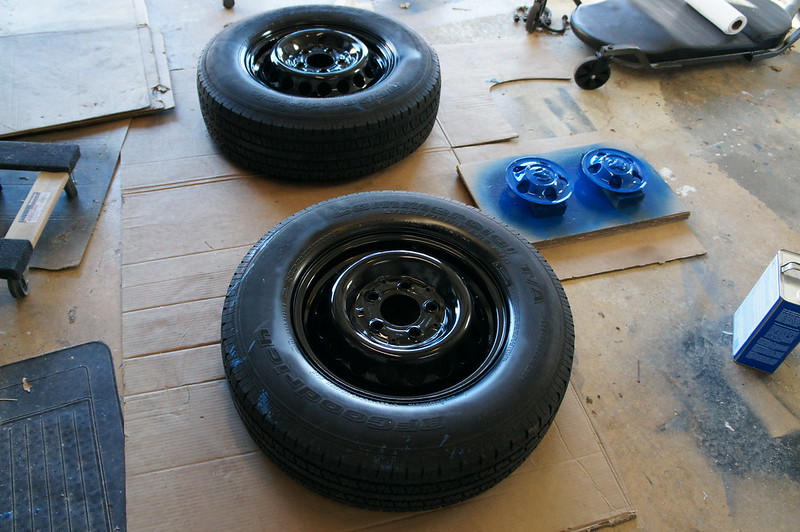
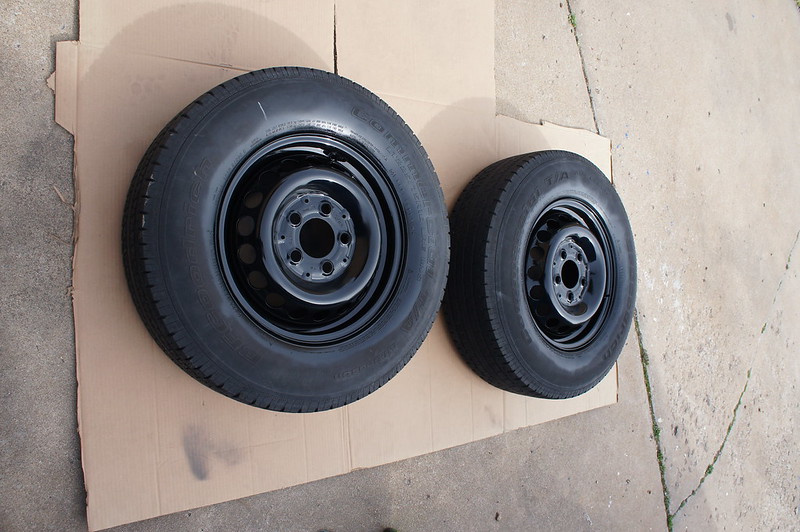
Prior to the shims the camber was positive ~2.5 degrees. After it was 0.5 degrees. Factory spec is plus/minus 0.75 degrees. The van probably doesn’t need an alignment at this point, but I will do it just to be safe. New tires incoming and all.

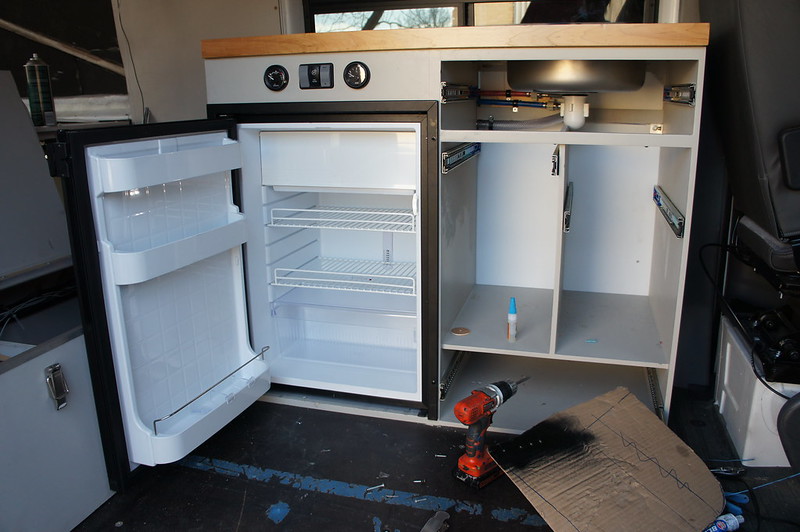
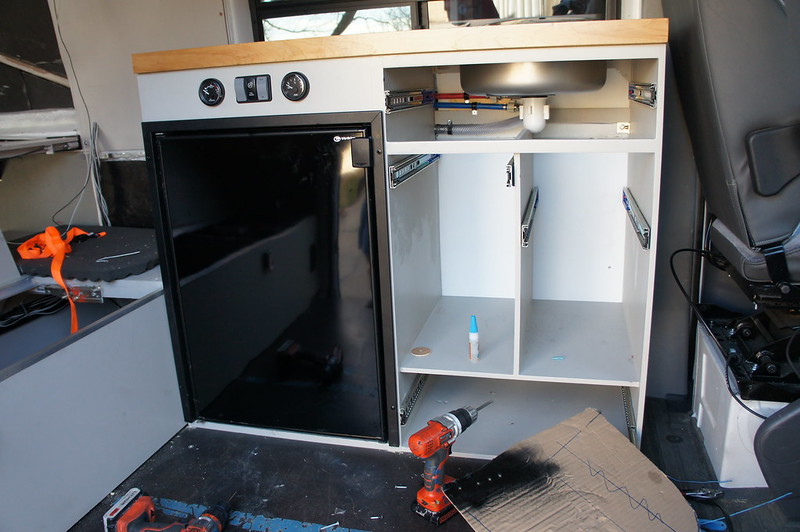
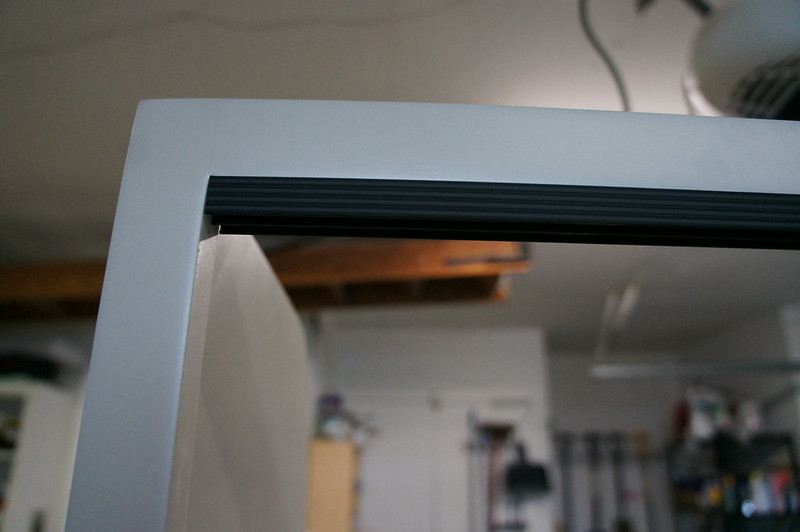
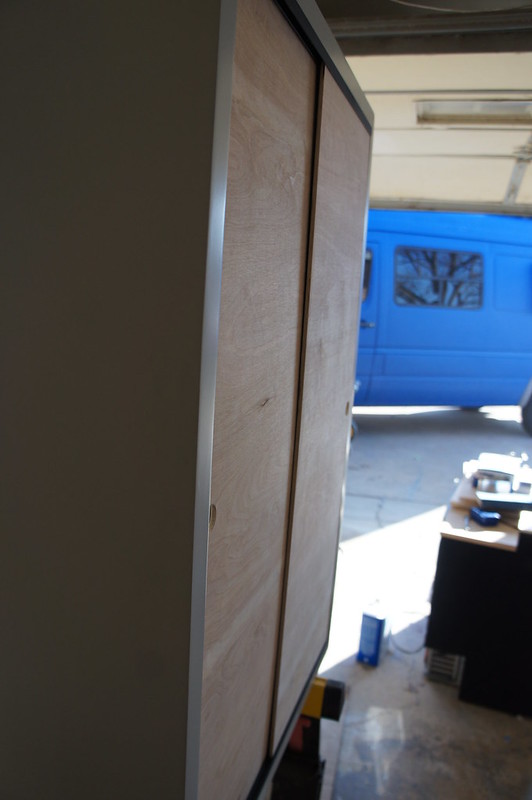
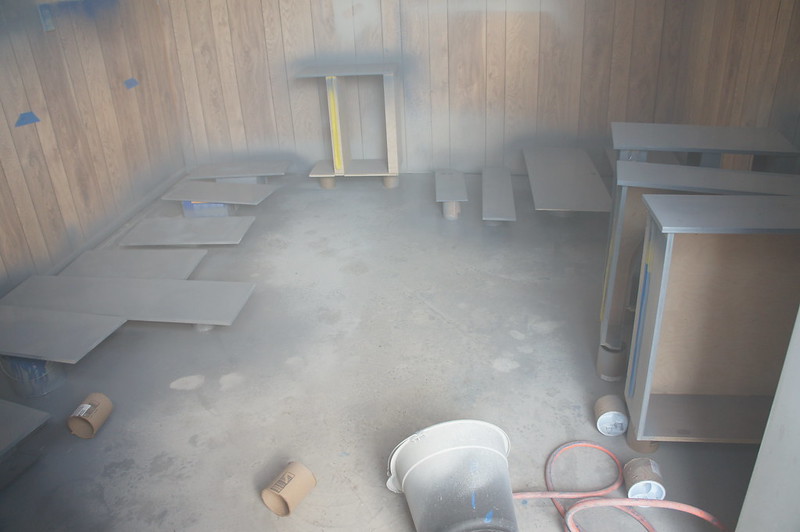
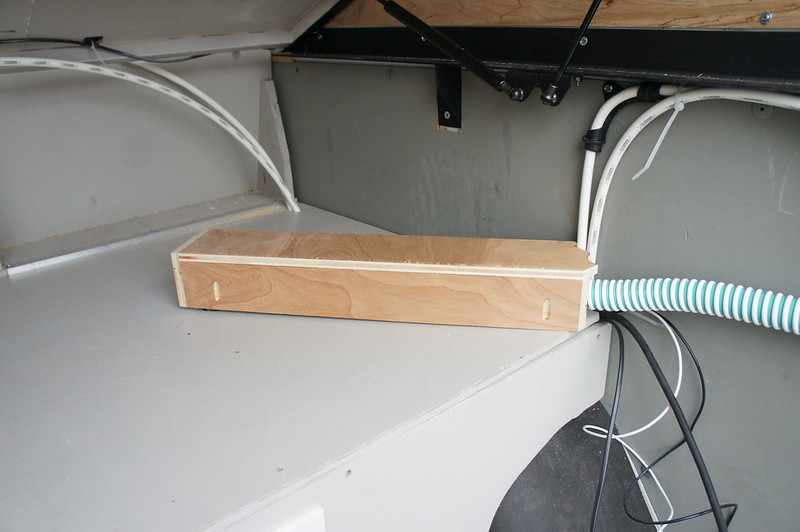
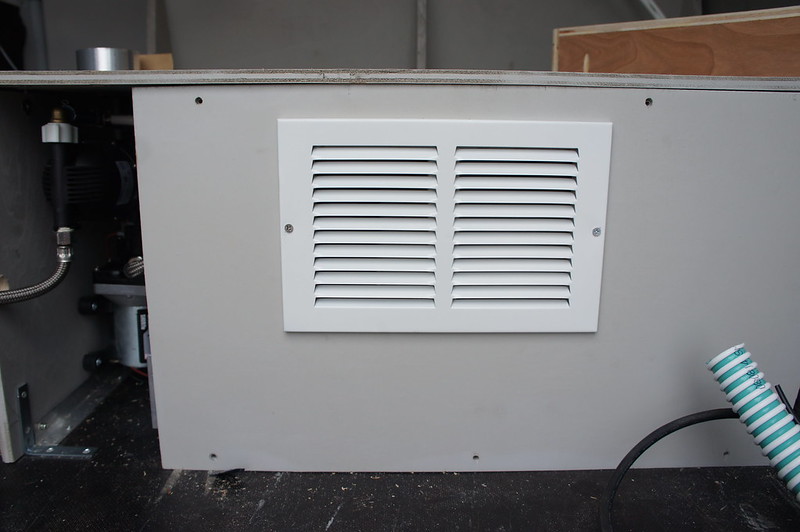
I am putting the finishing touches on the under bed enclosure. Hopefully I can close it up soon. I need to get the shower mixers hooked up for the final leak test. This requires cabinets which are still in paint. Which requires filling and sanding. Which needs....etc...  Still lots of work left.


I am so close to wrapping up all the major mechanical systems that I can taste it.  

Wednesday, March 16, 2016

Spring Update #8 - The Home Stretch

The rear end is back on the ground. Had a bit of a delay due to the rear brake discs. They were at the wear limit, and needed replaced. Only 2mm of wear allowance!  Suprisingly the local Oreilly distribution center had 2 in stock.  Germans seem to think 60k  miles is good for brakes.  A bit short in my opinion.


The instructions with the kit have you re-attached the parking brake cable in its original location. I did not like the way the cable was curved and the tension. So I re-worked the bracket to raise it about 1.5”. Another half inch of height could be attained with some spacers/washers. It is a bit tough to bend without remove it from the cable. But I was successful.


Prepping and painting the rear wheels took a few hours extra as well.


The painting on the cabinetry is coming along. Only a few items left and we can move onto covering the wall panels.  Of course a few items can take weeks...

Saturday, March 12, 2016

Spring Update #7 - The Home Stretch

Here are the replacement subframe bolts with correct pitch. I wanted to get the sprinter off the jack stands ASAP, so I opted for earlier delivery of unplated bolts. These will get several coats of corrosion resistant primer.  Metric hardware over 200mm in length is apparently difficult to source.


Here is the subframe lift spacer installed.   My back still aches thinking about all the bolt torquing.


Here is a shot of the engine mount spacer along with Monstaliner overspray.


While I had the suspension out I took the opportunity to clean and paint the wheel wells. I checked all the bushings and everything was nice and tight. At only 100k miles there really isn't much work to do.  I replaced the shock mounts just because I could.


Here is the strut spacer installed. I put some zinc primer on the hub mating surfaces.


Here are some shots on the ground. The rear lift blocks are not installed yet.  Notice the excessive positive camber.  As the suspension settles some of this will go away.  But correction shims will be needed.  I will install those myself prior to new tires and alignment.


I had a couple hours free on a Sunday afternoon. So I finished insulating the D5 coolant lines. I also ran the vacuum line for the bypass valve. This allow me to reinstall the gray water tank. Which means I can finally install the fridge!  This van is a freaking jigsaw puzzle at this point.  I really hope I don't have to disassemble it any time soon.


We are entering the home stretch, the final straightaway, (insert athletic metaphor here).  Once the cabinets are painted, we can conduct final assembly.  At that point we will most likely start getting our affairs and possessions in order for the exodus from working life.  Soon....

Tuesday, March 8, 2016

Spring Update #6

I started working on installing the front lift kit. I needed about 7” blocks under my short-ish jack stands in order to get the tires off the ground. The kit install proceeded smoothly, with no seized bolts or other discrepancies. However, the included M12x1.5x220mm bolts that secure the subframe and spacer were actually 1.75 pitch. So after exhausting any local source options I decided to put the lift on hold. The vendor is working on getting correct bolts to me. 


The shocks/struts on the van were original and still and great shape at 100k miles.  Those shock manufactures recommendations of 60k mile changes are full of it. 

I did as much of the rear lift kit install as I could without jacking the rear up. Again fit was good. I needed to tweak the sway bar attach bracket to get the spacer to fit. 


While I wait on bolts I decided to paint the rims. Black for the wheels, and blue for the hubcaps. The lift kit parts also got a coat of matching blue. A couple of coats of rattle can clear coat will add durability.


I installed some sliding doors in the vertical cabinet. We also prepped and started painting the remaining cabinetry. It will take at least a month to get them finished. I was going to install the fridge, but with the van on jack stands I will hold off for now.