
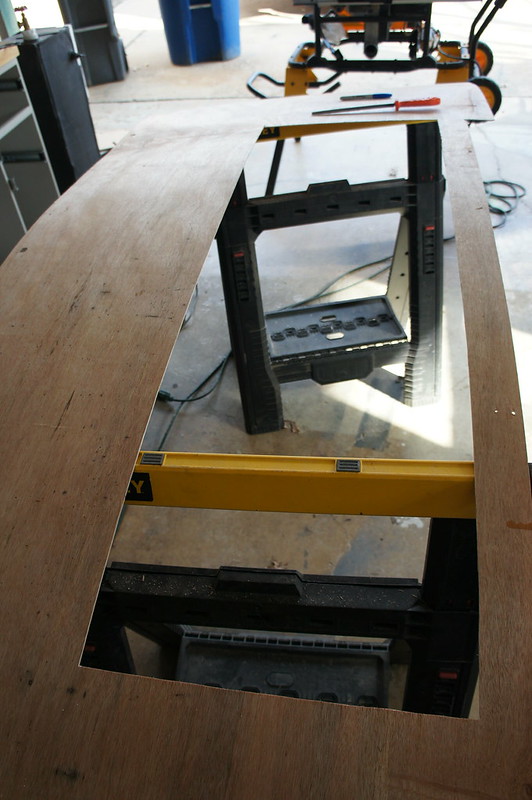
In order to allow the bed to clear the sidewall on the passenger side the panel needs a relief area. Unfortunately, I made a measuring error and the relief is not tall enough. So I will need to remake this panel.

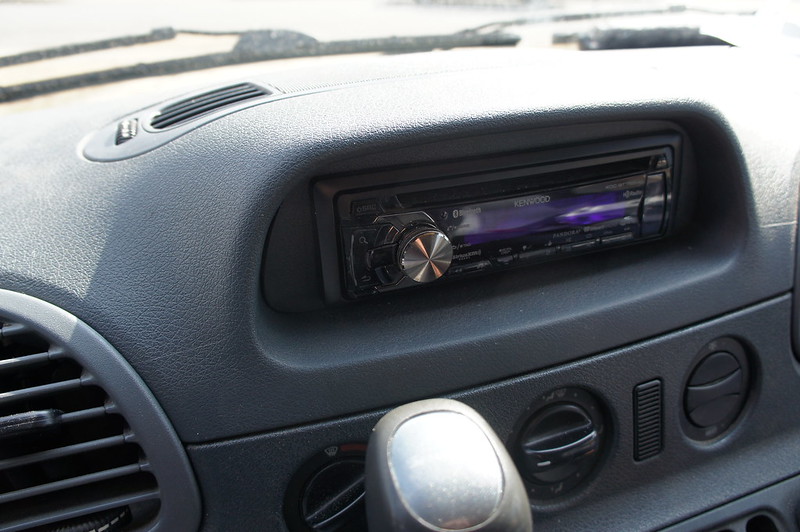
I installed a new head unit as well. This model is a few years old, as it was retained from our last van. It has HD radio, Bluetooth, and USB connectivity so it meets our needs. I ran 14 gauge wires for 4 speakers. I am not sure where the rear units will be mounted at this point. The install was fairly routine. I wired the unit for constant power so it can be used via a remote with the ignition off.
I also have the galley and fridge test fitted in the van, and the fridge running. All the wiring and fans work. I do have an issue where the fridge will not seat completely. It protrudes about 3/16”.
No comments:
Post a Comment
Note: Only a member of this blog may post a comment.