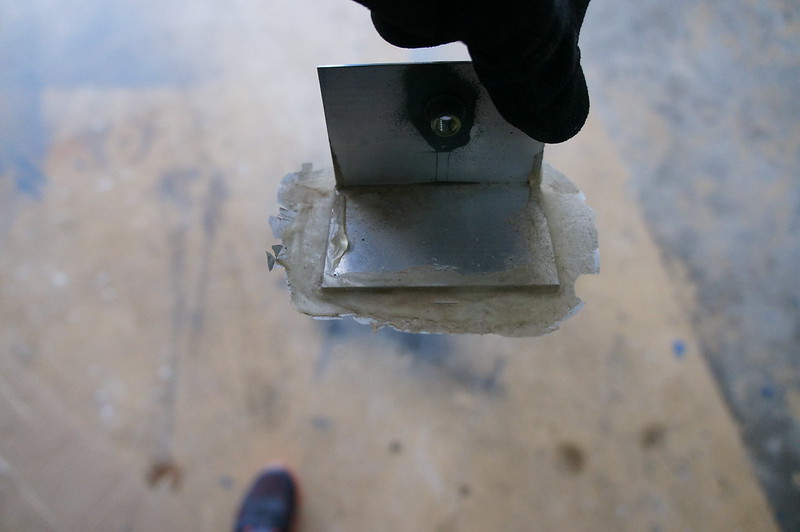
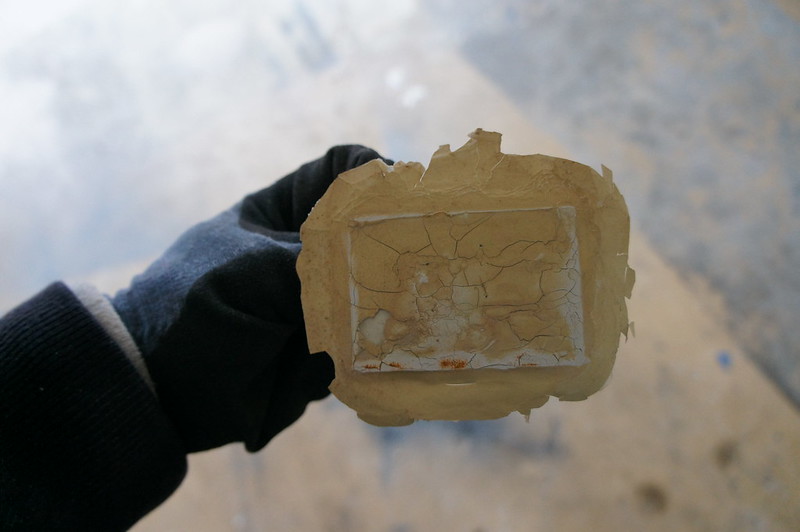
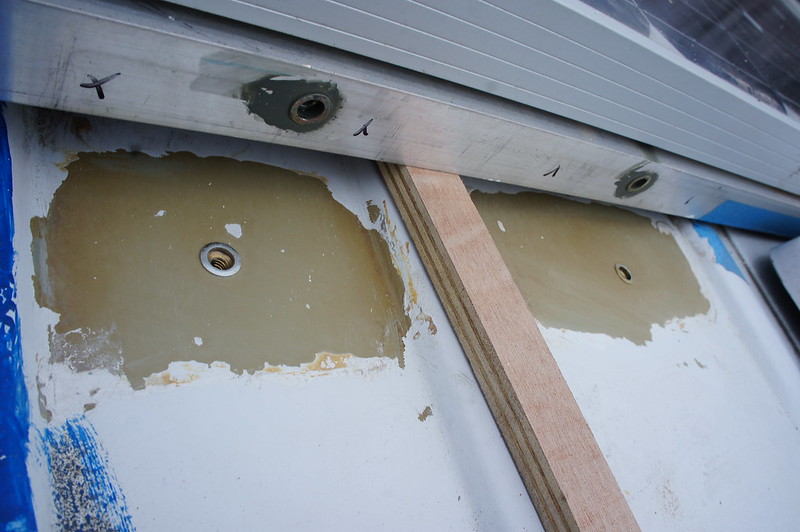
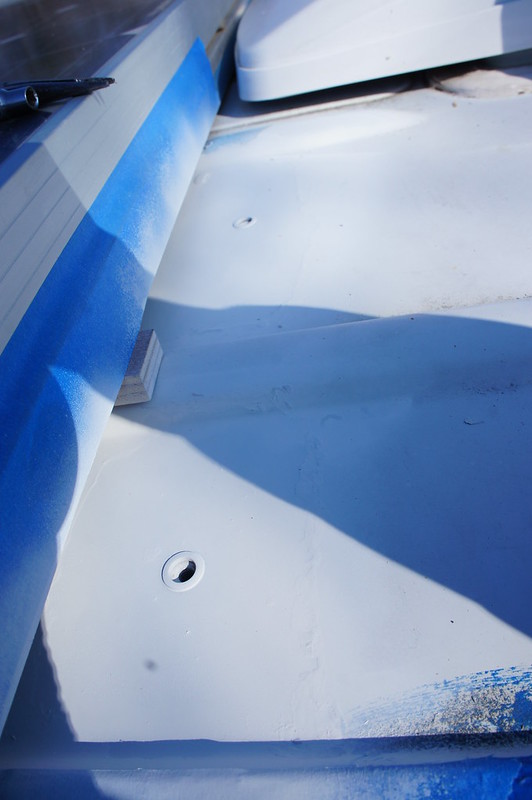
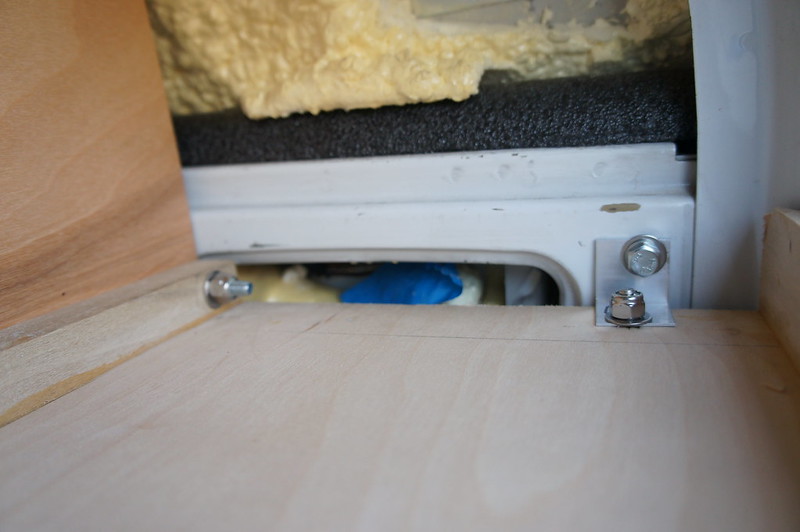
Here are where the forward brackets attach. These were attached with rigid polyurethane adhesive and #10 sheet metal screws for security. 1 of three had the paint bond fail completely. The others were showing signs off failure. The back brackets were bonded with 3M 5200 (flexible polyurethane adhesive). These brackets are 100% still attached and show no signs of failure. I prepped and painted the area and installed rivnuts. The brackets will be bonded back in with Sikaflex 252. The rivuts are directly over/inside a roof support, so this area is quite sturdy.
Given this evidence I strongly suggest that fasteners be used to attach all critical loads. Adhesives are still a great idea for extra strength, but the stock paint is the weak point.
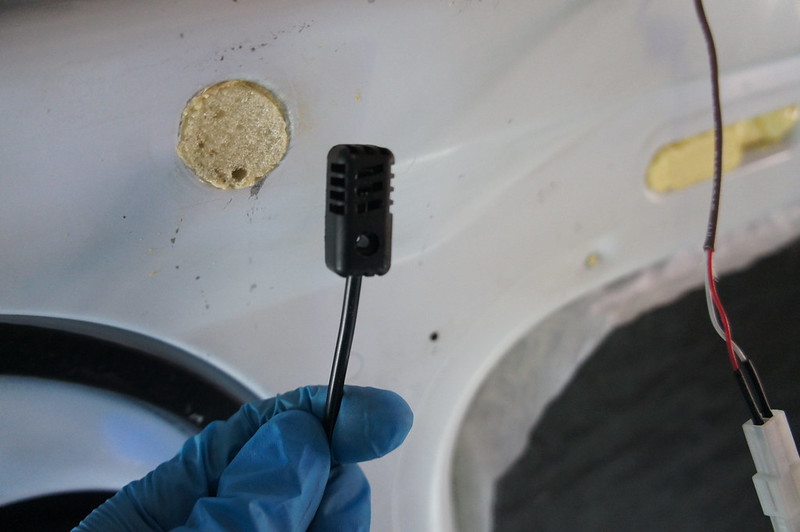
Here is the Espar external temp sensor. I will be mounting this on the driver’s side wall panel above the bed.
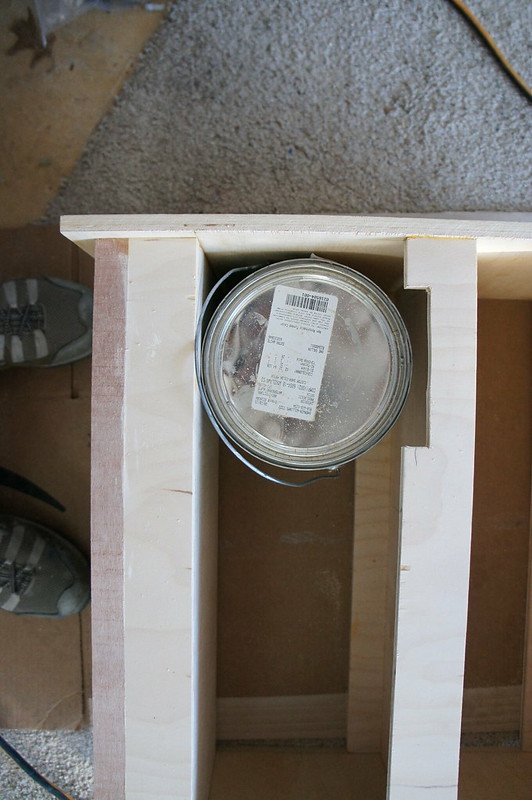
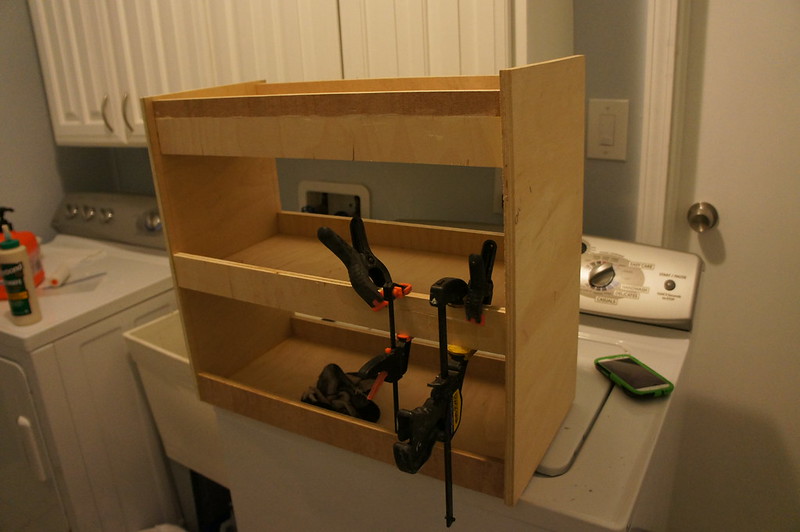
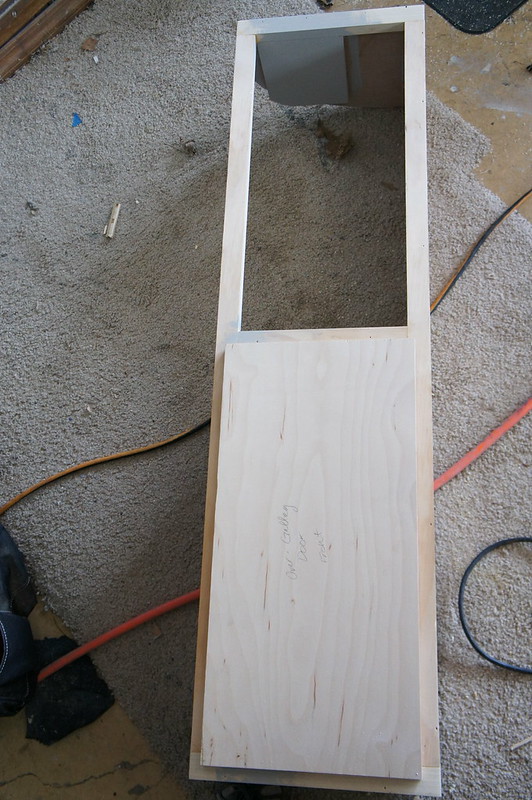
The pull-out pantry shelves are built. Had to cut a piece out to remove a paint can…
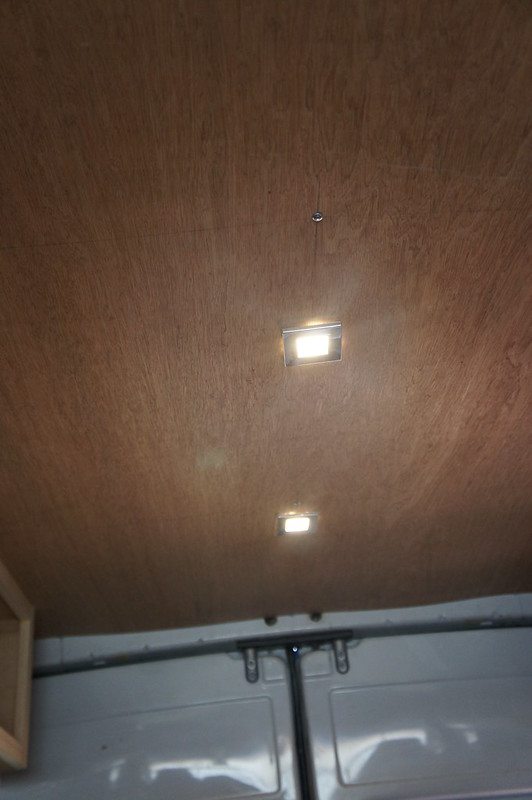
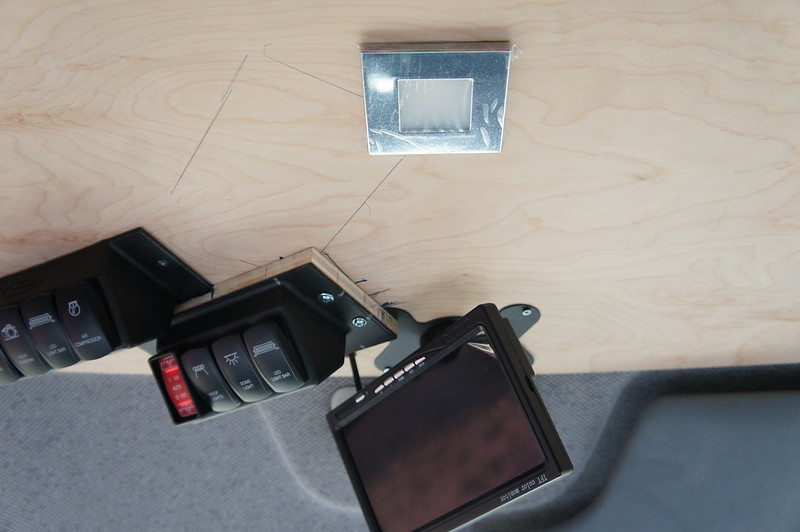
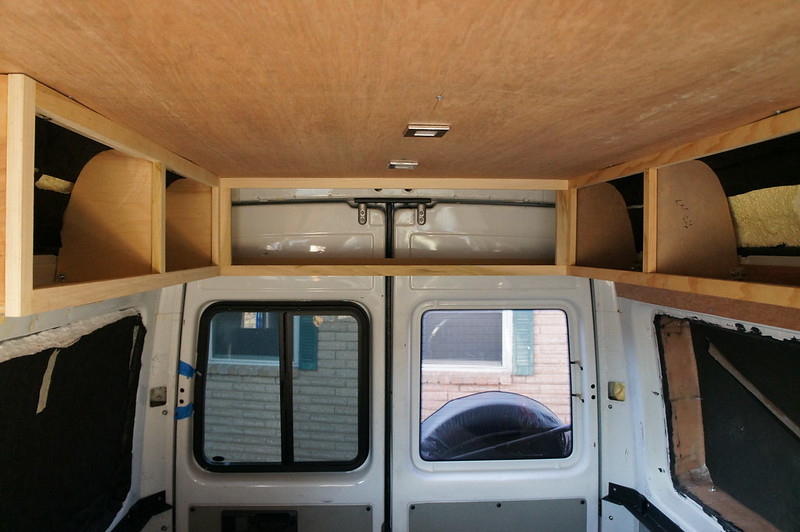
All the general lights are installed.
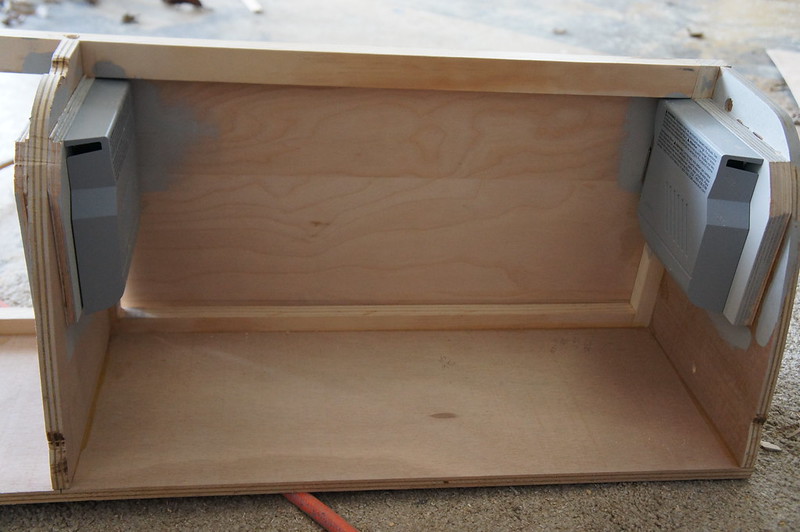
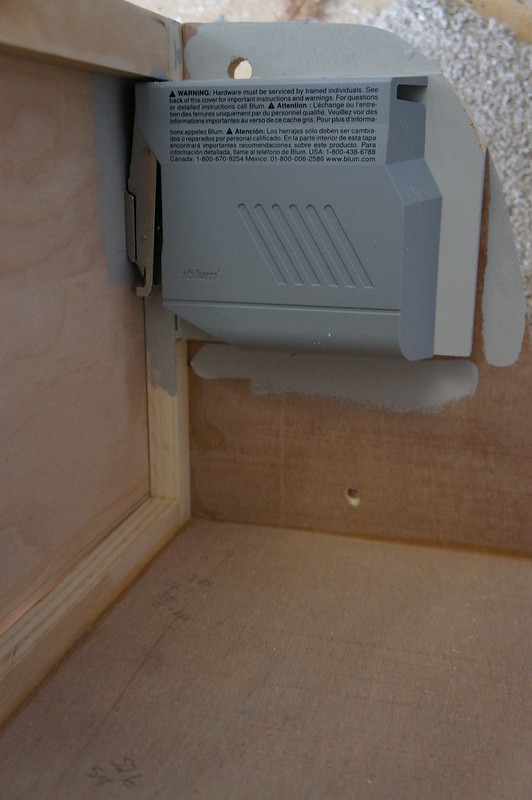
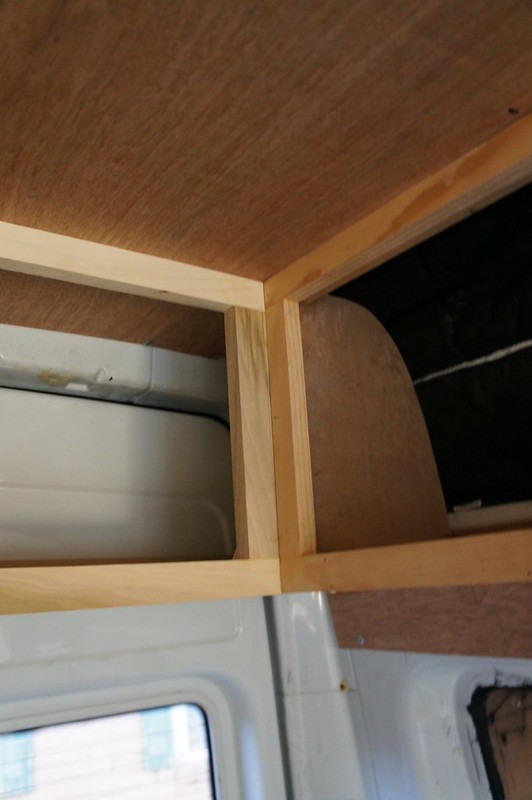
We test fitted Blum soft close overhead cabinet hinges. They are a very high quality product. Not cheap though.
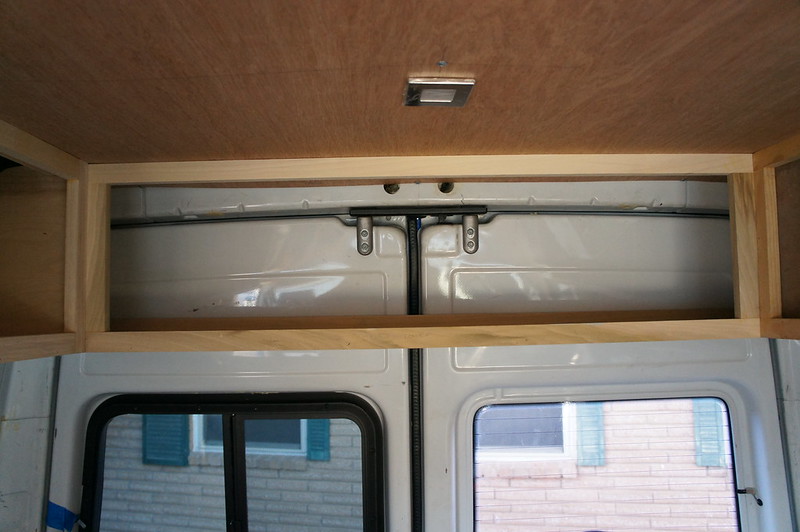
The shelf above the rear doors is also installed. There will probably be a mesh net on hooks securing gear up here.

I have the parts for a water separator and fuel filter setup on order. Given our intended travel destinations (rural areas, Central/South America) I figured it was cheap insurance. Mounting might be a challenge though.
I have harnesses and light strips made up for the exterior lighting. I will be bonding those this week as well. LIGHT UP THE NIGHT!

I love the saga of the paint can.
ReplyDeleteThanks for all the great information. I'm in the middle of a conversion right now.