Wednesday, December 2, 2015

Winter Update - Not All Plumbing Involves Cracks

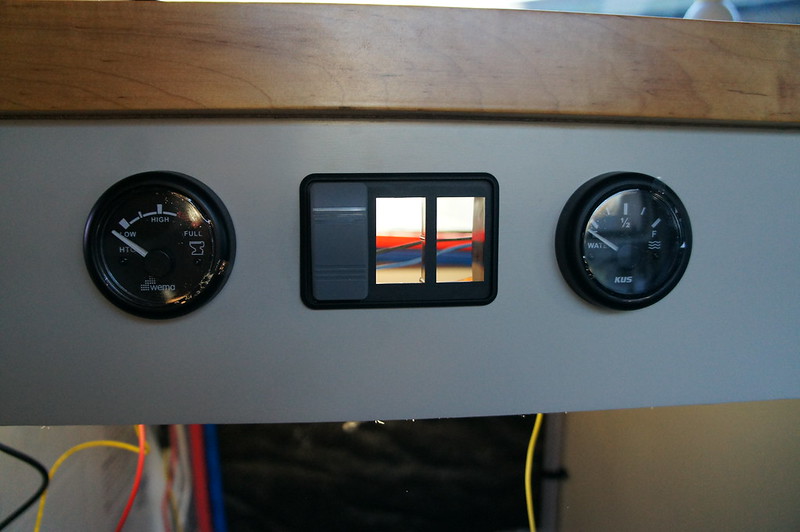
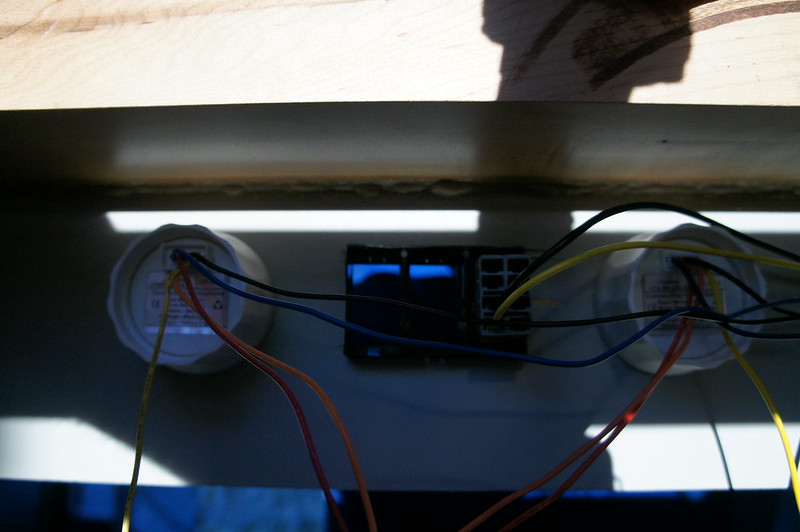
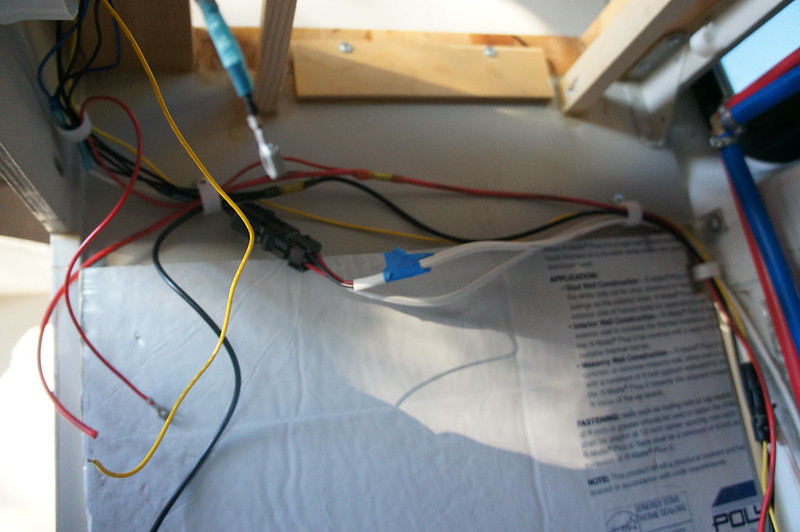
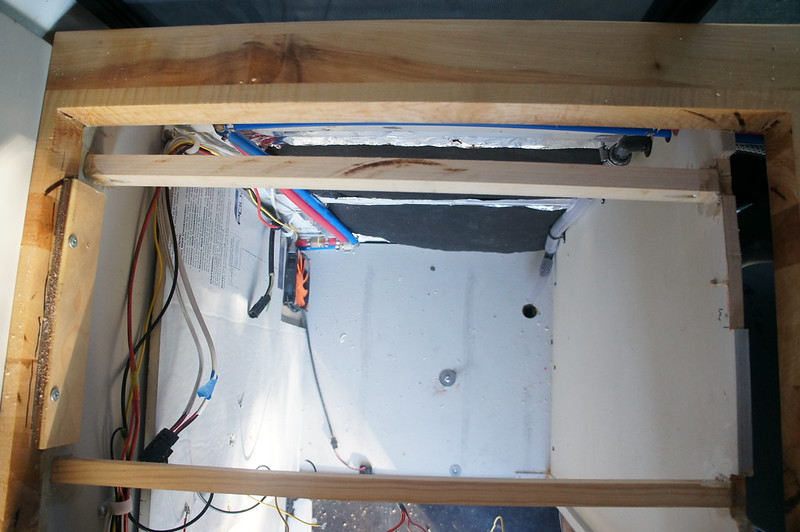
I started wiring in the galley. Because I plan on being able to remove the galley for maintenance reasons, all the wires run through weatherpack connectors (waterpoof quick disconnects).


The front of the galley will have switches for the water pump and tank gauges. I am also considering adding a switch for the galley task lighting. The aft face of the galley will also have 12V and USB power ports.

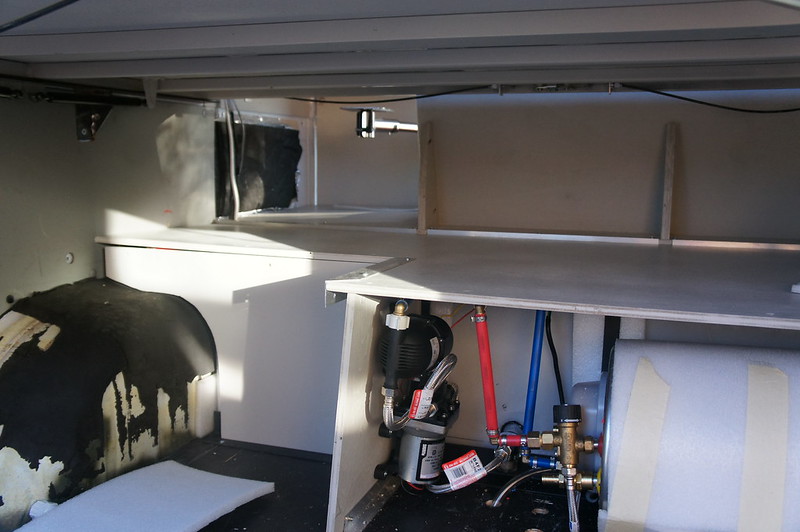
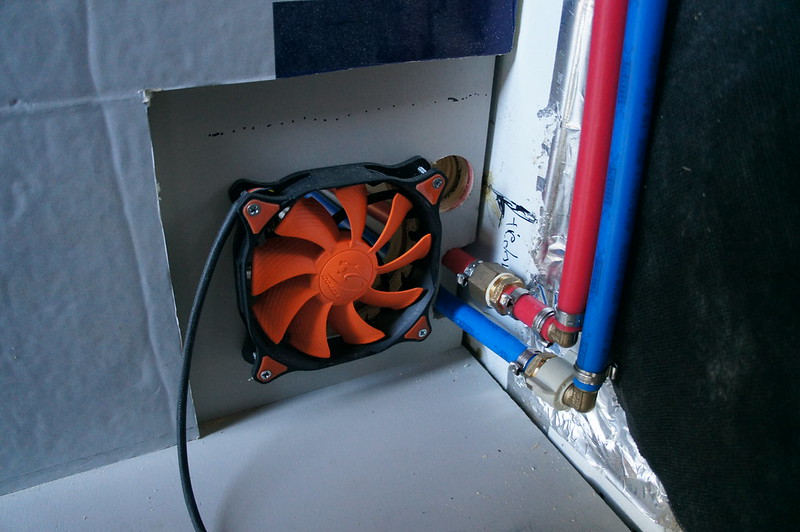
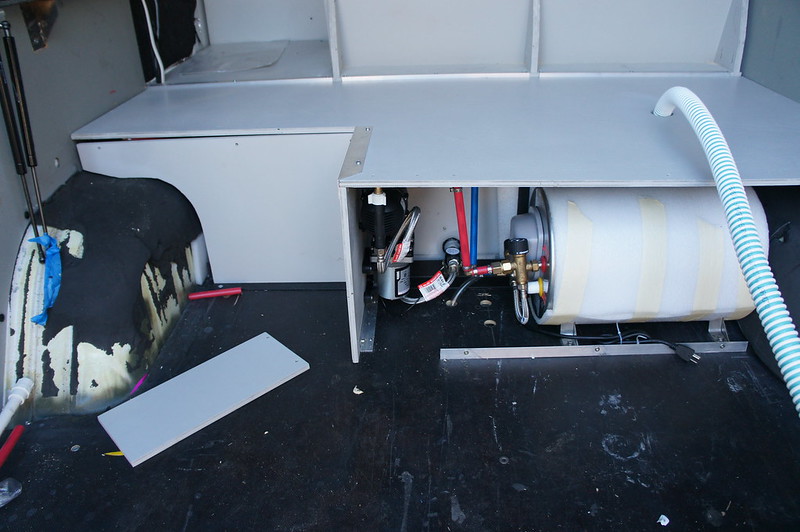
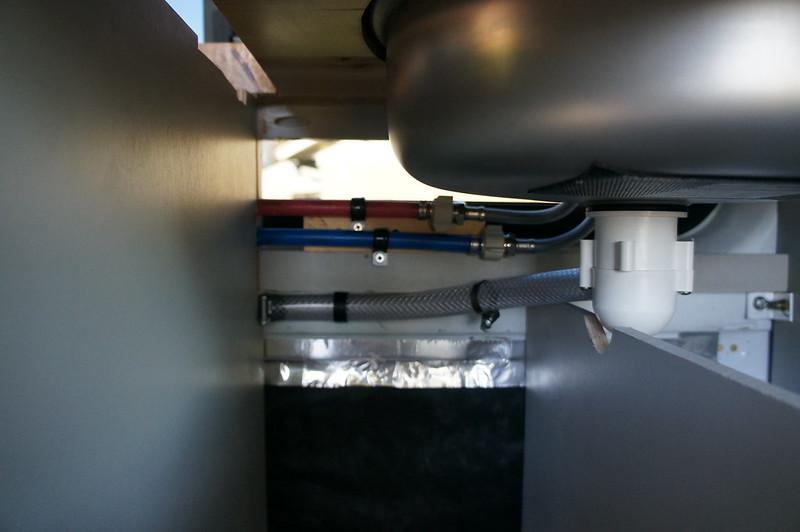
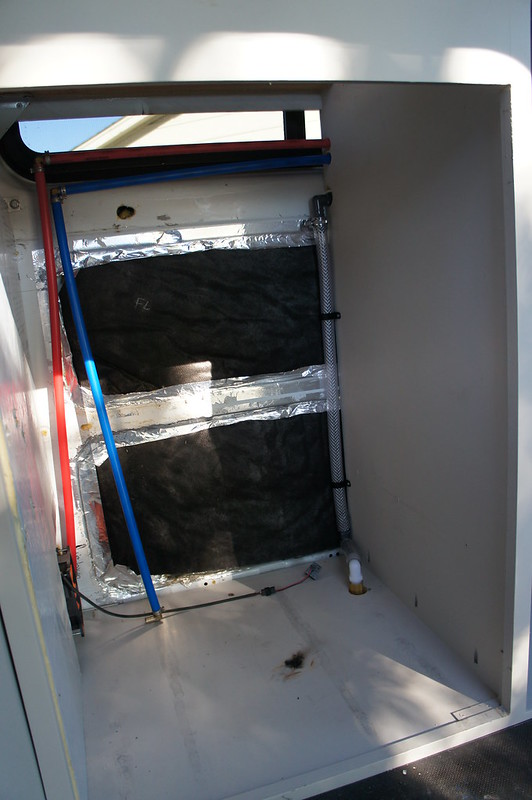
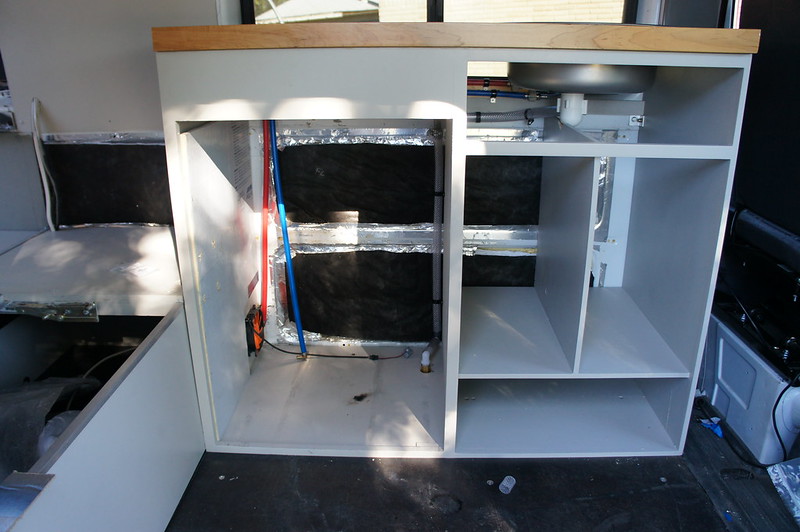
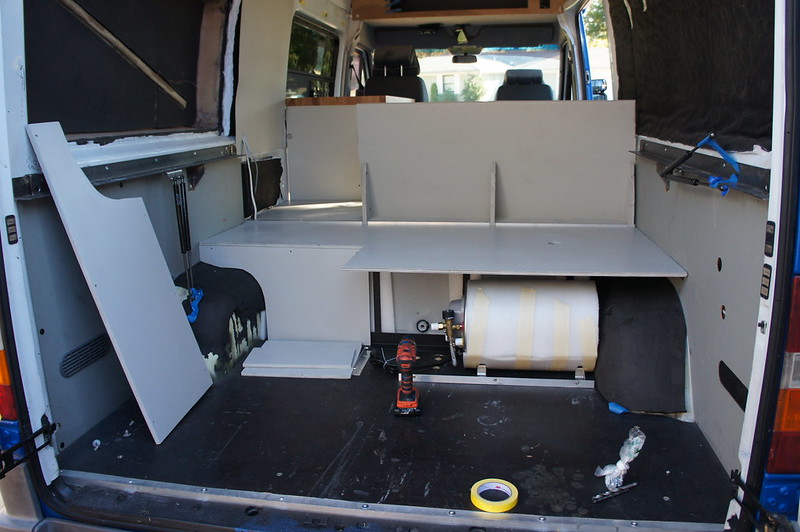
A decent chunk of the plumbing has been run.  The water pump and accumulator are mounted.


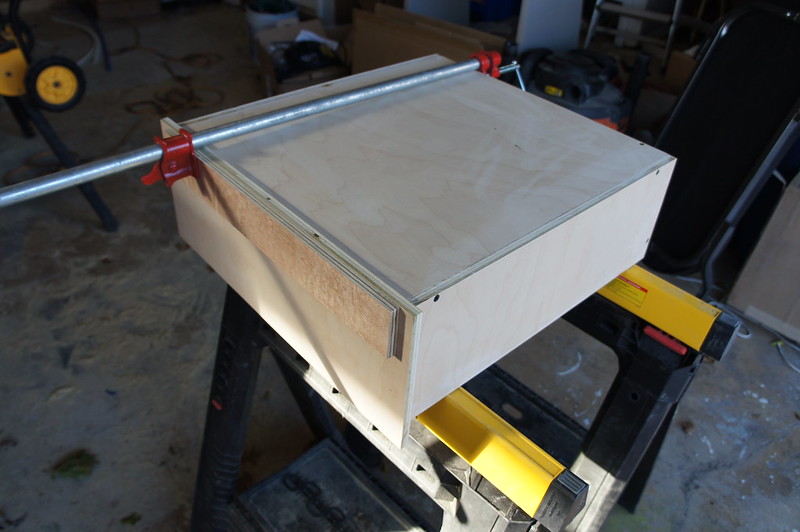
Supports for the induction cooktop have been installed as well. We also started making the two drawers for the cabinet. There will also be pull out pantry shelving in the middle of the galley.


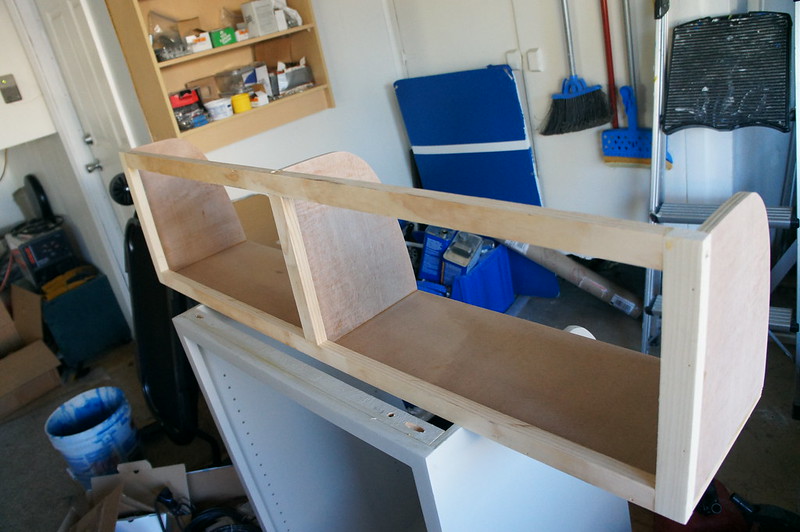
The over galley cabinet has been assembled. We have 2 that were made too long, so they will likely end up over the bed.  Third times the charm!


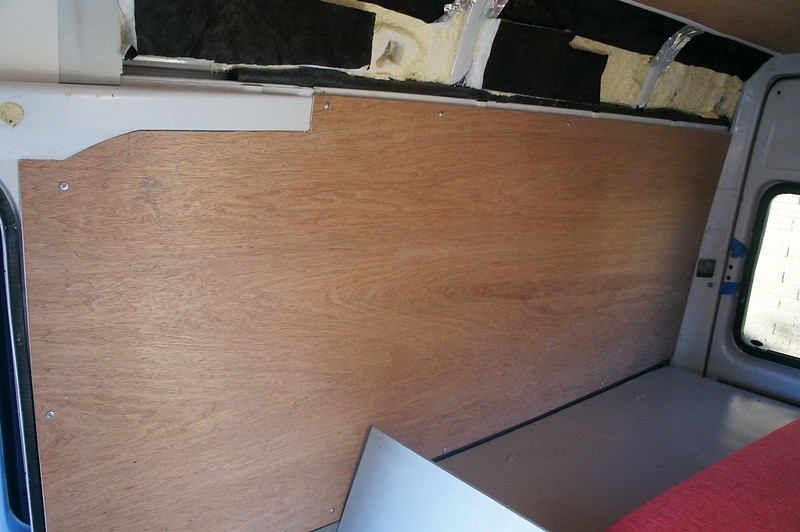
I reinstalled the bed platform and the passenger side wall panel.


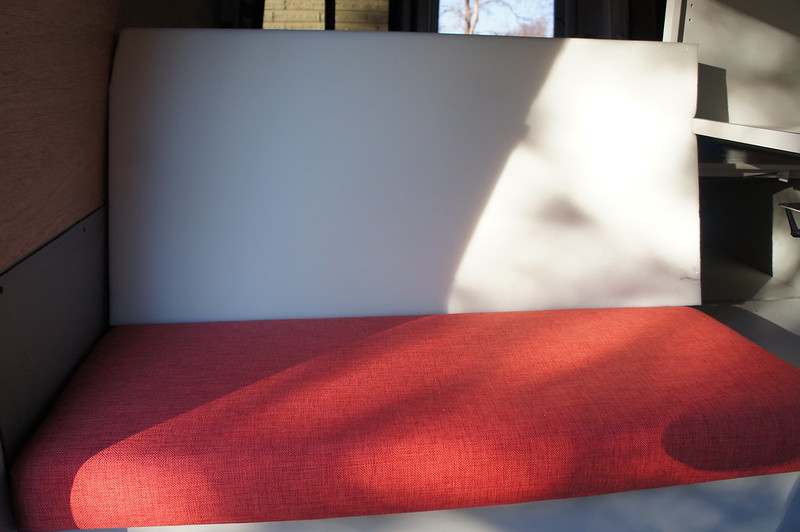
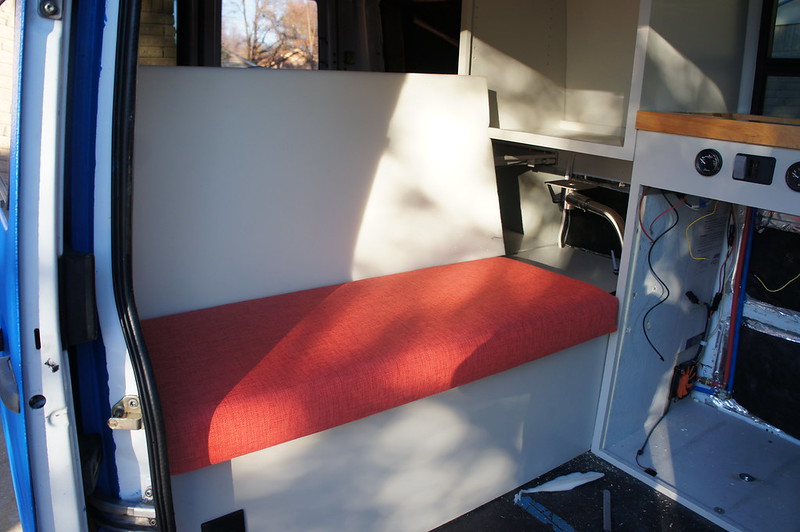
The bench seat bottom cushion is finished. The back cushion is cut and needs covered. Looks pretty snazzy right?


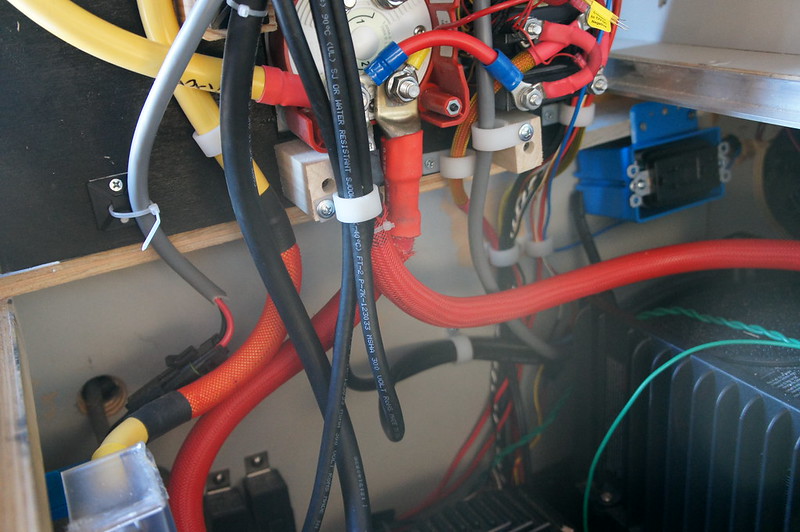
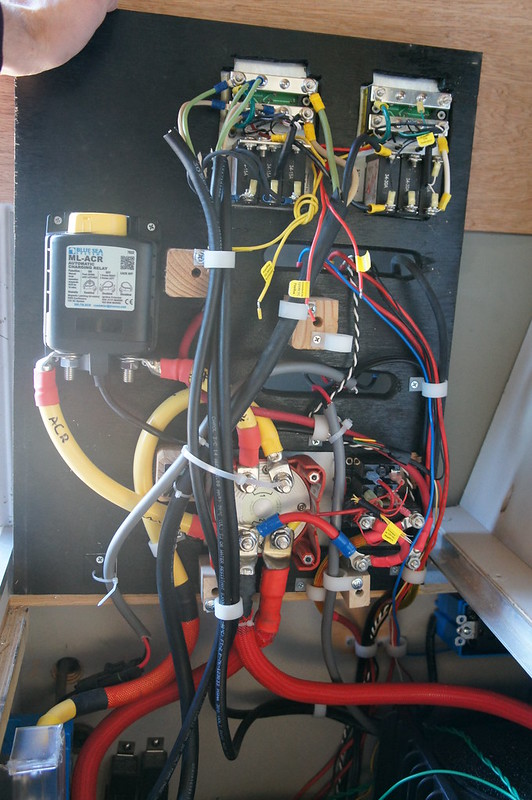
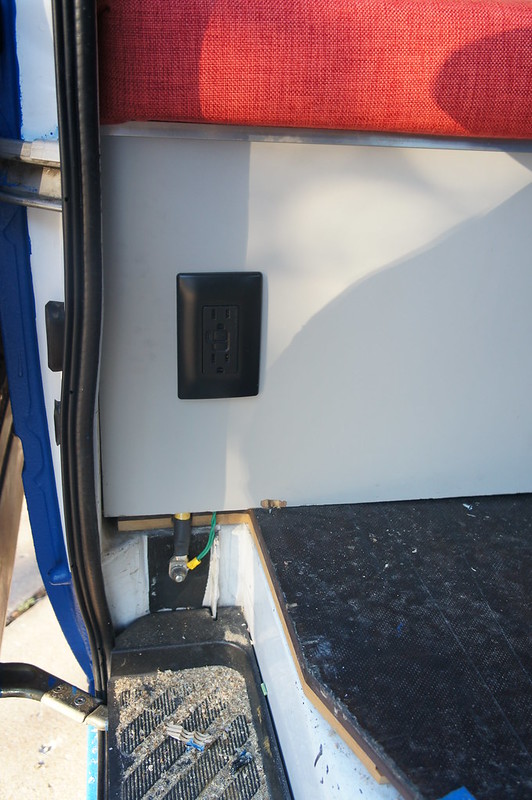
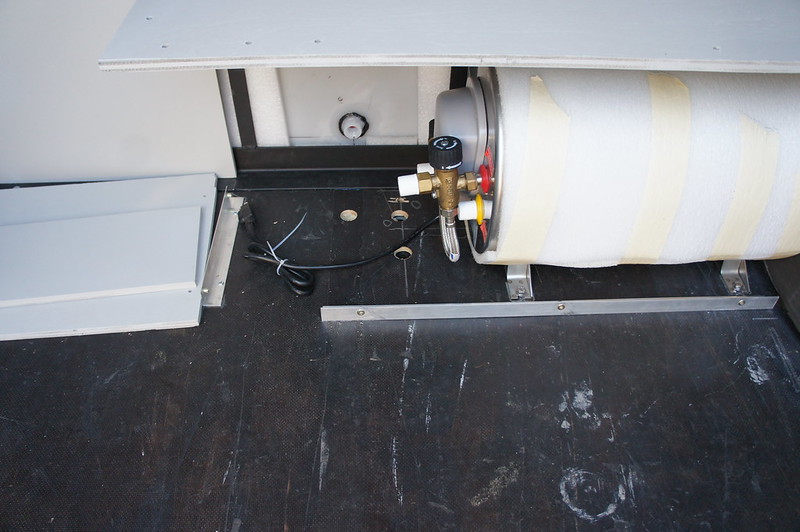
I ran electrical for the water heater, cooktop, and accessory outlet in the bench. The electrical cabinet is starting to get busy. I need to make a shield for the AC breakers.  I am at the point where I need to start labeling everything!


We also have the remainder (hopefully) of the plumbing fittings on order. So the water system should be ready for leak testing by the end of the year. Some of the LED lights are also on order.

Here are the lights we ordered for general lighting. We are considering LED strips and diffuser lenses for the galley and under cabinet lighting.


http://amzn.to/1Qfx29O Flush Mount 12v LED Lights

I also have the water filters on order. I decided on a 20 micron pre-filter for water going into the tank , a 5 micron sediment filter, and a 0.5 micron carbon block final filter. This should remove all particulates and most microbes. It also removes a decent amount of chlorine.  Its not as good as a reverse osmosis system, or a UV sterilizer though.  As a plus its MUCH cheaper!?


http://amzn.to/1QfwZdZ Filter housing

Thursday, November 12, 2015

Q&A Session 2: The Cost of Traveling

What does travel cost you?


We get this question occasionally.  Up until recently its been a hard to answer.  Only the most serious dreamers and vagabonds get far enough to consider the raw cost of long term travel.  To muddy the waters further expectations vary wildly.  What levels of inconvenience are you willing to accept?  Are you a five star type of person?  For this reason I can only address what is costs to travel in our style.

If overland travel is your thing, take a look at the Drive Nacho Drive blog here.  They helped inspire us to go big.  They have a detailed list of every dollar spent in 3 years traveling the world in their Vanagon.


For every traveler there are three main expenditure groups; Food, lodging, and transportation.  Every dollar saved on these items increased the time we could travel and the amazing places we could experience.  We try to maximize our cost/comfort ratio and still get where we want to go.

Food

While widely variable in cost and variety we are generally able to keep the same budget we had here in the states.  We usually eat out one or two meals a week and cook the rest ourselves using whatever is reasonable priced locally.  Being able to store food in the fridge and cook as needed is much cheaper than being forced to purchase prepared meals. (Go van!)  Pro-Tip; Avoiding tourist traps and following the locals is generally the ticket if you need a quick and easy meal.

Lodging

This is where the van shines.  Short term lodging with any semblance of privacy is anywhere from 20-100$ a night.  With some planning we could often just park the van and “boondock” for free.  Even when we had to pay for facilities it usually was less than $20 a night.  In the end we slept in the van for 90% of nights. (Go van!)  Of course we don’t have air conditioning which can be tough in warm/humid climates.  Thankfully our home is mobile, so we just aim for higher latitudes/altitudes.   

Transportation

We do occasionally fly between locations or to visit family when on the road.  The vast majority of our transport is by van (obviously).  Total costs for driving the van include fuel and maintenance.  When needed we occasionally use local transport such as ferries, trains, and buses.

Big Ticket Items

Some large expenditures can be planned well in advance of a trip.  In the case of our upcoming trip to Australia, these are flights and shipping the van.  We generally don’t include these big items in our monthly budget.  Instead these are accounted for as pre-trip expenses (such as necessary equipment).  There is always the unknown factor, so we have a substantial budget for “other” items.  These also include visas, border fees etc.      

How much do you budget?

Below is our baseline budget when we are on the road.  As you can see budgeting around $2,000 per month is a good estimate for us.  With all the big ticket items amortized into the total, our monthly costs for this trip will be about $2,500.  We are often came in under budget by 10-20%.  As you can see, it’s very possible to live comfortably on around $30,000 a year and still travel!  For those on a shoestring budget it’s possible to make due on $25,000 or even less for a single person.  

       
Item
Cost/Month
Food
$450
Flights
$250
Fuel
$500
Vehicle Maint.
$100
Lodging
$250
Transport
$70
Other
$400
Entry Fees
$100
Total
$2,120


How long did you need to save?

For our upcoming trip we need about $51,000 plus flights and shipping.  It all totals to around $60k.  It may seem like an impossible number to many.  I can assure you that it is definitely attainable.  For us it is going to take a bit less than 30 months to accrue the funding.  It will take that long to get our new van ready anyhow.   And yes, we are still investing for retirement.    

Can I do this?

Yes*.    I believe almost everyone can achieve similar results if they are willing to make the sacrifices (some would call them improvements) in their life. 
(*It might not be easy.)


Here is my advice;
Dream Big
Make a Plan
Jump


Wednesday, November 11, 2015

Q&A Session 1: How do you travel for so long?

We get this question quite often.  Our past and future travel plans are met incredulous looks and a tone of disbelief.  You must be rich!  You are putting off your retirement!  How irresponsible!  Needless to say we are not wealthy (by American standards) and no, we are not mortgaging our future.

So how do we pay for our travel?  How are we preparing for our upcoming 2 year walk-about? 

Do the Math.

Without a plan we would be stressed and a mess.  We have a budget and we stick to it.  No new cars, expensive vacations or shopping sprees.  We cook most of our own meals, do our own mechanical work and keep it simple.  No gas guzzling SUVs, we commute to work together, and share rides when it’s possible.  We aggressively cut costs in all aspects of our boring work-filled lives.  Except for my $40 a month milk habit.  (A man ha got to eat!)  Pro-tip; Track every dollar, the sub 10$ purchases add up.  I have friends that burn $60 a month just on coffee!           

No debt. 

We have none; Period.  Much has been written on this topic, so I will keep it brief.  Most consumer level debt is a fantastic waste of resources.  There are obvious exceptions such as investments (some property for example) and owning a home. 

Minimize liabilities. 

We don’t own a home.  Don’t misunderstand; home ownership can be an asset, especially compared to long term renting.  However, given our plans, purchasing a home and the necessary mortgage it brings is a waste of resources and an unneeded risk.  In some markets owning a home and renting it while away is a viable income option.  We may still go this route over the next 5 years or so.  When we pull the plug and hit the road our fixed overhead (other than travel/living expenses) is nothing more than our phone bill.

Keep it simple.

There is no denying it.  We live in a materialistic society, for better or worse it isn’t going to change. But it can be mitigated.  The idea of less is more hit home with us when we moved for the first time.  We had boxes of miscellanea and unneeded doodads.  There was enough to fill the bed of my truck.  For some unexplainable reason it was actually hard to part with these things. Clothes I hadn’t worn (or seen) in years, computer parts, the detritus of a 2 decades of life.  We endeavored to pair it down to the basics.  When the dust settled our entire material lives was neatly packed inside a 5’x10’ storage unit.  It was a strange feeling, locking that door and heading for the border, free from the clutter.  We have accumulated more items since that day; A few pieces of cheap furniture, tools for building the van, a sewing machine. We still must actively fight the desire to accumulate “stuff”.  But when the time comes to pull the plug again, I suspect we will have even less than before.  

Save. 

When its all said and done, every dollar we earn has a place.  What isn't used for our basic needs goes to retirement and travel savings.  We occasionally indulge ourselves, we aren't puritanical in the pursuit of savings.  Let's just say $7 lattes and expensive imports are not our style.  Having declared all excess funds off limits makes it much easier to resist temptation.     

Monday, November 9, 2015

November Update: Winter is Coming

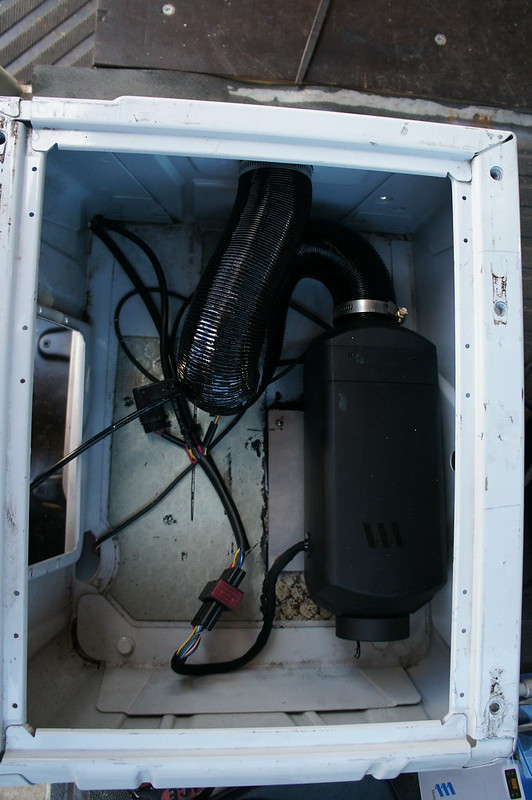
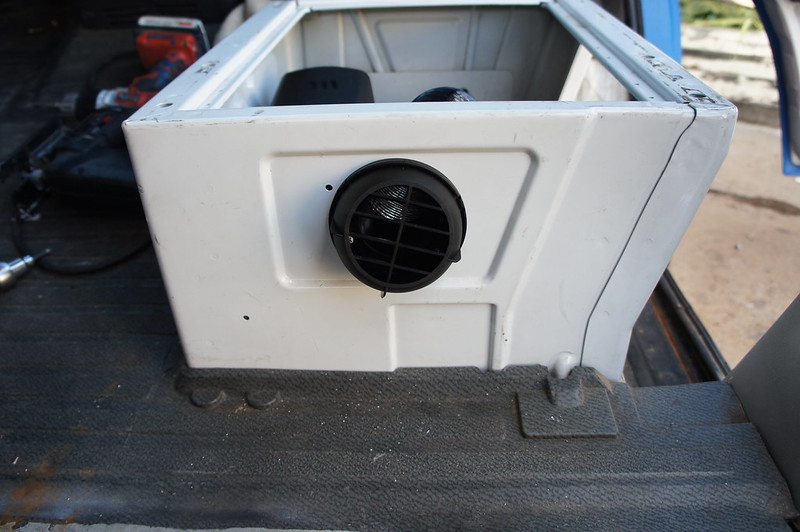
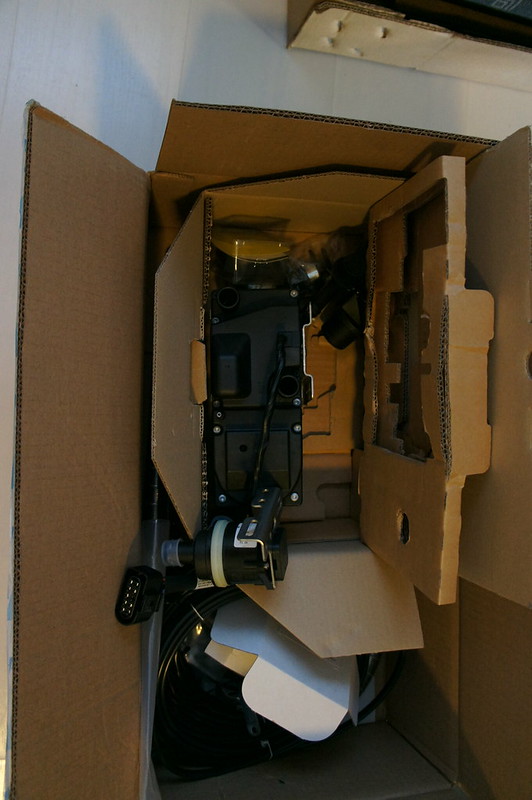
The contents of my weekend was installing a cabin heater in the van.   We opted to go with a separate air and water heating setup.  For the cabin air an Espar Airtronic D2 was chosen.  You can google the all the nerdy details but here is quick breakdown.  The D2 uses diesel fuel (also available in gasoline versions) to heat cabin air which is circulated through several ducts.  All combustion air and exhaust are ducted outside the vehicle.   Heating power is 2.2kW at 0.28 Liters/hour fuel consumption.  Electrical power consumption is 34W max.

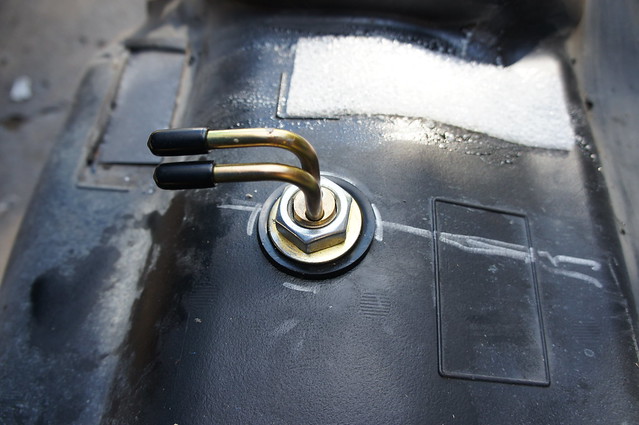
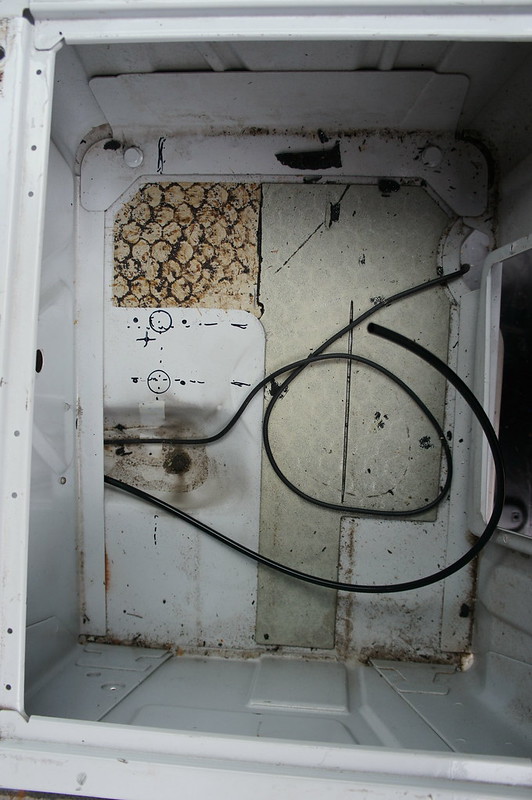
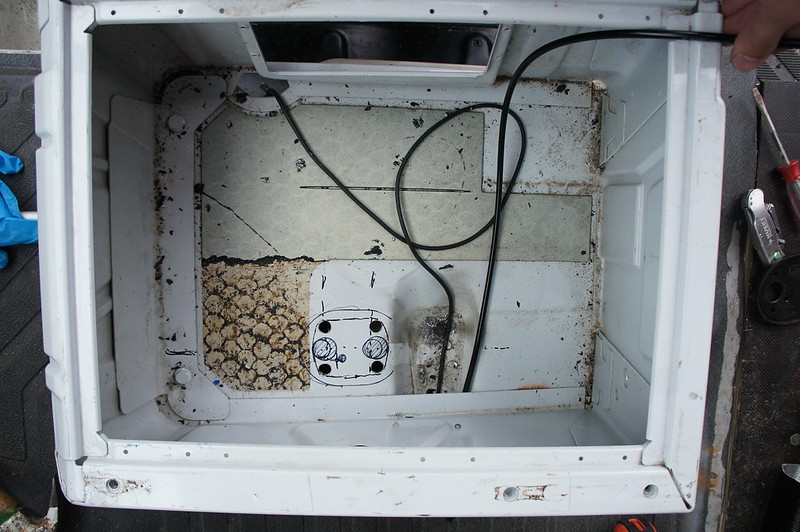
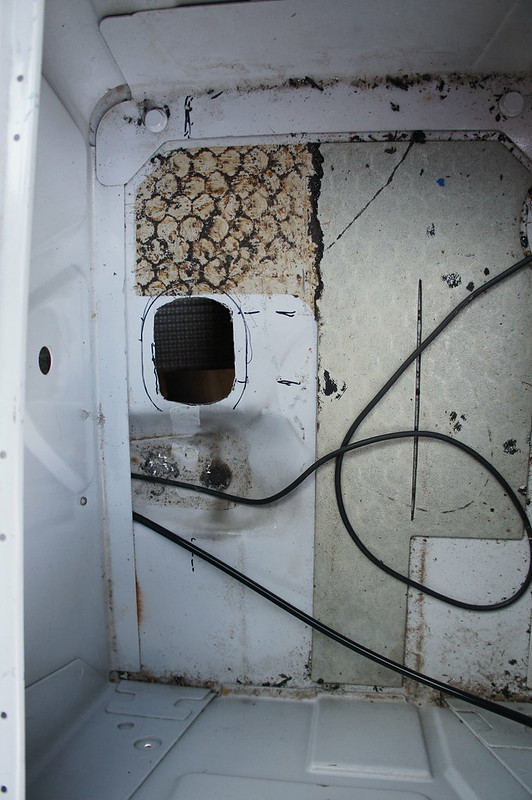
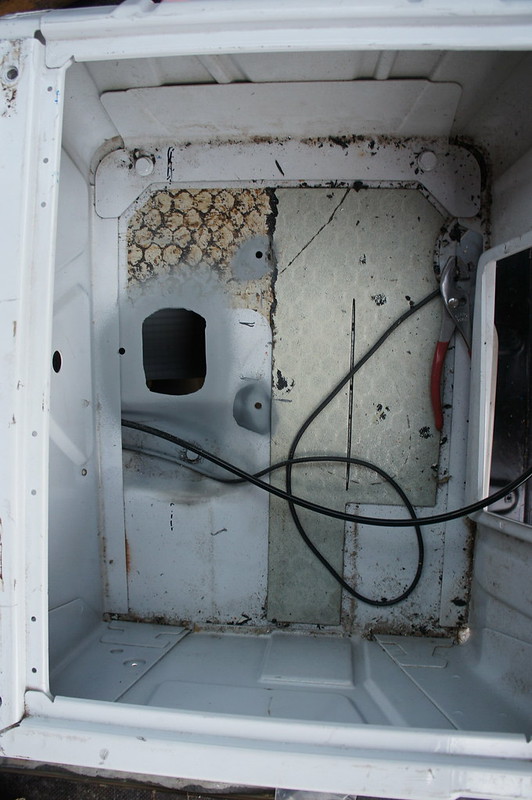
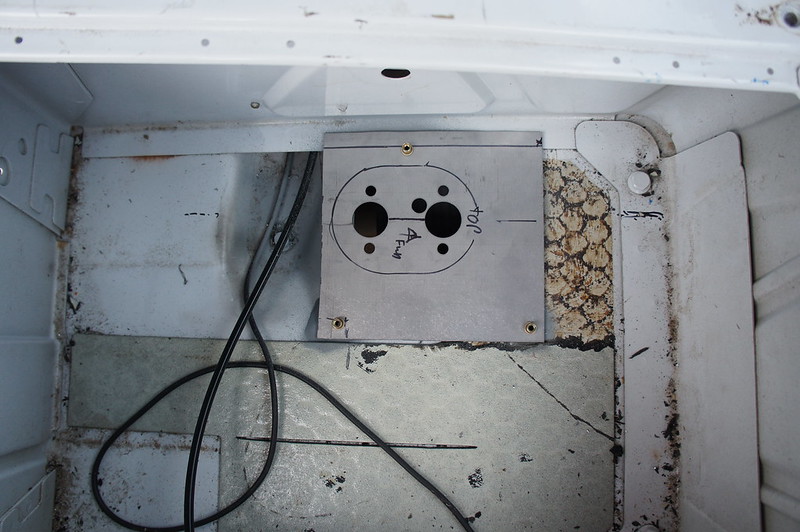
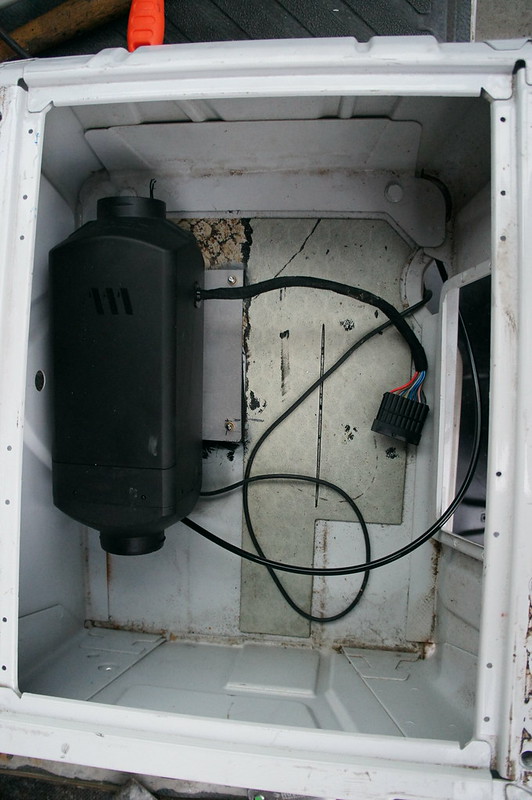
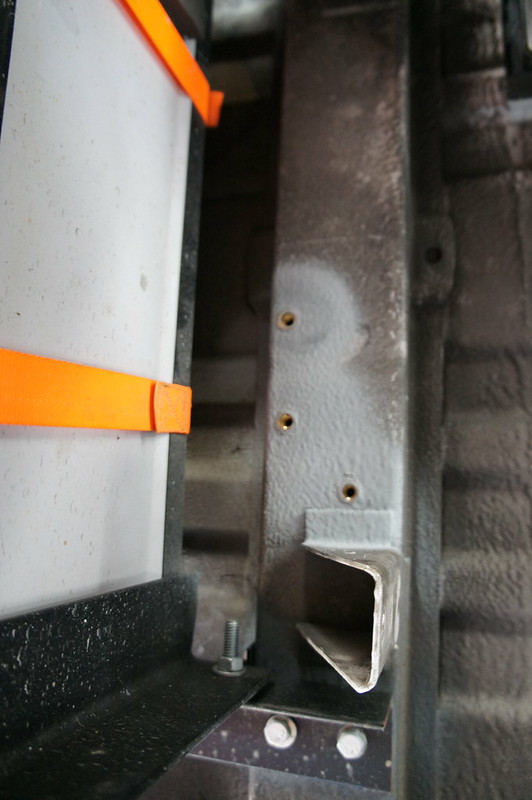
I inserted the fuel pickup into the fuel tank previously.  To begin the heater install I located an area in the floor beneath the passenger pedestal that was unobstructed below.  By cutting a hole in the floor the fuel, intake, and exhaust hoses can be routed outside the vehicle.


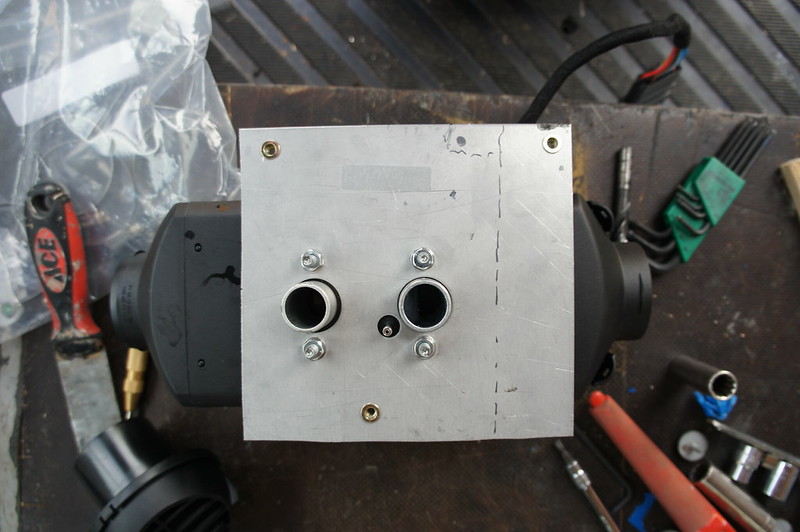
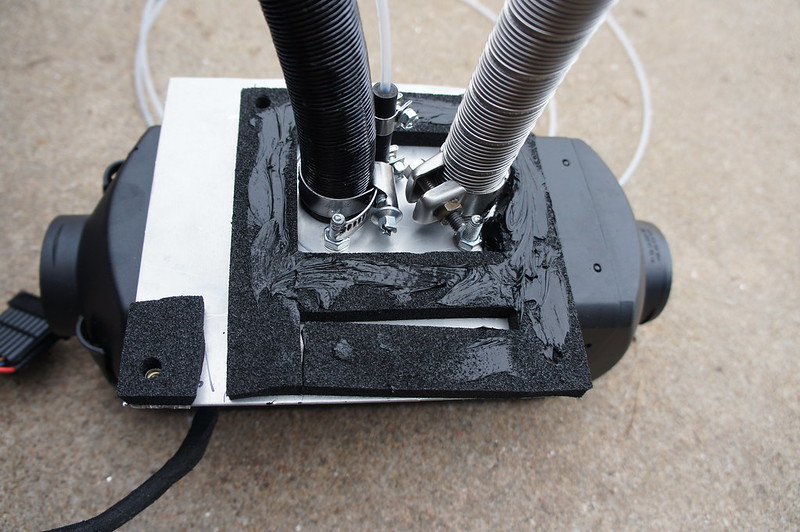
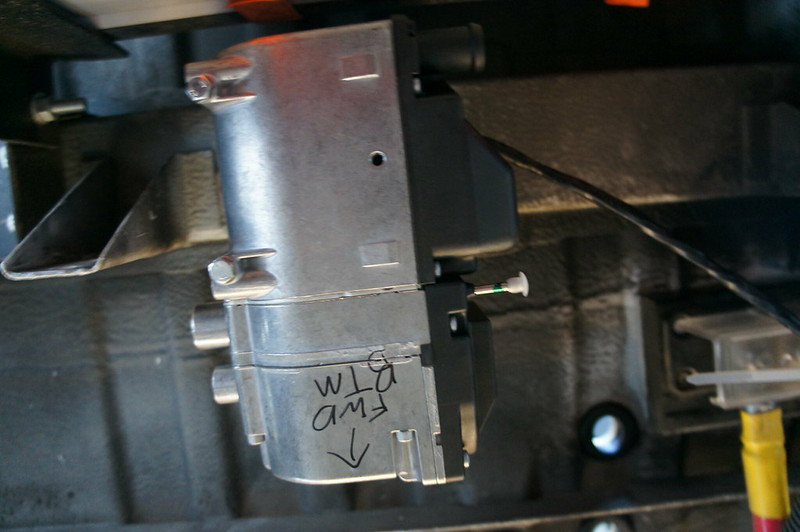
Using the supplied mounting plate (modified for fitment) the heater was bolted to the van floor with sealant and the supplied foam gasket.  Attaching the hoses prior to mounting saves a lot of knuckle busting underneath the van. 


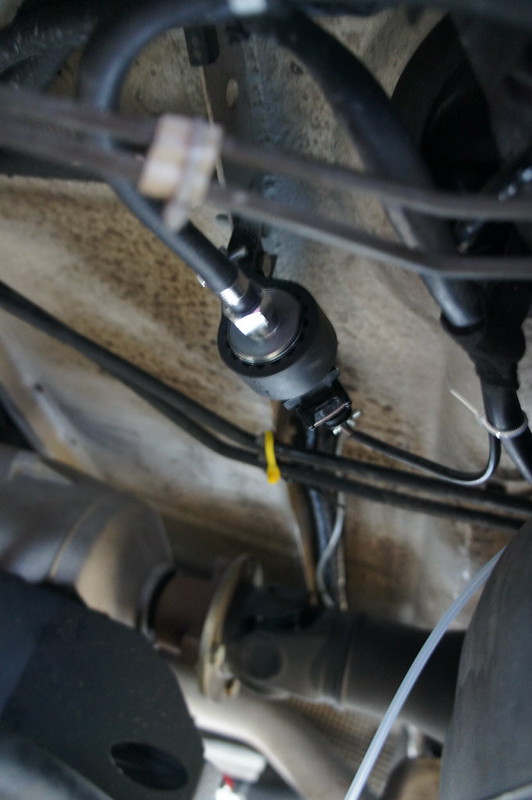
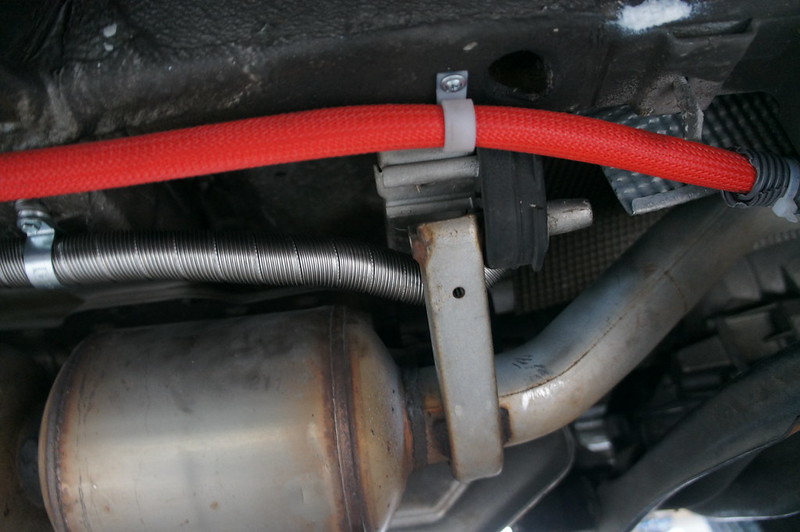
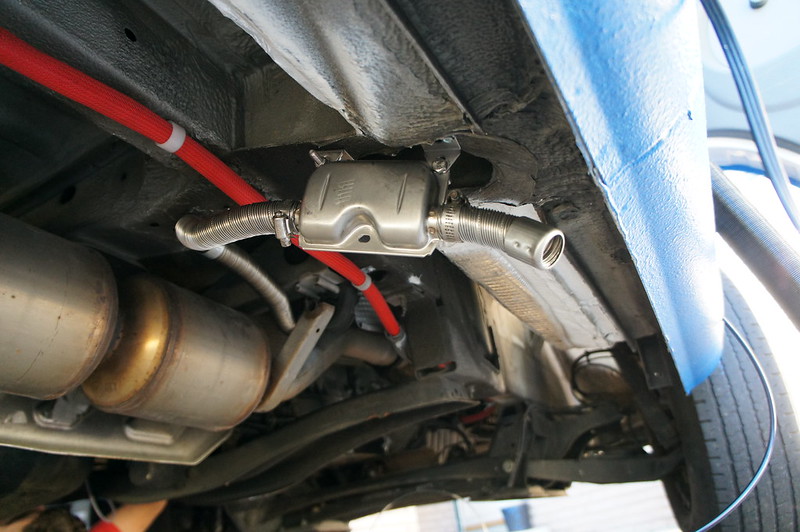
The sprinters exhaust heat shield had to be unbolted and moved aside to allow access.  The fuel line and intake/exhaust hoses are mounted and a muffler is attached.  The fuel pump harness was routed between the seat pedestals and out through the main wiring boot. 


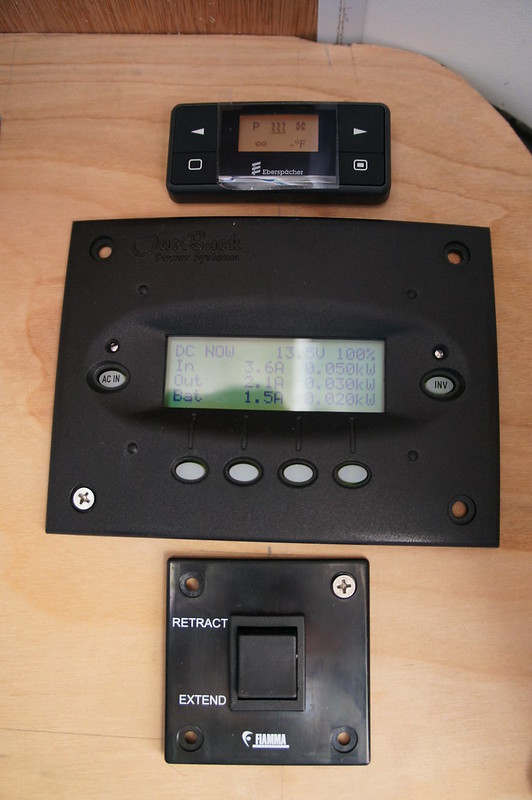
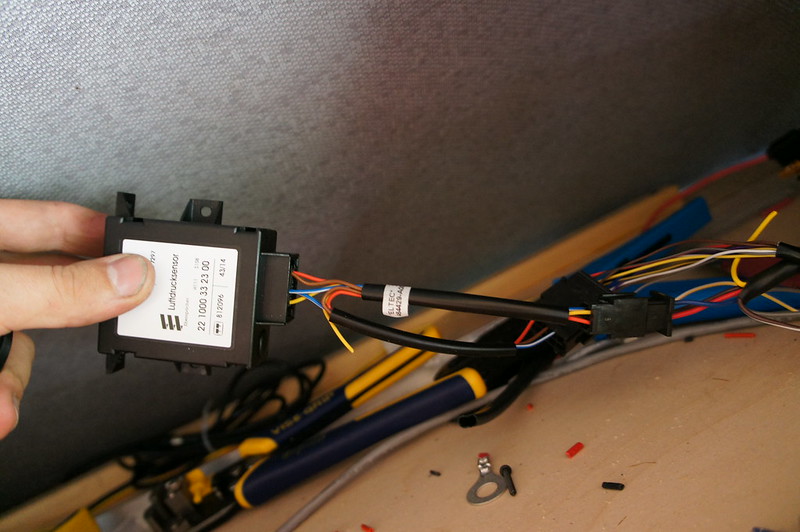
The main harness was easily routed up the B pillar into the overhead cabinet.  This is where the altitude sensor and control panel are mounted.  We will also be installing an Espar Hydronic D5 to heat fresh water and the engine if needed.  The D5 will also be controlled from the same panel (Easystart Timer).  


The D2 is a really nice piece of kit; Low power and fuel consumption, quiet, easy to control.  It is a huge step up from most propane fueled RV furnaces.  An exception to this is the Propex line of heaters.  These are the gold standard for propane cabin heaters. 


There were few surprises during the install.  Planning ahead and following the installation instructions makes for a simple job.  Now if only there was an instruction manual for van conversions...  


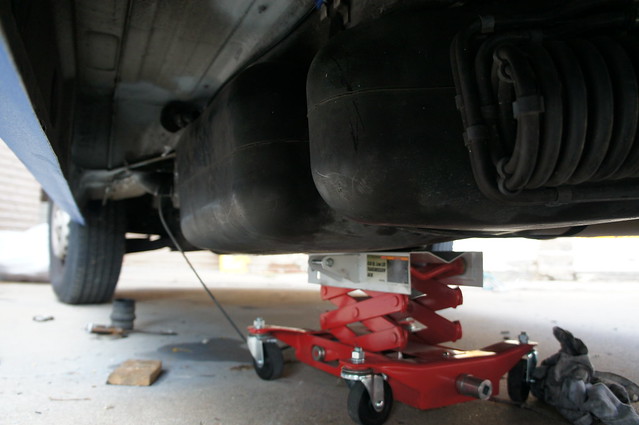
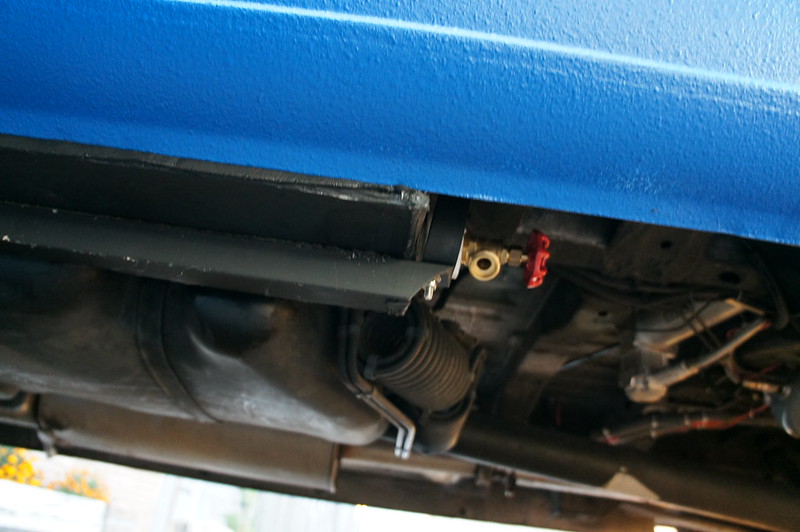
The gray water tank is permanently installed now.  You can just barely see it sticking out from under the van.


The sink drain line has been fitted.  Also the water tank enclosure has been painted and is ready to for plumbing to begin.


I was able to mount the hydronic D5 before sunset on Sunday.  It is going just in front of the batteries.  Which is below and left of the water heater.


Next week will mostly consist of epic amounts of plumbing and various attacks on the cabinetry.  Keep calm, and try to find that leak.   

Tuesday, October 27, 2015

Late October Update; PAINT!

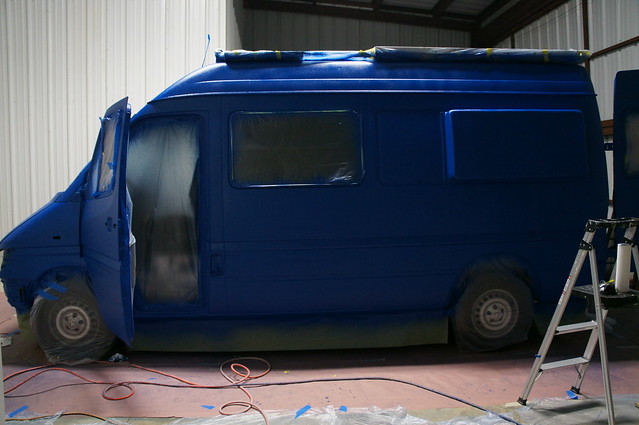
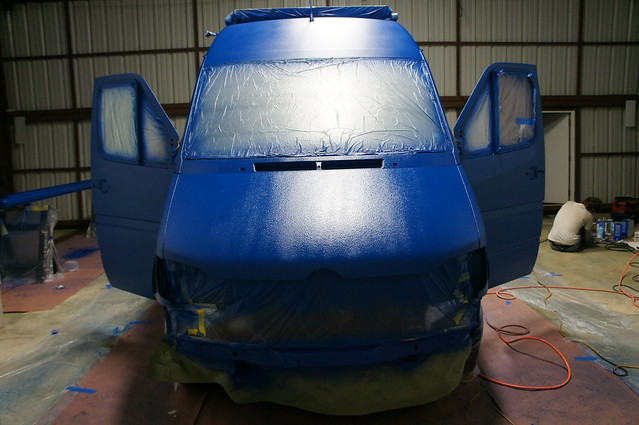
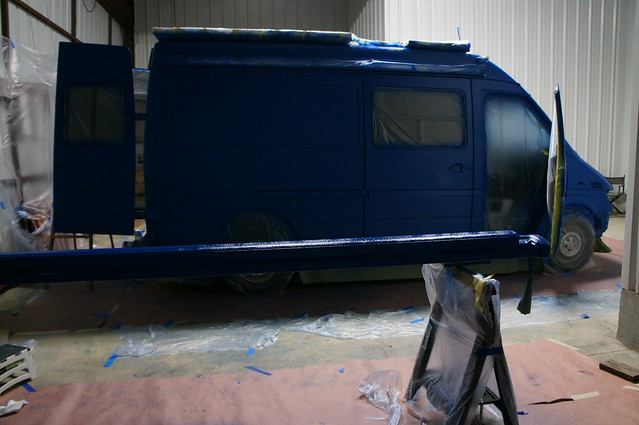
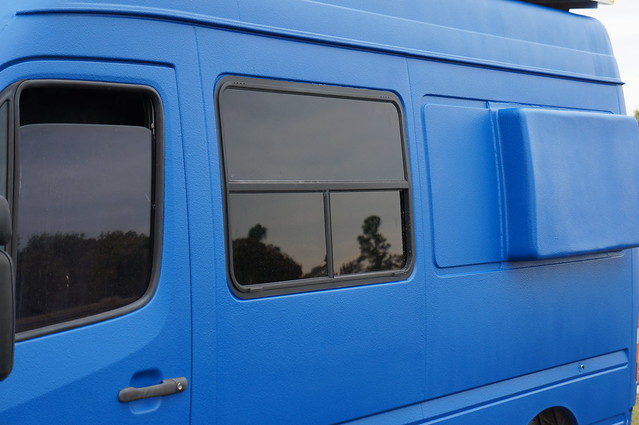
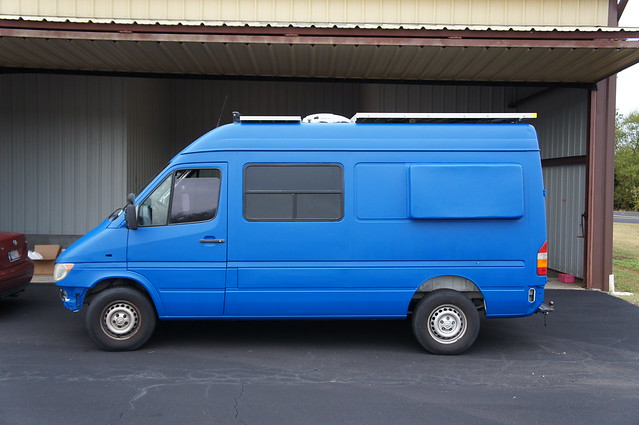
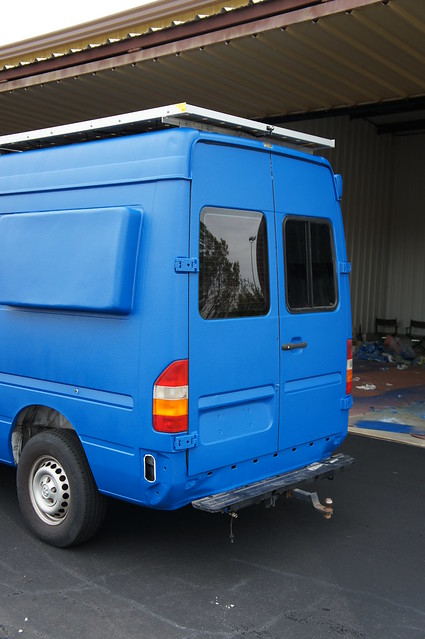
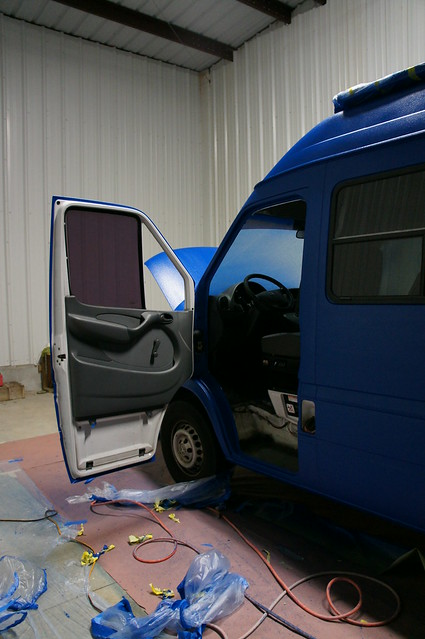
The Deed is done.   We tallied the votes and Smurfadelic Blue won.  For those of you not familiar with Monstaliner it is a tintable urethane based bedliner product. It is very high viscosity and moisture curing. It can be applied with a roller or by spray. We opted to spray for obvious reasons.

We started out by rolling and spraying the coating using different techniques and thinning ratios. We ended up with 2 coats at 10% thinned using a undercoating gun at ~50PSI. Here are some of the roller tests.

DSC06124


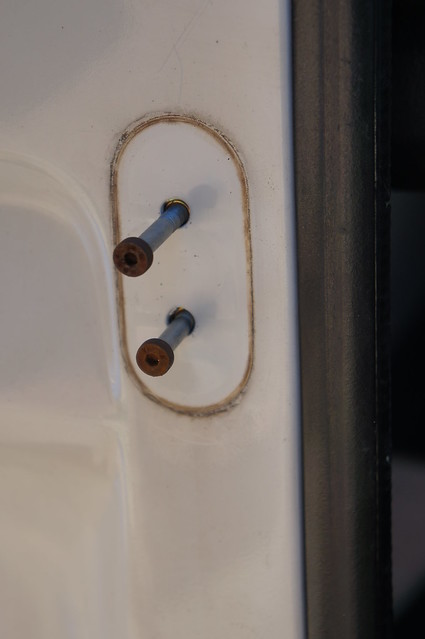
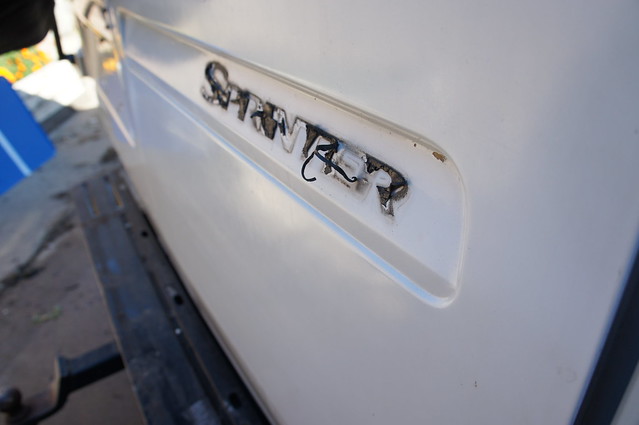
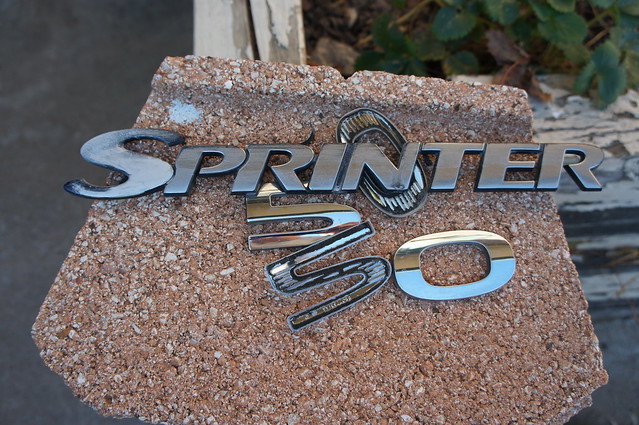
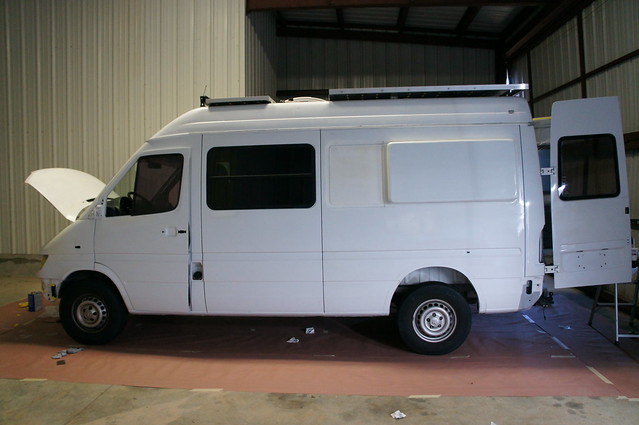
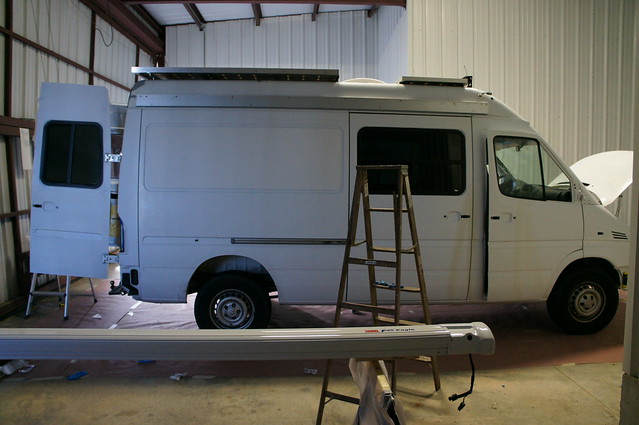
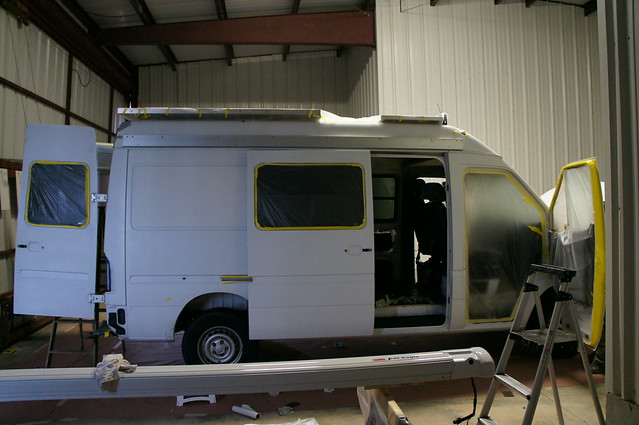
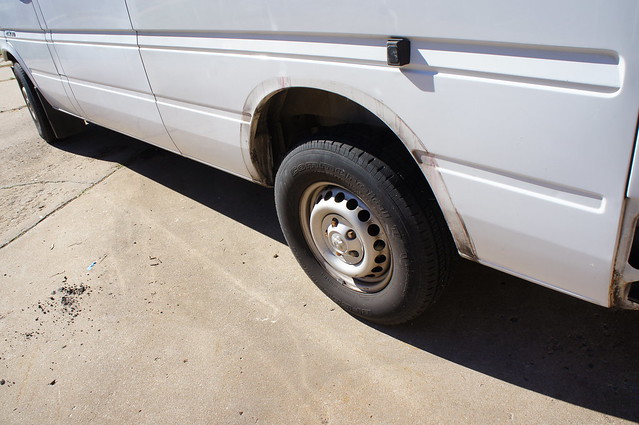
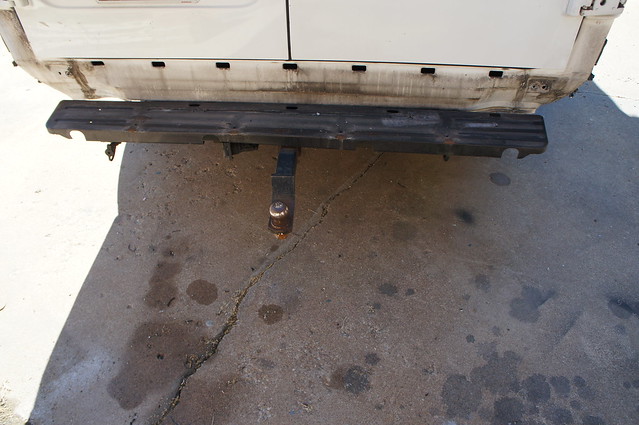
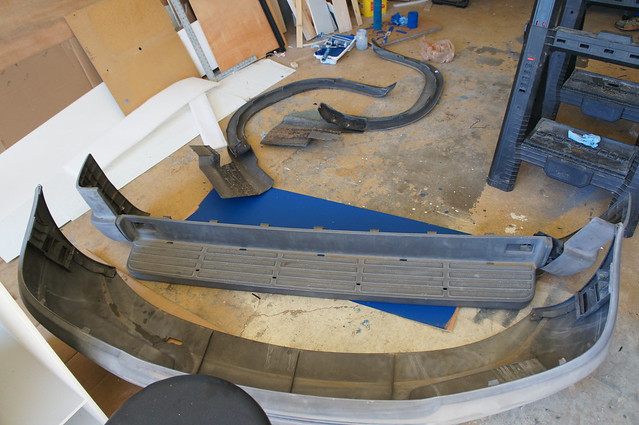
As with any paint project prep is 90% of the work. So we started by stripping everything off the van that we could reasonably remove. This included bumpers, lights, mirrors, small windows, trim, badges, and awning. In addition the door catches, stops, and seals all came off. An exception is the front window seals as these seemed impossible to remove without damage. The adhesive tape from the badges took a lot of time to remove cleanly.
DSC06027

DSC06025

DSC06029

DSC06036

DSC06045

DSC06052


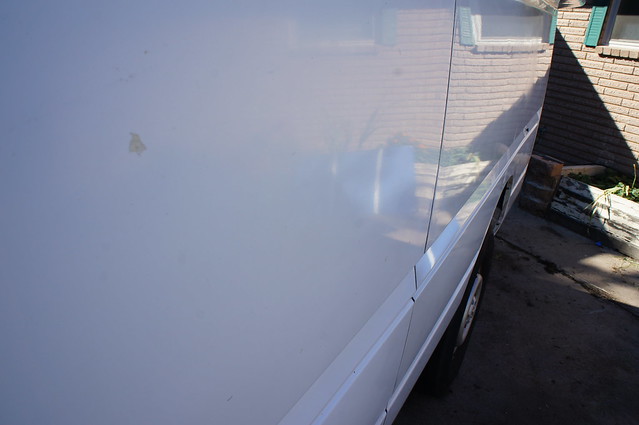
Then we cleaned everything… three times… starting to look clean. Getting all the diesel soot off the lower rockers was a challenge. It is critical to use a good detergent to remove any grease or oil residue. The areas under seals and at panel seams were tough to get clean.
DSC06053


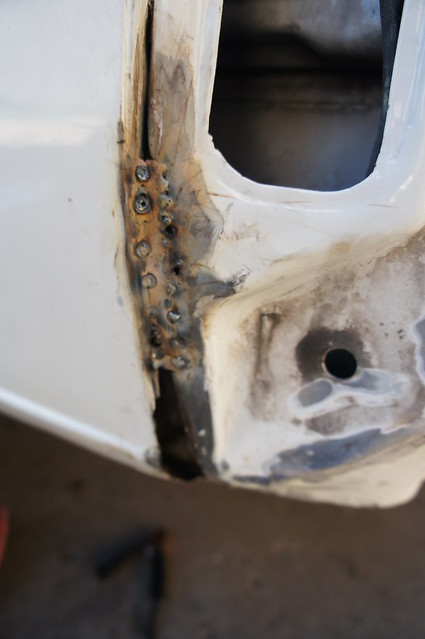
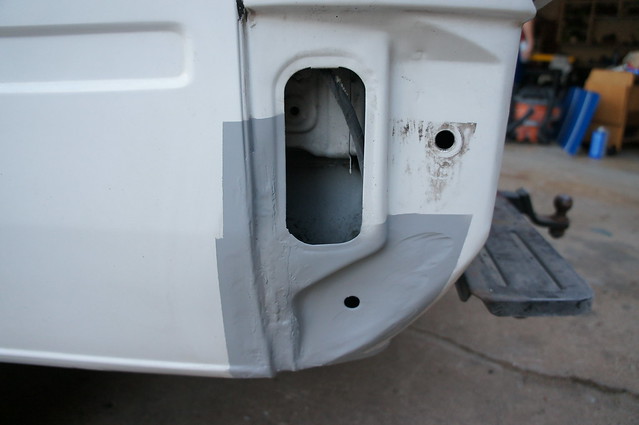
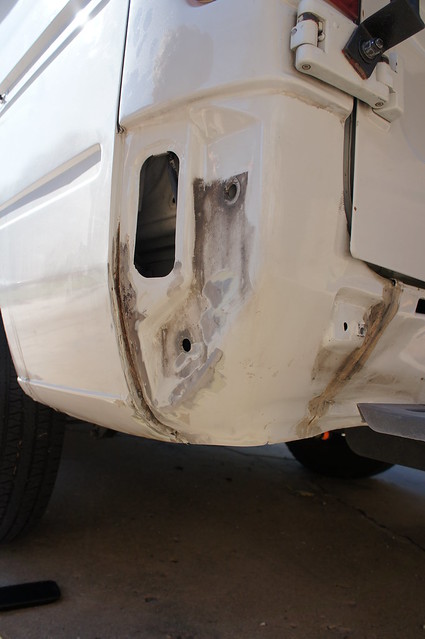
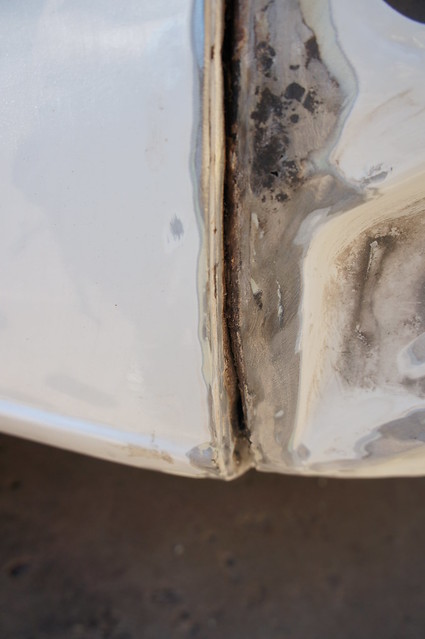
I discovered a previous body repair in the back left corner which had started to rust. I probably could have saved the sheet metal in the seam, but I opted to just weld in a patch and seal it up as it’s covered by the bumper caps.
DSC06054

DSC06056

DSC06058

DSC06064


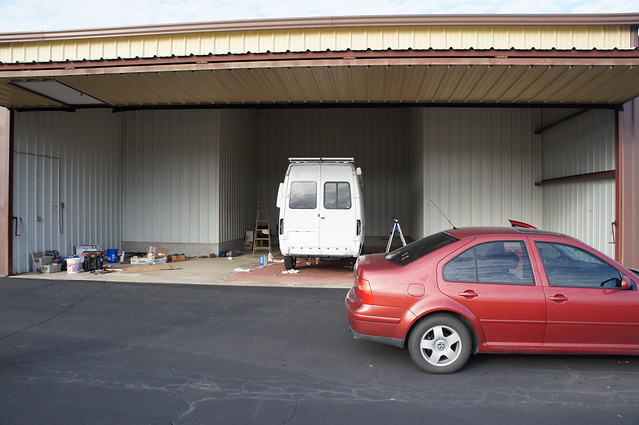
The next step was to scuff the entire surface to be painted. We used coarse scuff pads in conjunction with 300 grit on our random orbit sander.   We then took the van to our friends hangar and cleaned some more… (Thanks Mike!)  We solvent wiped everything before and after masking to remove any oil from our hands as well as other contaminates.
DSC06067

DSC06069


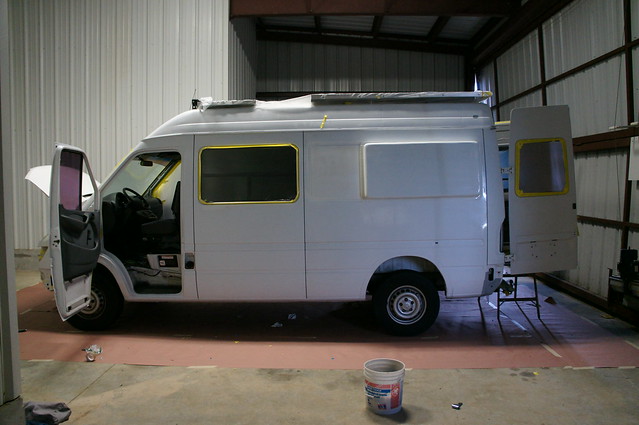
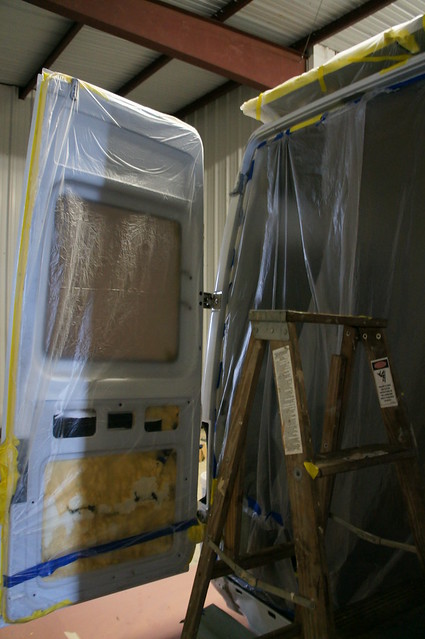
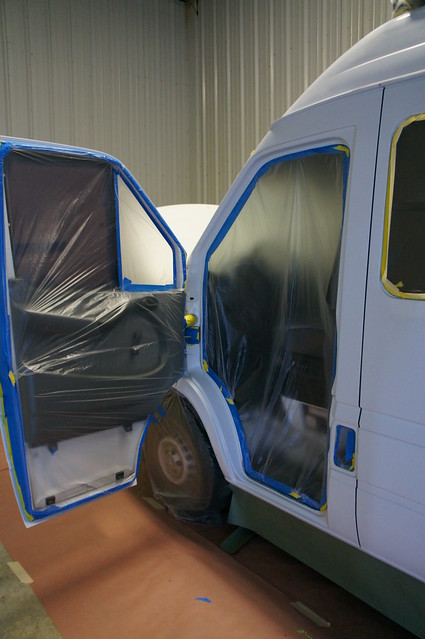
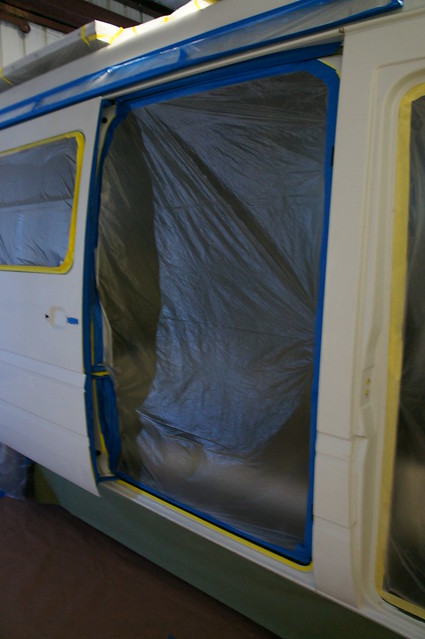
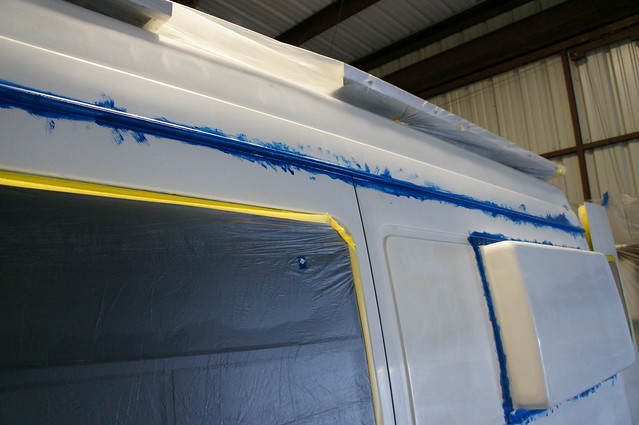
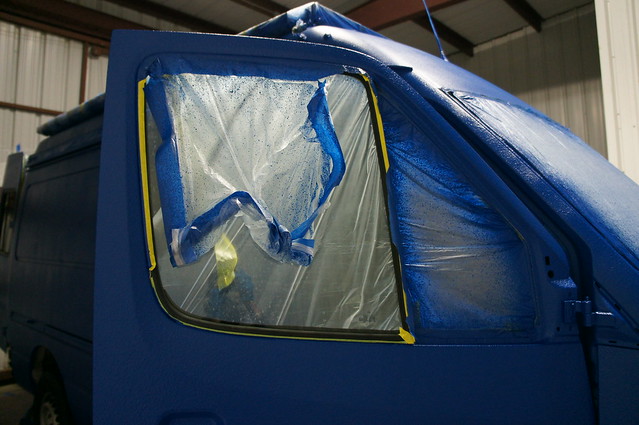
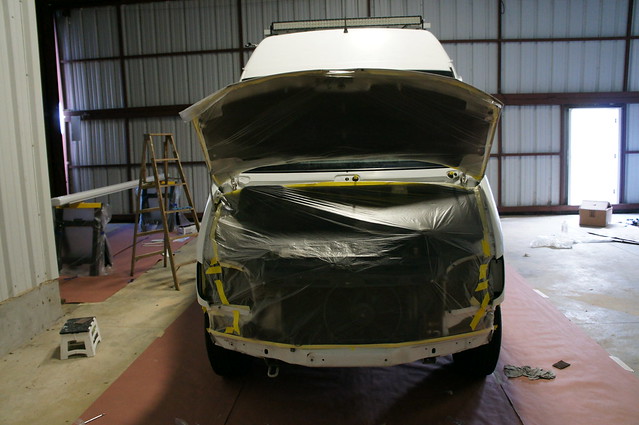
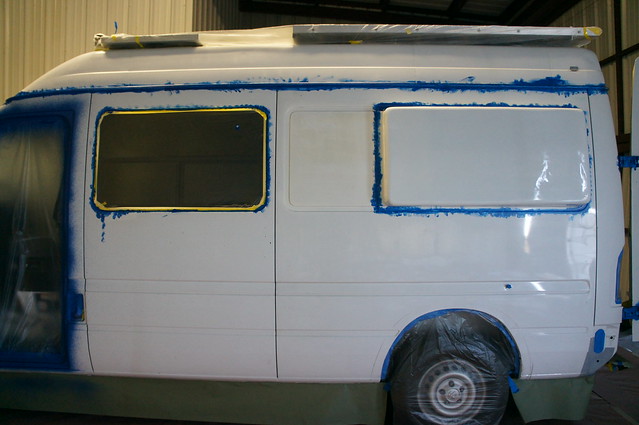
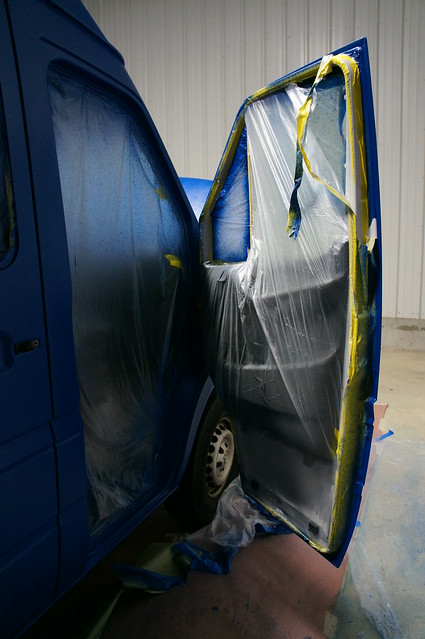
Then we masked everything meticulously. Since we were painting parts of the jambs we were able to put our tape lines in out of the way places. This also meant that we had to spray/brush the jambs prior to doing the exterior.
DSC06071

DSC06073

DSC06075

DSC06076

DSC06078

DSC06077

DSC06080

DSC06082


Note that we used automotive low tack masking tape in various thicknesses from 5mm to 50mm. The 5mm was very useful for tight turns and close spaces.


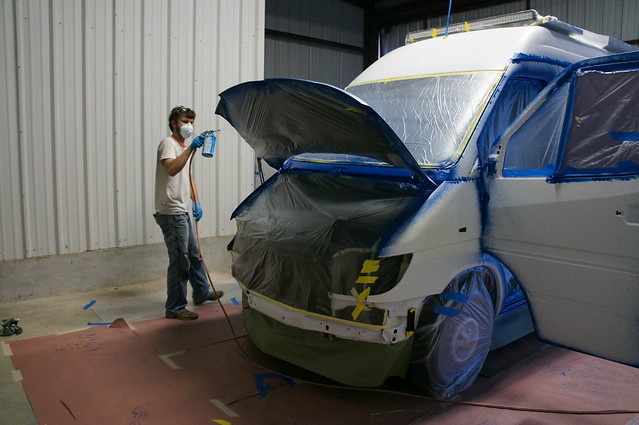
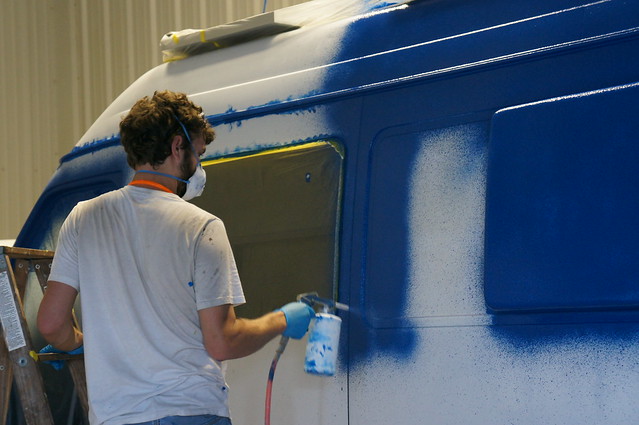
We started by mixing the tint into all the gallon cans. Then we catalyzed one gallon at a time and began spraying. We went through paint quickly; usually about an hour to spray each gallon. Using 3.5 gallons total, but I could have sprayed the leftover half gallon on the front roof. Looking back catalyzing all the paint at once in a 5 gallon bucket would have saved mixing time, just make sure to cover the coating between pours. Filling multiple spare canisters for the spray gun can save time as well. We filtered all paint prior to spraying it.

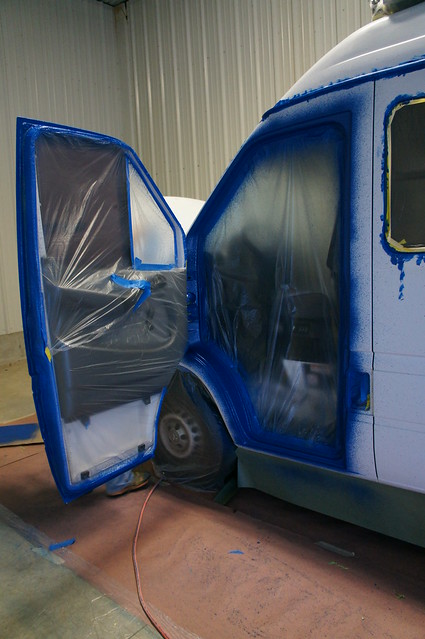
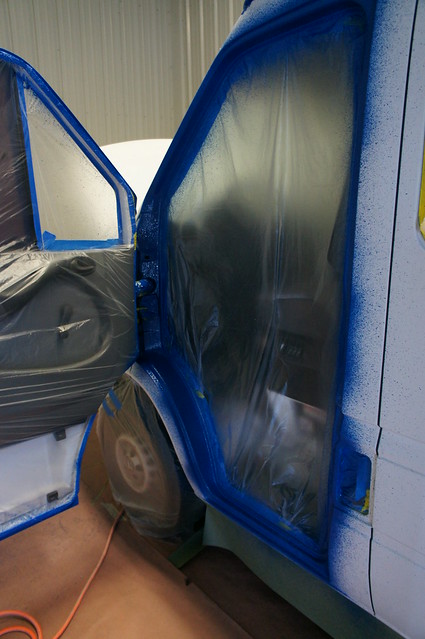
Prior to the first coat we brushed paint into tough to spray areas such as the rain gutters, tight areas in the jambs, and blind corners on the slider and front doors.
DSC06096
DSC06086


The instructions suggest spraying 2-3 medium coats about an hour apart. I aimed for 90% coverage with the first coat and the remainder on the 2nd.

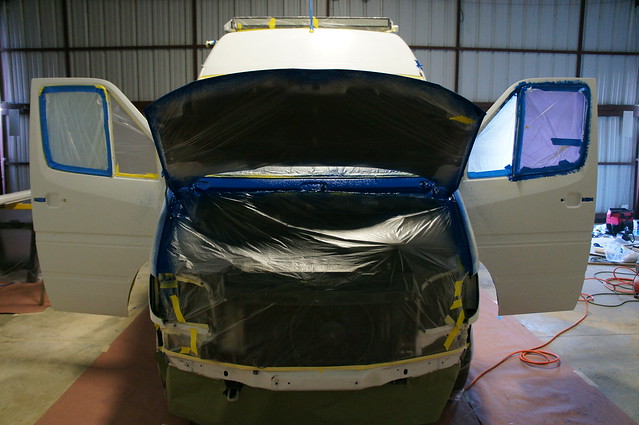
I started with the jambs. While that was drying I sprayed one coat on drivers back side. Once an hour had passed I did a second coat on the jambs and proceeded to do the other back quarter. Again after an hour I closed the front doors, slider, and hood. I tried not to get ahead of myself and recoated each section of the van in around an hour.
DSC06084

DSC06087

DSC06088

DSC06094

DSC06106

DSC06109

DSC06112

DSC06113


Good lighting is important as full coverage is can be difficult without ruining the texture or causing runs. Make sure to mask everything important within 10 feet of the van, as you will get overspray due to the angles necessary to get all the nooks and crannies.

Once the paint coating would no longer take a fingerprint we unmasked the van. Don’t wait too long to remove the tape, as it can mess up your tape lines.
DSC06118

DSC06121

DSC06122


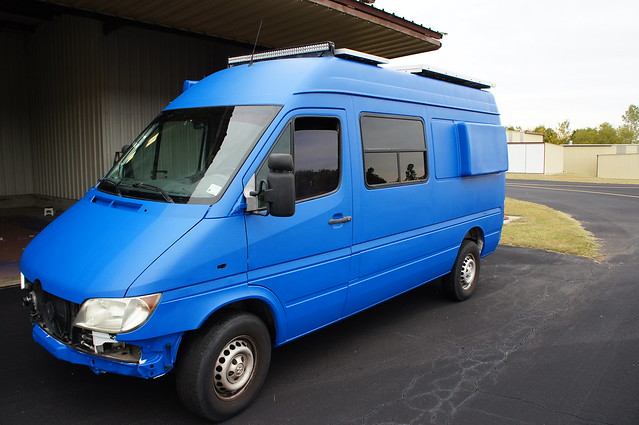
The coating takes a few days to cure enough for use. So we then played the waiting game.  Overall it took us at least 40 hours of work to get the van prepped and almost 10 to spray and unmask.

Once the coating dried we reassembled enough to get the van home.  Here are some shots outside the hangar a week later.
DSC06137

DSC06138

DSC06139

DSC06140

After putting the trim on I realized that we should have sprayed the rear wheel well areas.  Oh well.  We can do them when we do touchups or possibly just paint them black.   The bumper covers and wheel arch trim were pretty badly oxidized.  So I buffed them with a drill and green scotch pads.  I used xylene as the lubricant but water with soap would probably have worked pretty well.

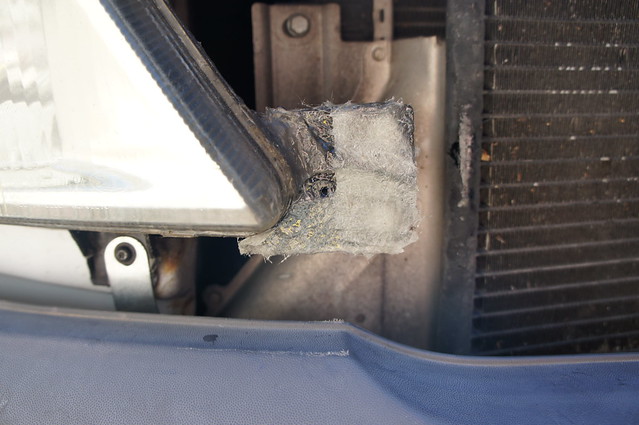
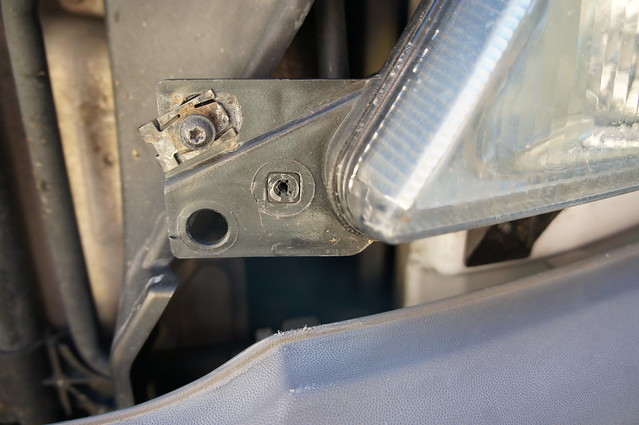
I repaired a broken trim mount on the passenger headlight with some fiberglass mat and 5 minute epoxy.
DSC06142

DSC06143


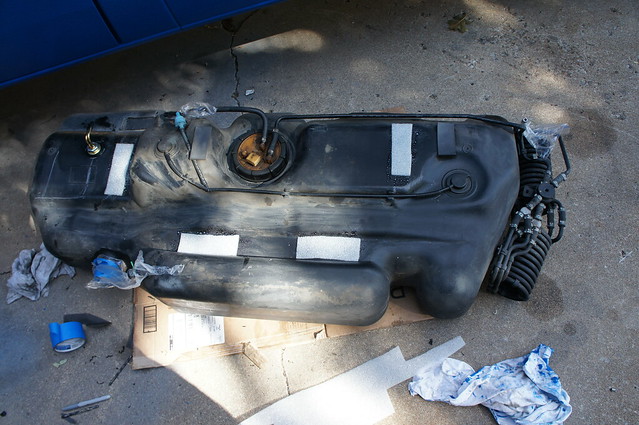
I also dropped the fuel tank to install the Espar heater fuel pickups.
DSC06145

DSC06146

DSC06149

I am planning on installing the gray water tank for good over the weekend.  Hopefully the Espar D2 heater will get installed as well.