We started out by rolling and spraying the coating using different techniques and thinning ratios. We ended up with 2 coats at 10% thinned using a undercoating gun at ~50PSI. Here are some of the roller tests.

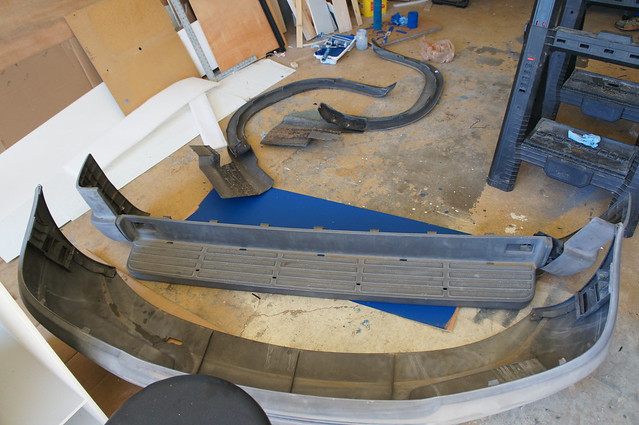
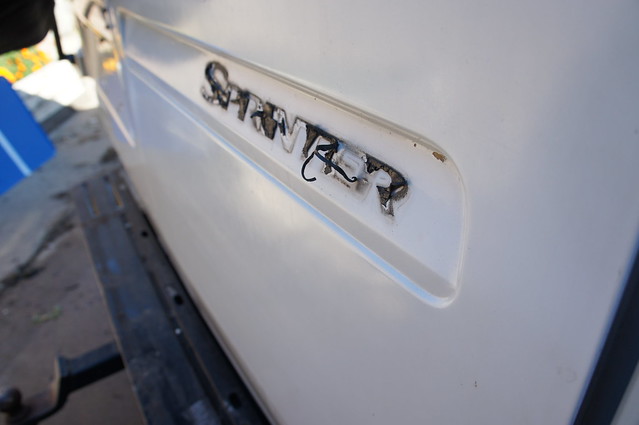
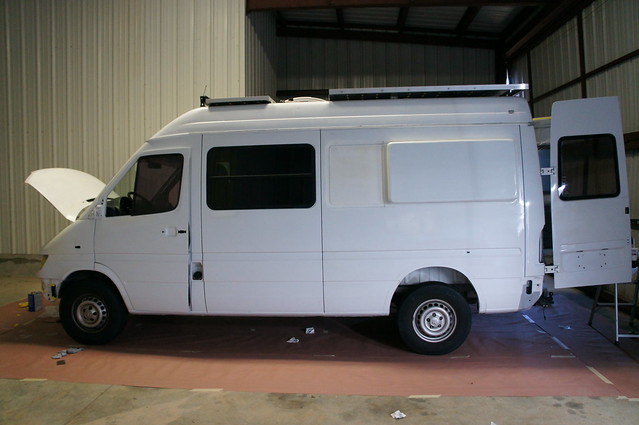
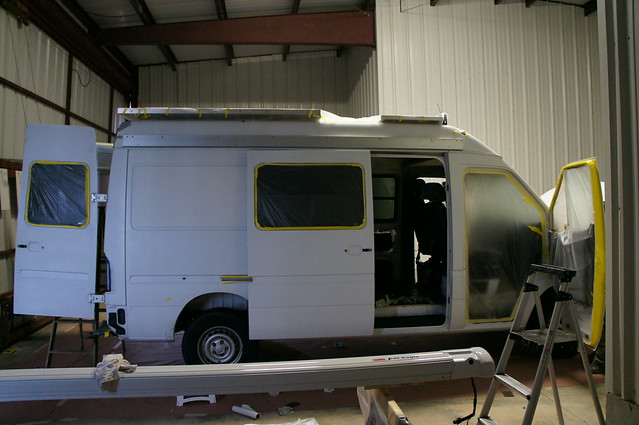
As with any paint project prep is 90% of the work. So we started by stripping everything off the van that we could reasonably remove. This included bumpers, lights, mirrors, small windows, trim, badges, and awning. In addition the door catches, stops, and seals all came off. An exception is the front window seals as these seemed impossible to remove without damage. The adhesive tape from the badges took a lot of time to remove cleanly.

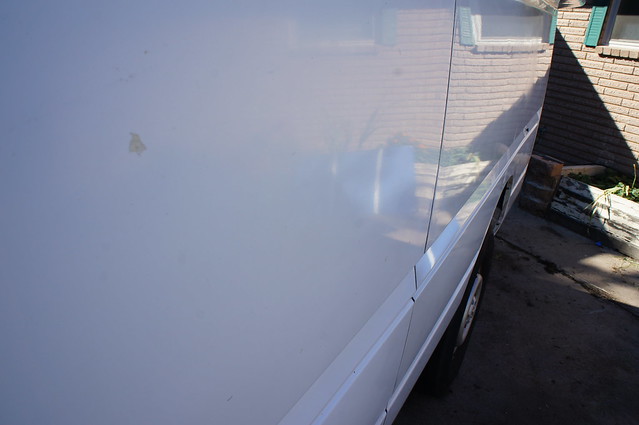
Then we cleaned everything… three times… starting to look clean. Getting all the diesel soot off the lower rockers was a challenge. It is critical to use a good detergent to remove any grease or oil residue. The areas under seals and at panel seams were tough to get clean.
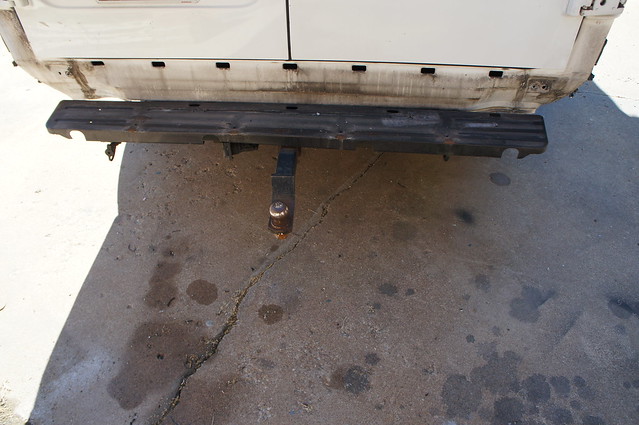
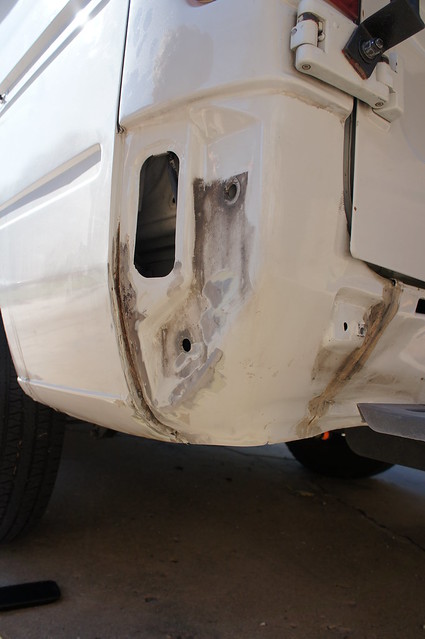
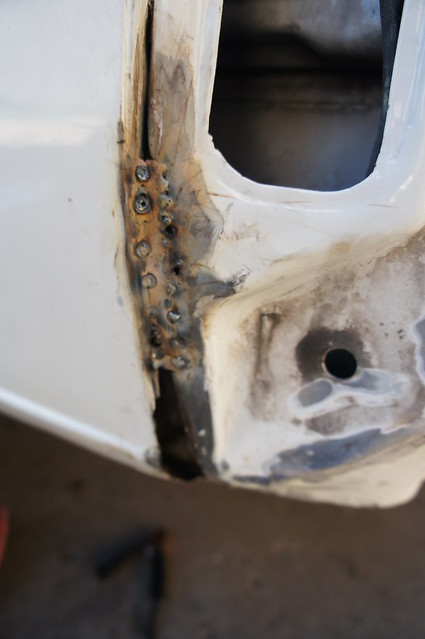
I discovered a previous body repair in the back left corner which had started to rust. I probably could have saved the sheet metal in the seam, but I opted to just weld in a patch and seal it up as it’s covered by the bumper caps.


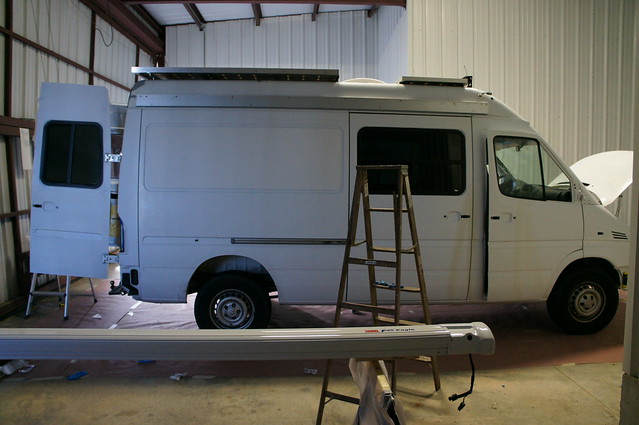
The next step was to scuff the entire surface to be painted. We used coarse scuff pads in conjunction with 300 grit on our random orbit sander. We then took the van to our friends hangar and cleaned some more… (Thanks Mike!) We solvent wiped everything before and after masking to remove any oil from our hands as well as other contaminates.
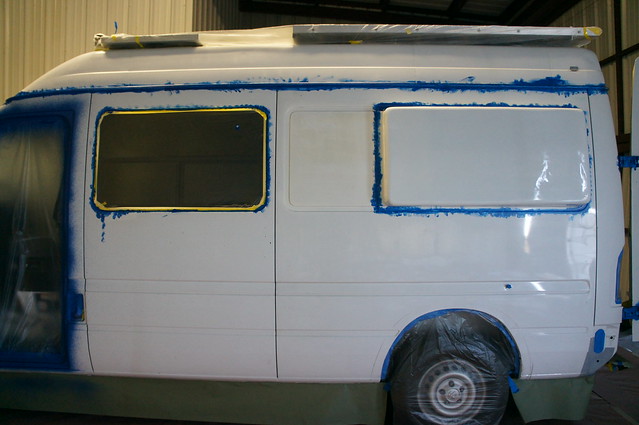
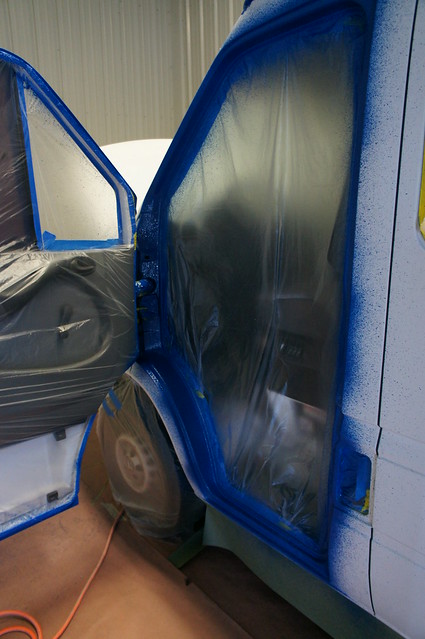
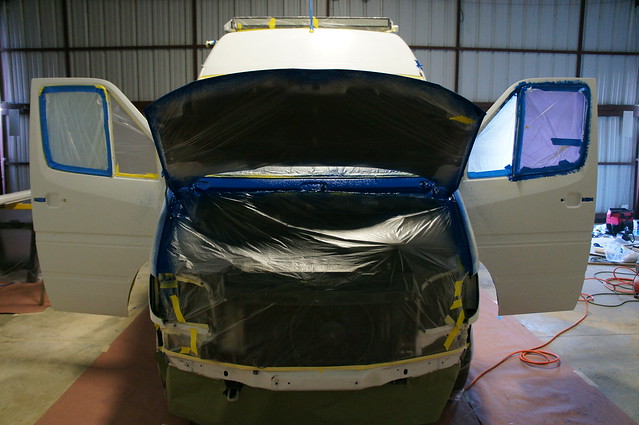
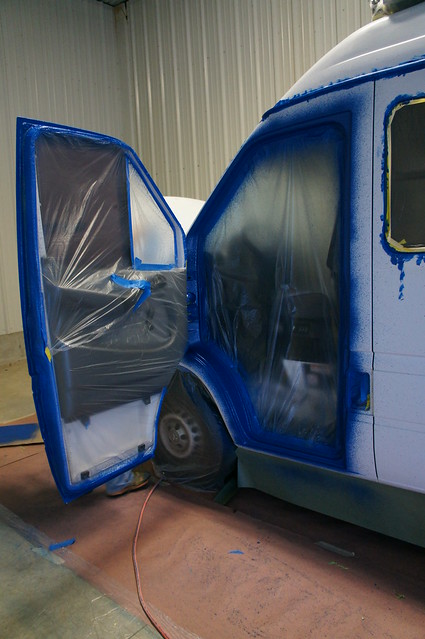
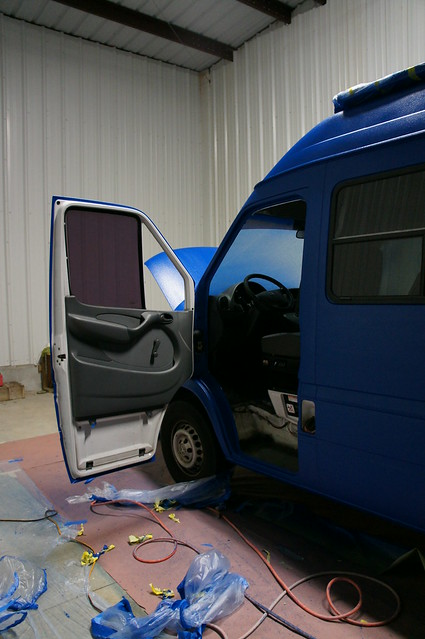
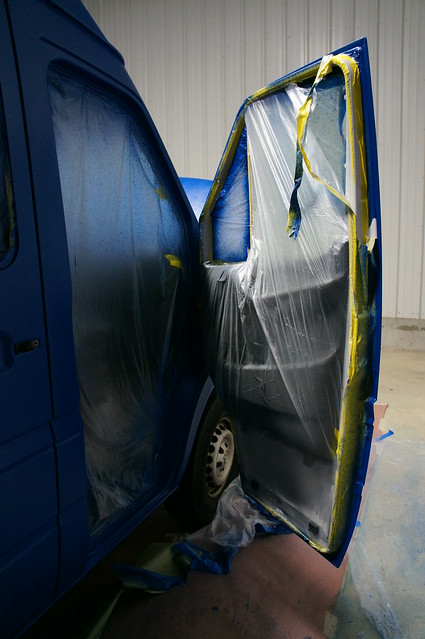
Then we masked everything meticulously. Since we were painting parts of the jambs we were able to put our tape lines in out of the way places. This also meant that we had to spray/brush the jambs prior to doing the exterior.


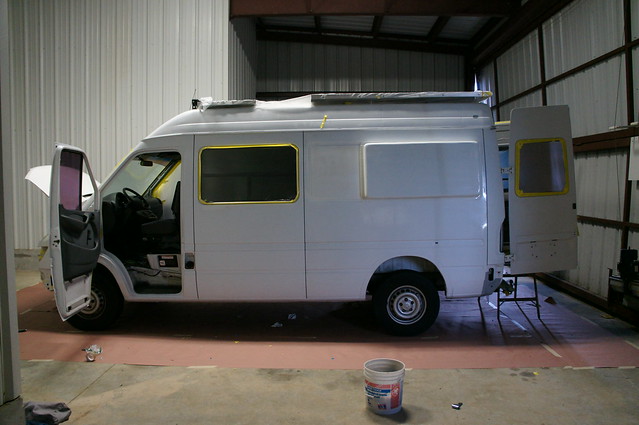
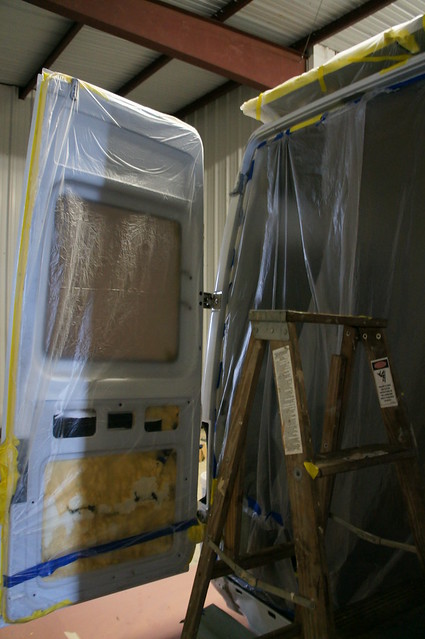
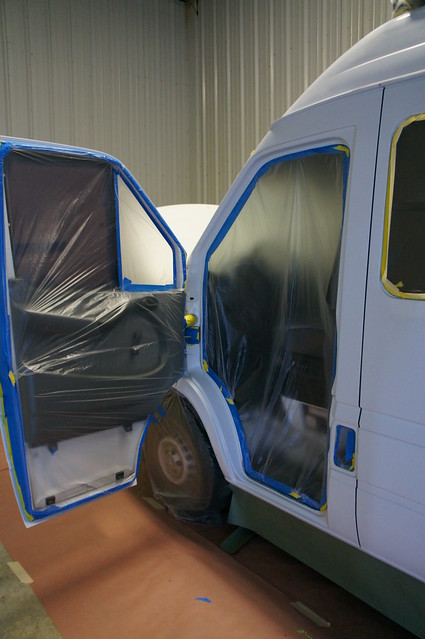
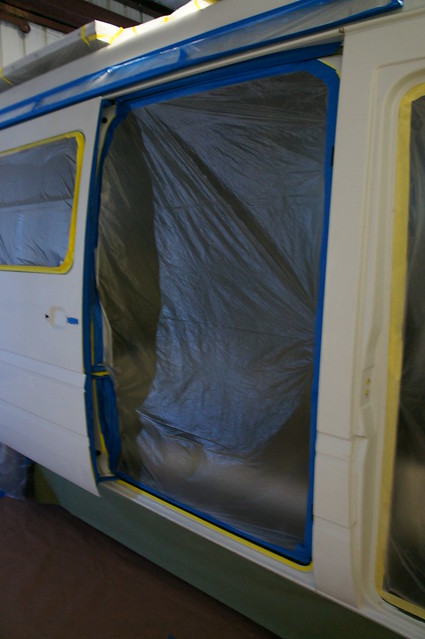
Note that we used automotive low tack masking tape in various thicknesses from 5mm to 50mm. The 5mm was very useful for tight turns and close spaces.
We started by mixing the tint into all the gallon cans. Then we catalyzed one gallon at a time and began spraying. We went through paint quickly; usually about an hour to spray each gallon. Using 3.5 gallons total, but I could have sprayed the leftover half gallon on the front roof. Looking back catalyzing all the paint at once in a 5 gallon bucket would have saved mixing time, just make sure to cover the coating between pours. Filling multiple spare canisters for the spray gun can save time as well. We filtered all paint prior to spraying it.
Prior to the first coat we brushed paint into tough to spray areas such as the rain gutters, tight areas in the jambs, and blind corners on the slider and front doors.

The instructions suggest spraying 2-3 medium coats about an hour apart. I aimed for 90% coverage with the first coat and the remainder on the 2nd.
I started with the jambs. While that was drying I sprayed one coat on drivers back side. Once an hour had passed I did a second coat on the jambs and proceeded to do the other back quarter. Again after an hour I closed the front doors, slider, and hood. I tried not to get ahead of myself and recoated each section of the van in around an hour.
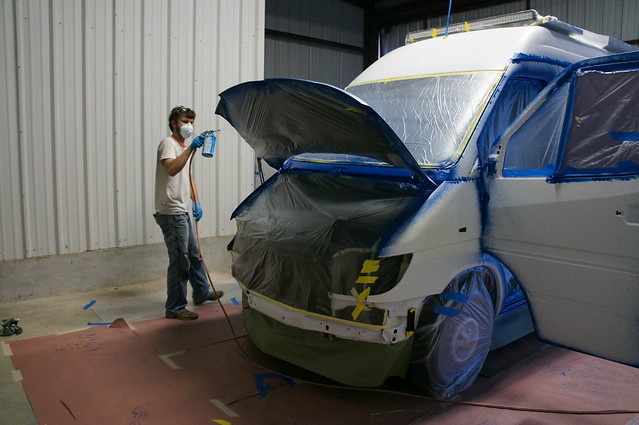
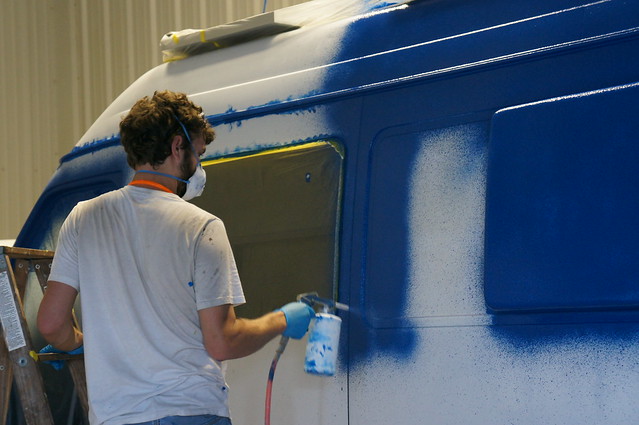
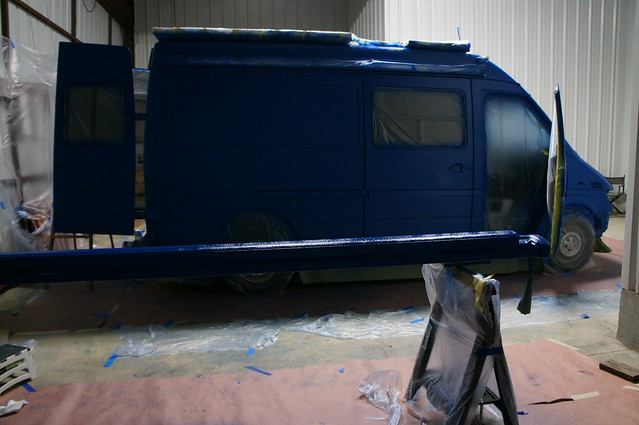
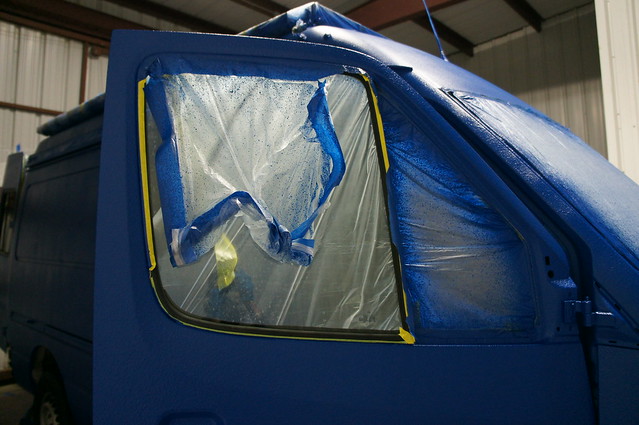
Good lighting is important as full coverage is can be difficult without ruining the texture or causing runs. Make sure to mask everything important within 10 feet of the van, as you will get overspray due to the angles necessary to get all the nooks and crannies.
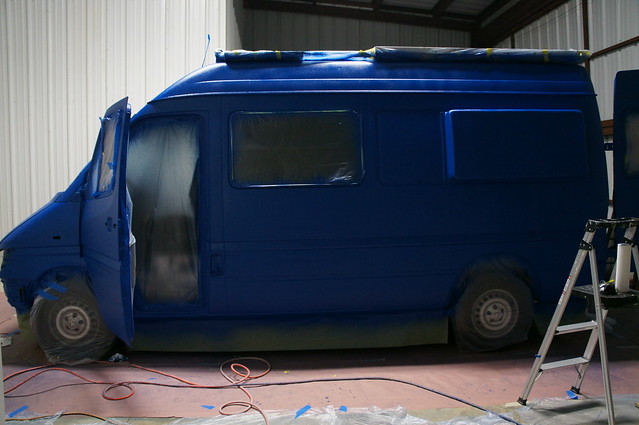
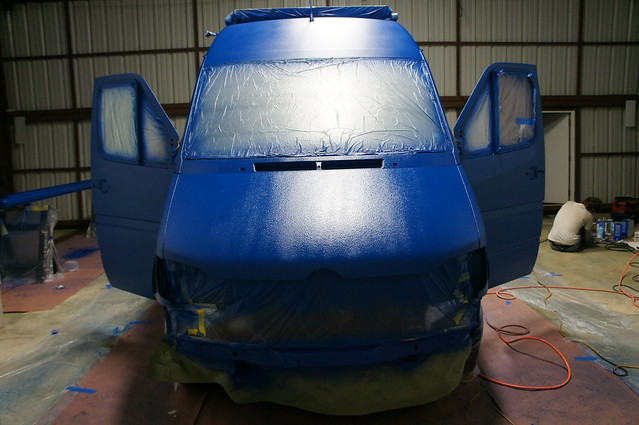
Once the paint coating would no longer take a fingerprint we unmasked the van. Don’t wait too long to remove the tape, as it can mess up your tape lines.
The coating takes a few days to cure enough for use. So we then played the waiting game. Overall it took us at least 40 hours of work to get the van prepped and almost 10 to spray and unmask.
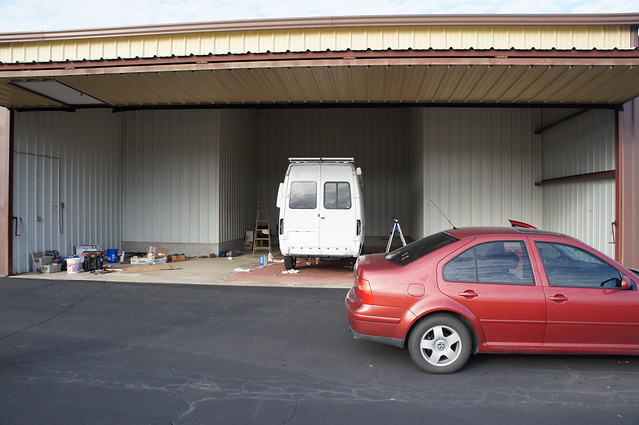
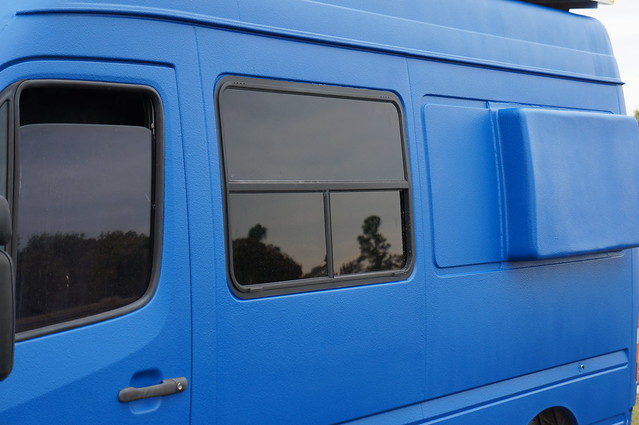
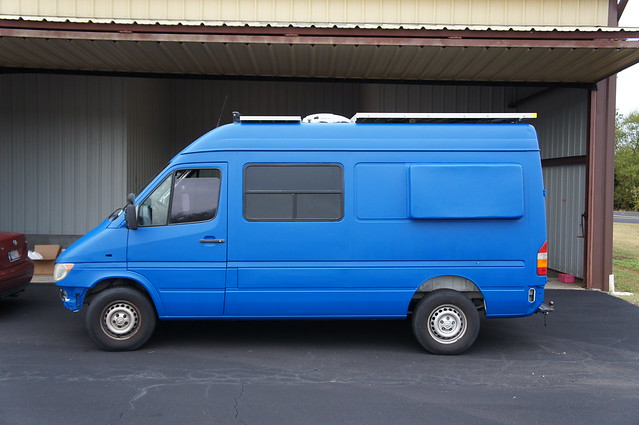
Once the coating dried we reassembled enough to get the van home. Here are some shots outside the hangar a week later.
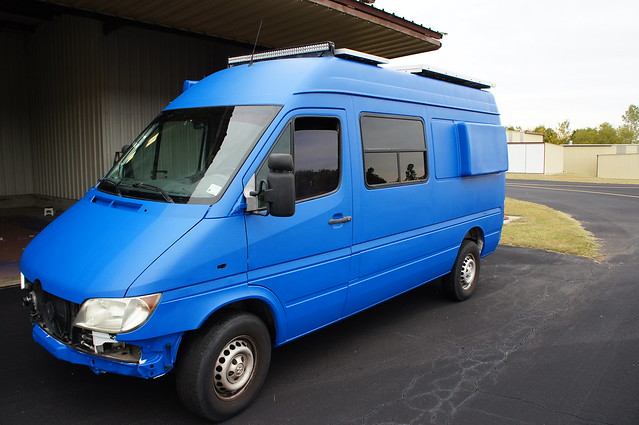
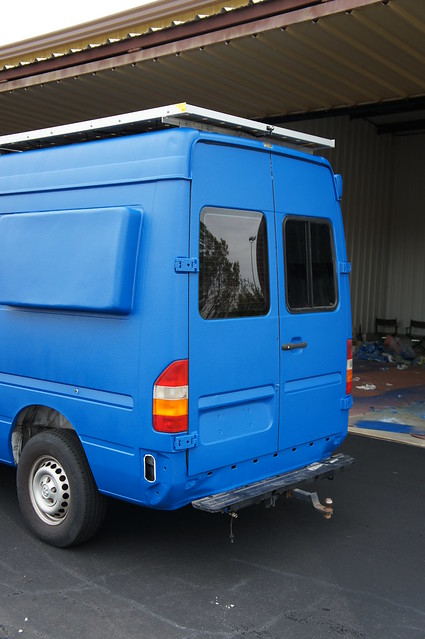
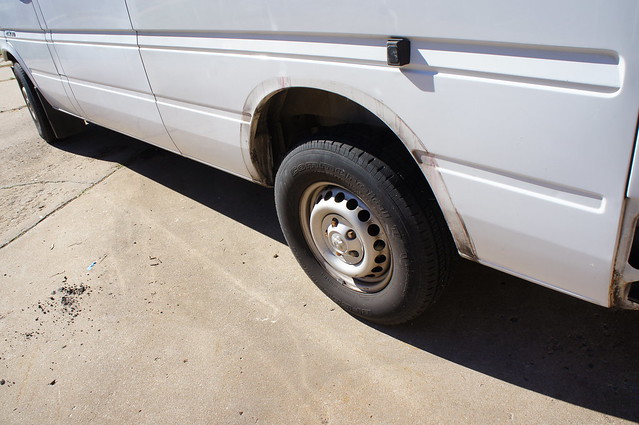
After putting the trim on I realized that we should have sprayed the rear wheel well areas. Oh well. We can do them when we do touchups or possibly just paint them black. The bumper covers and wheel arch trim were pretty badly oxidized. So I buffed them with a drill and green scotch pads. I used xylene as the lubricant but water with soap would probably have worked pretty well.
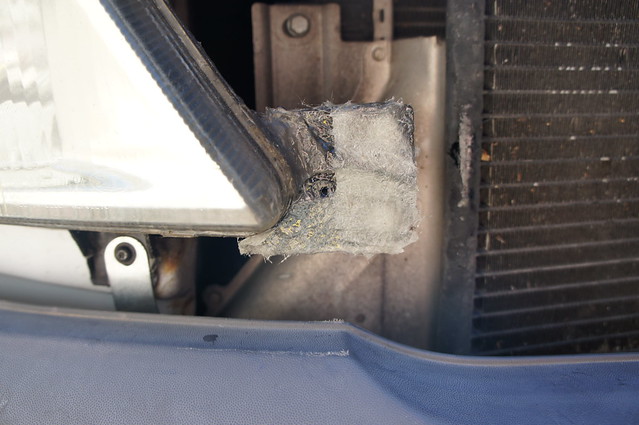
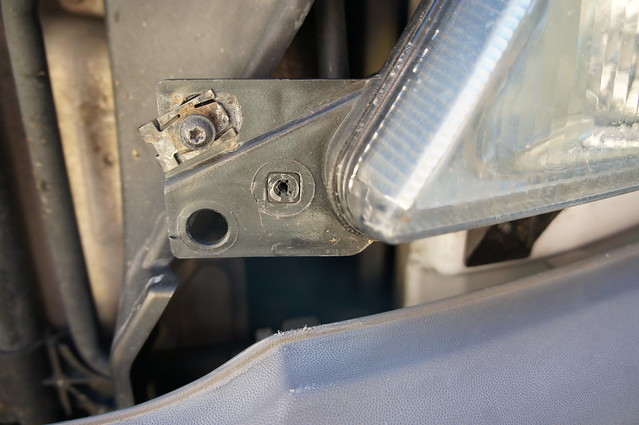
I repaired a broken trim mount on the passenger headlight with some fiberglass mat and 5 minute epoxy.
Once the coating dried we reassembled enough to get the van home. Here are some shots outside the hangar a week later.
After putting the trim on I realized that we should have sprayed the rear wheel well areas. Oh well. We can do them when we do touchups or possibly just paint them black. The bumper covers and wheel arch trim were pretty badly oxidized. So I buffed them with a drill and green scotch pads. I used xylene as the lubricant but water with soap would probably have worked pretty well.
I repaired a broken trim mount on the passenger headlight with some fiberglass mat and 5 minute epoxy.
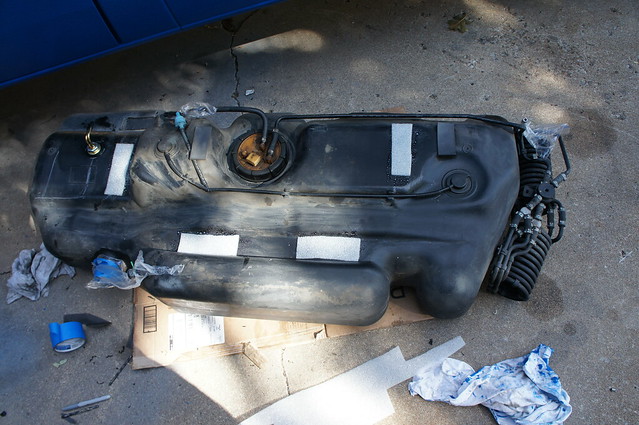
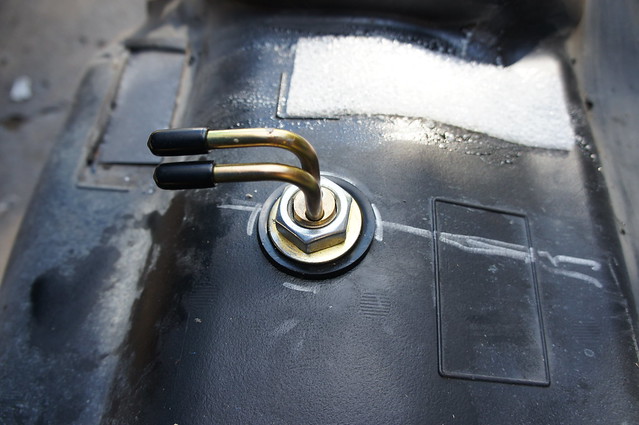
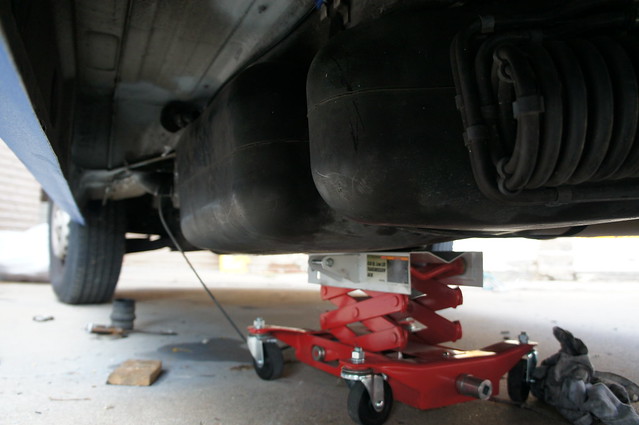
I also dropped the fuel tank to install the Espar heater fuel pickups.
This comment has been removed by a blog administrator.
ReplyDelete