Well, Jonathan and I, are finally thinking about painting the van early this next month, but we are having a hard time choosing the paint color. We thought our faithful blog followers would like a chance to contribute!
If you know us personally, you can contact us via the method you prefer. Otherwise just add a comment to this post. We will tally and see how it goes.
These are listed in the order that I found them from the website, not in order of preference or anything.
NOTE: These colors are actually a few shades darker in person, I think. Of course, it depends on your monitor.
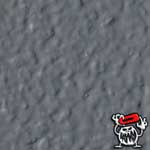
Option 1: Light Quartz Grey
Option 2: Medium Quartz Grey
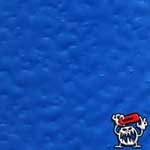
Option 3: Smurfadelic
These are Monstaliner paints, which are a truck bed liner. It will probably have some texture, and we aren't 100% sure that this is what we want to do, but we figured we would pick a color first. Then we could test applications on our recently removed window cutout. Then we could make a decision if we could stand the texture.
Let us know your opinion! We are looking forward to it.
vagary (n.) - An unpredictable instance, a wandering journey; a whimsical, wild or unusual idea, desire, or action.
Tuesday, September 29, 2015
Wednesday, September 16, 2015
September Update - (Hey, is that a camper?)
We now have something that resembles our designs! Things are coming together fairly quickly at this point. Its much easier to build around something than it is to start with a blank slate.
The cabinets have been making steady progress. We are gradually getting the hang of woodwork.
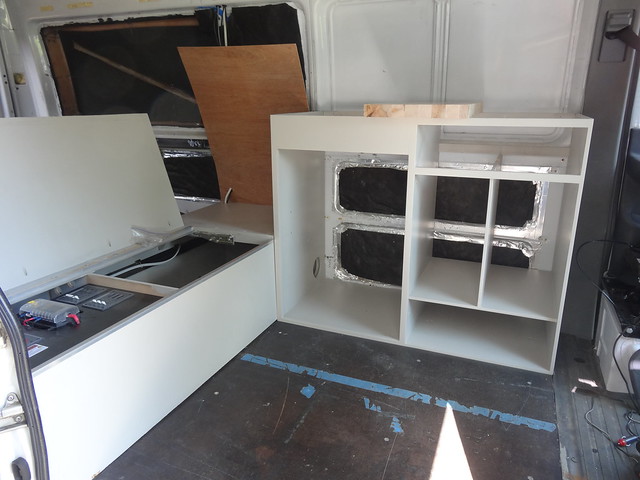
First off, the Galley is fully painted. Here it is fitted in its final resting place.
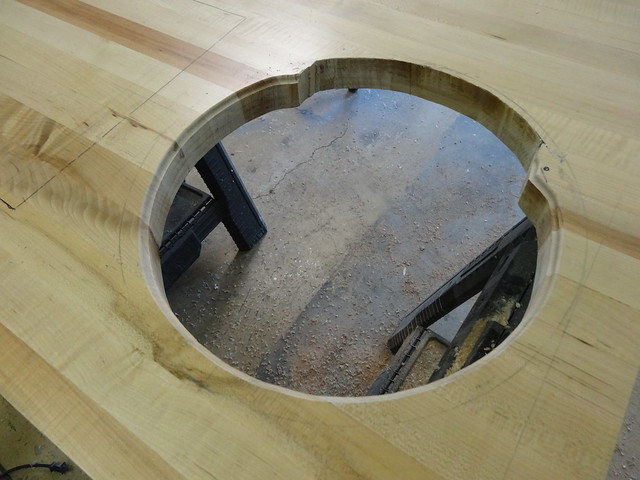
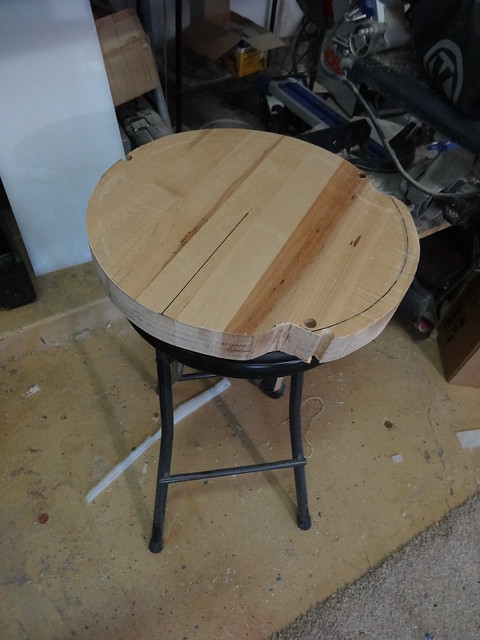
After trimming the countertop to size I started marking the cutouts for the sink and stove.
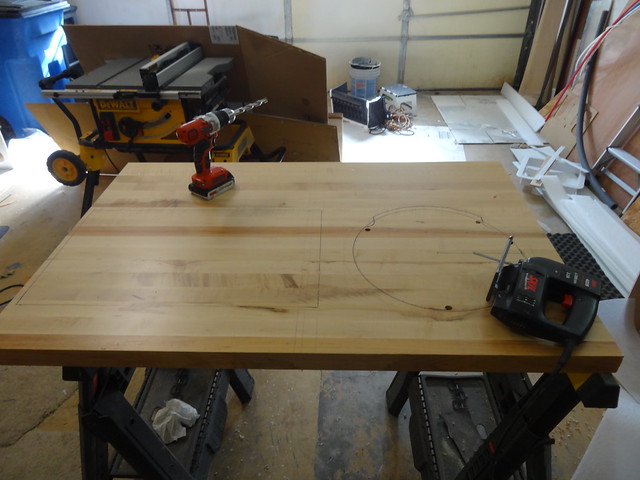
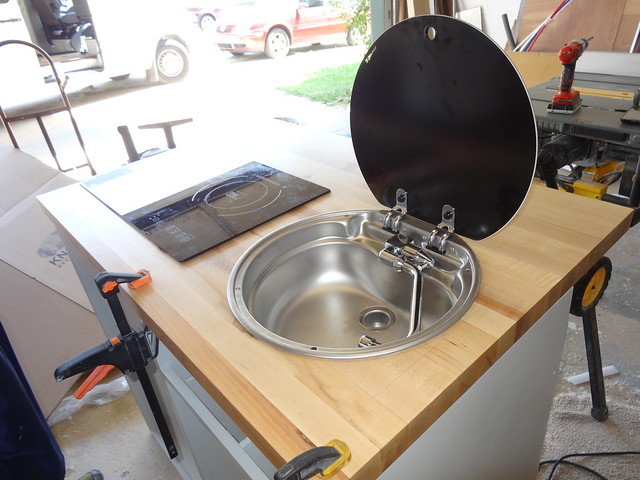
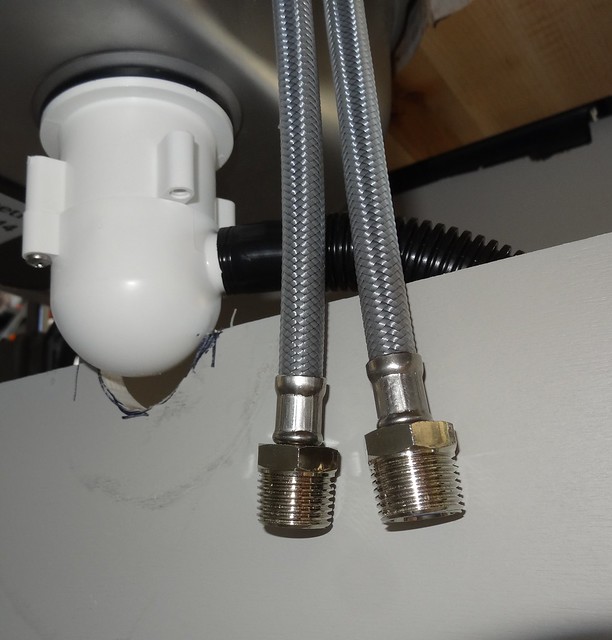
The sink is a SMEV model VA7306 from this vendor. Yes, I know the price is outrageous. Remember if you order from europe, make sure to get the drain fittings and faucet.
Here is the top with sink and cooktop fitted.
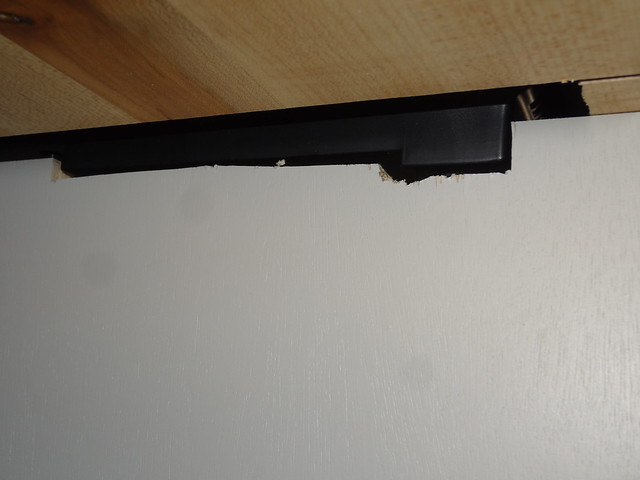
Some trimming for clearance was required.
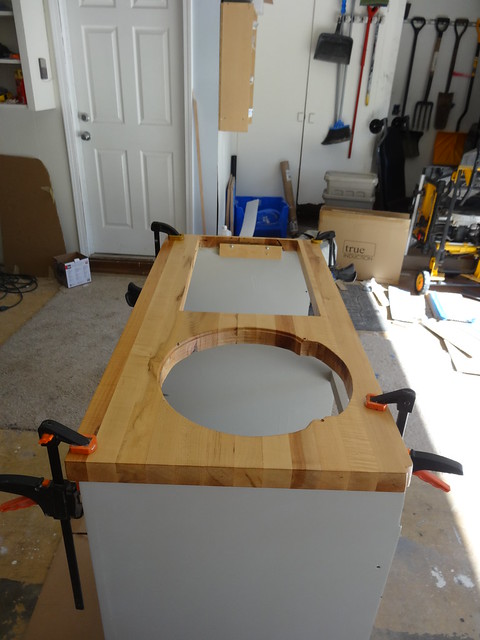
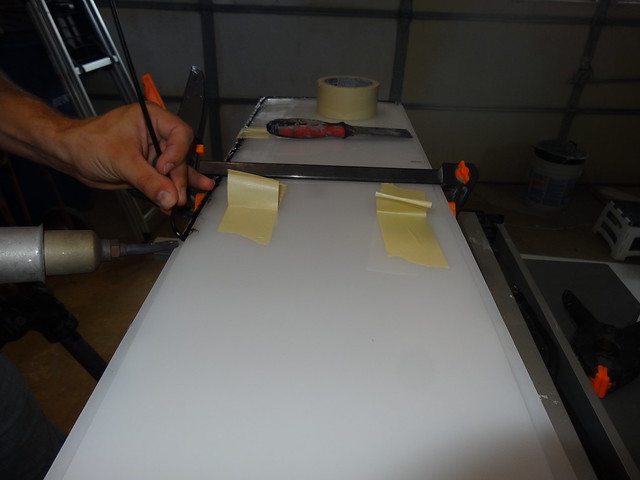
Here is the galley top with all cuts and 3 coats of spar urethane. It is clamped and waiting for the adhesive to set.
The bench seat is in for (hopefully) the last time
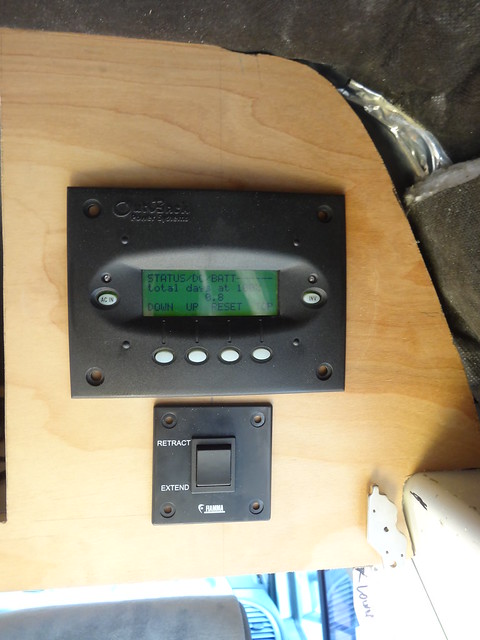
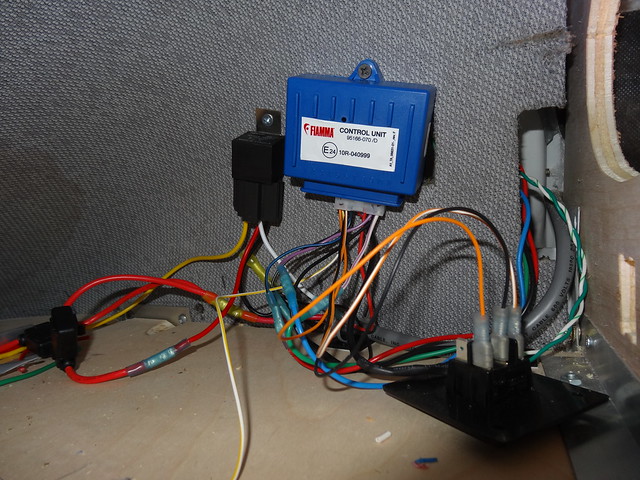
The electrical nexus is wired up and running.
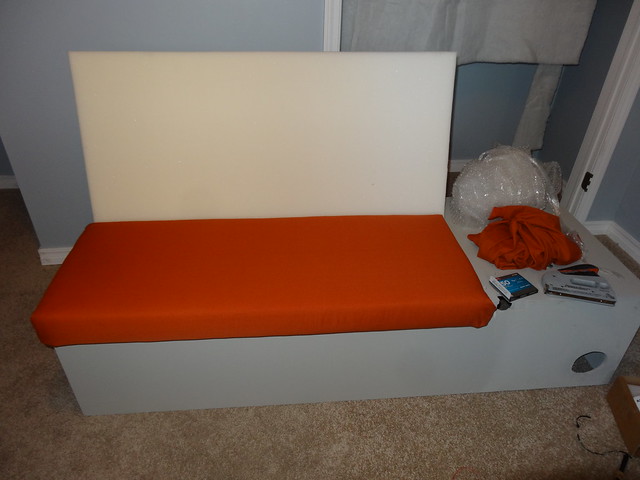
The bench seat bottom has foam, velcro, and slip cover.
Here is the dress cover without corner treatments.
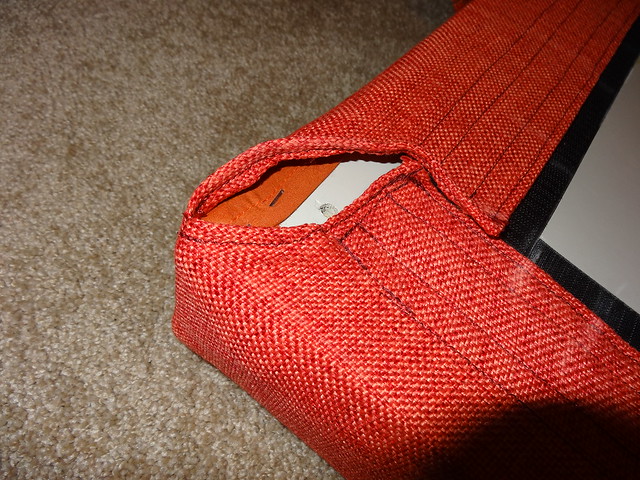
And with corner treatments.
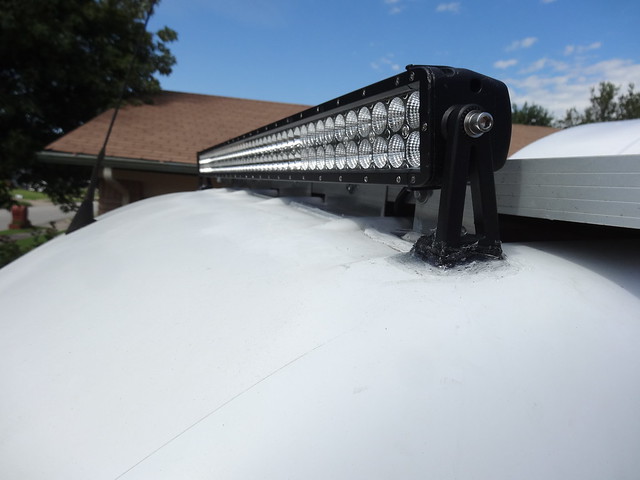
I mounted the LED light bar as well.
Where the mount legs meet the roof has a slight curve ~10 degrees. I filed the legs to match, and drilled the holes at the same angle.
On the roof I installed 2x1/4-20 rivnuts.
I bolted it down with SS hardware and applied a clear urethane sealant under the legs and over the screw heads. Of course the fins on the back whistle under certain wind conditions... This will need remedied...Rapidly...
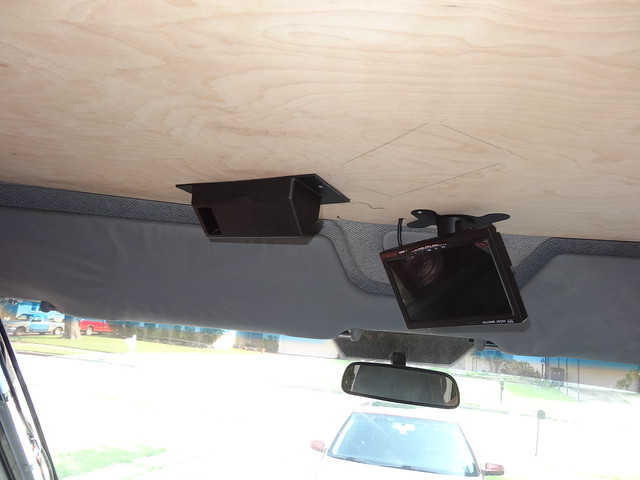
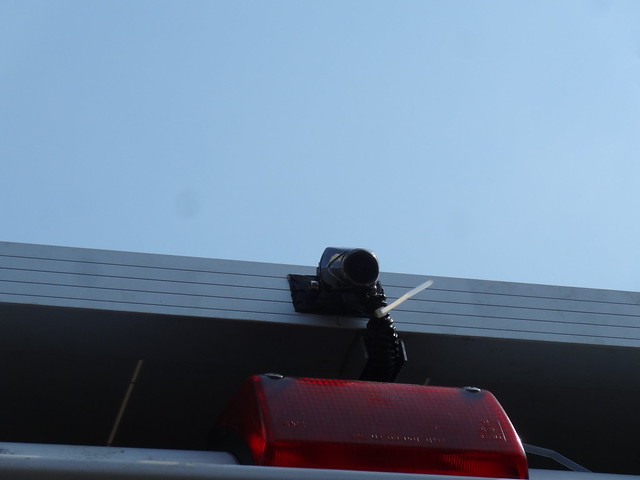
The rear view camera and lots of wiring in the over-cab cabinet is done. No more backing into low lying objects (I won't mention how many times I have done this....)
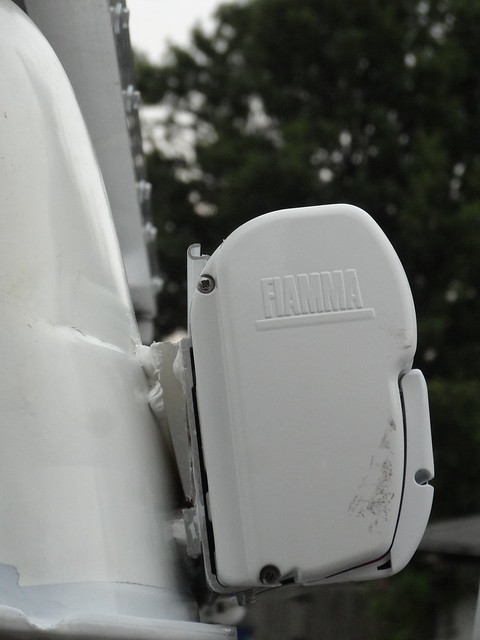
The awning has been installed and wired.
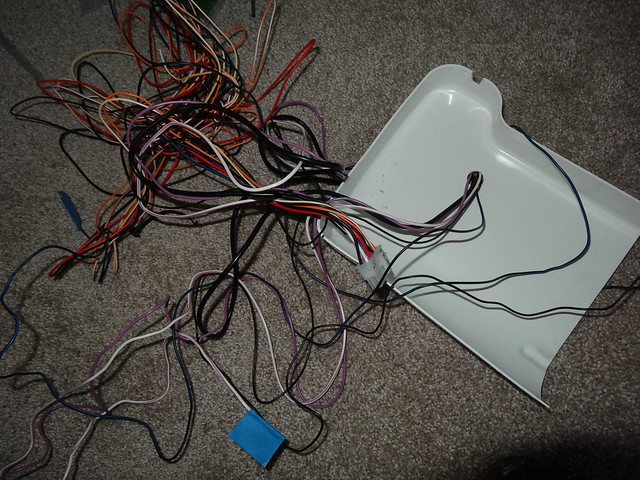
It came with a pretty pathetic excuse for a wiring harness.
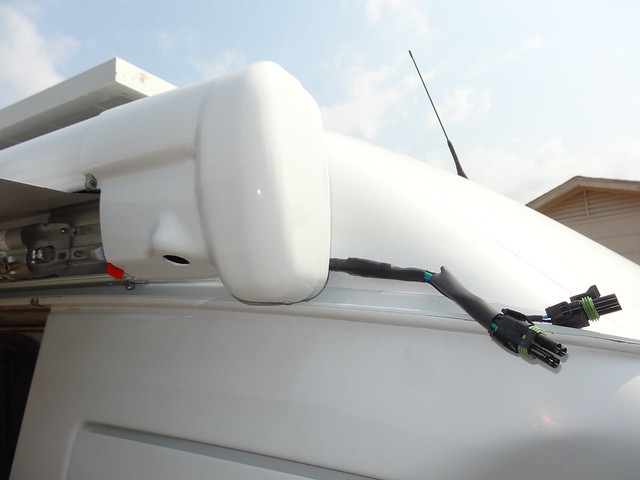
After some Jonathan magic.
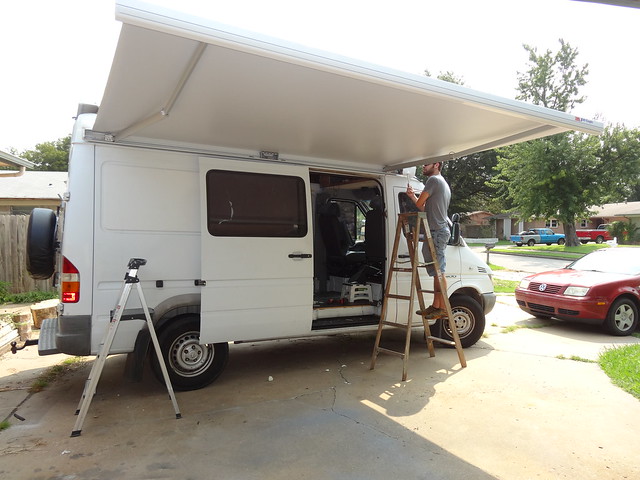
Adjusting the angle.
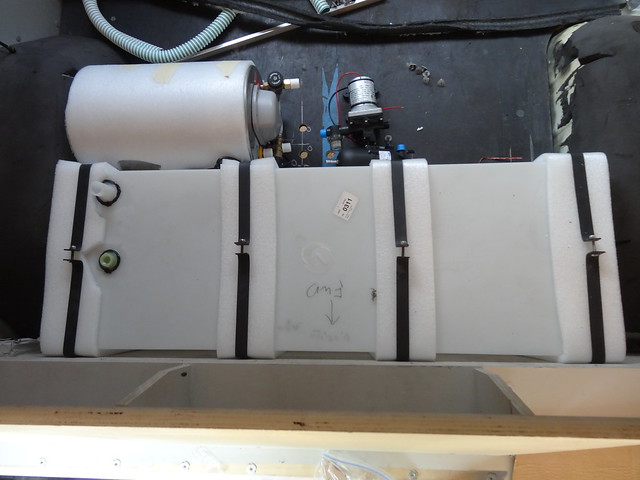
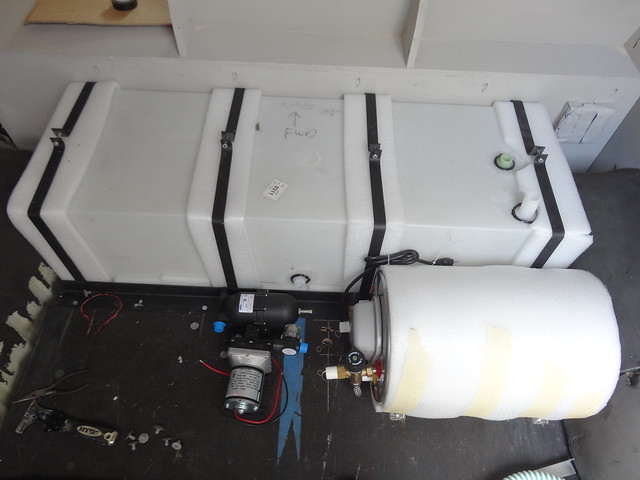
The water tank and water heater are in and bolted down.
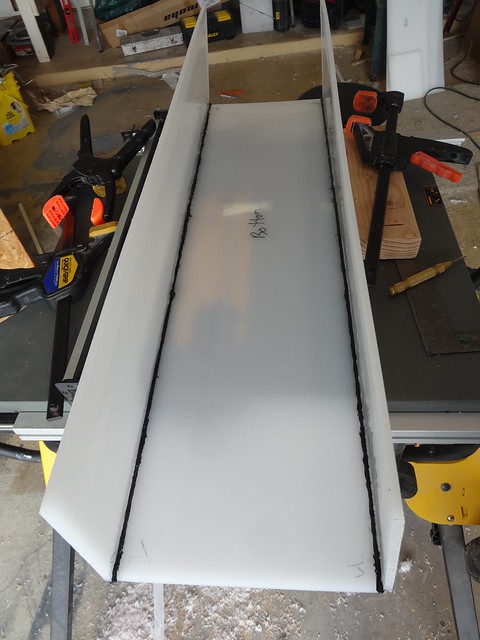
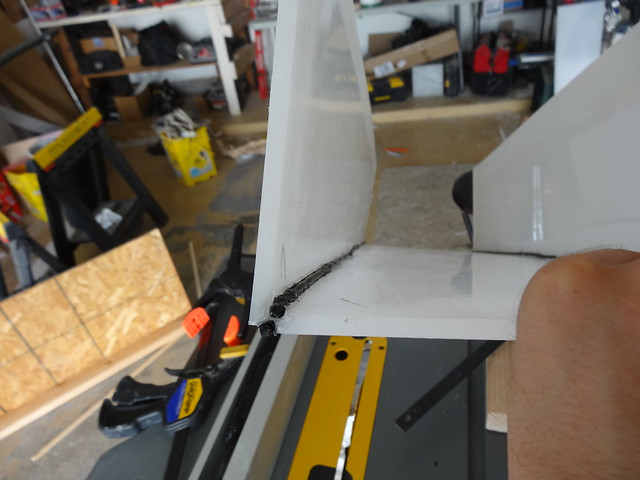
The gray water tank is made from 1/4" HDPE plastic. I welded it up by hand using a Harbor Freight supplied plastic welder.
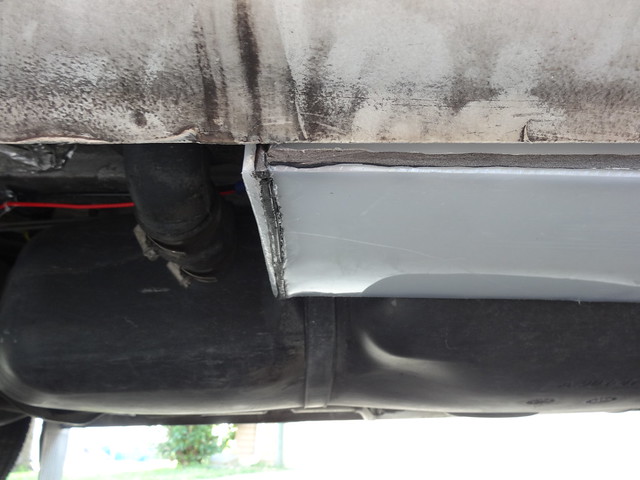
It mounts on the drivers side next to the fuel tank.
The vertical cabinet is mostly finished. I hope to finish the plumbing provisions and put the water lines in soon.
In addition we have an Espar D2 diesel cab heater and an Espar D5 Hydronic water heater on order. These should supply all the hot water and air we need.
Finally the windows arrived today! We are putting vented RV style windows in both mid-body locations and one of the rear doors. SO MUCH left do to! But at least the van is looking like a camper.
The cabinets have been making steady progress. We are gradually getting the hang of woodwork.
First off, the Galley is fully painted. Here it is fitted in its final resting place.
After trimming the countertop to size I started marking the cutouts for the sink and stove.
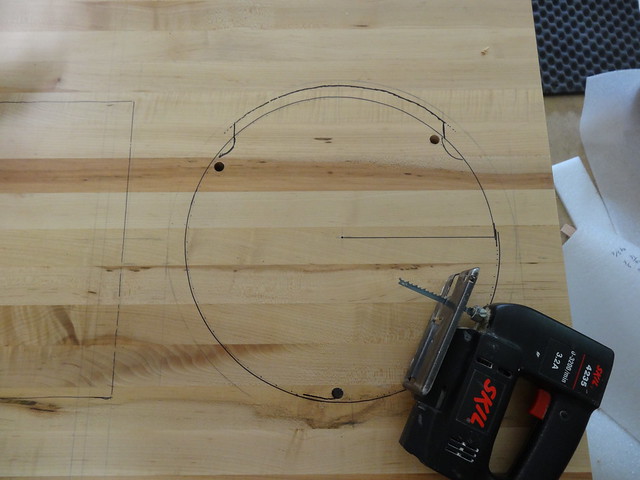
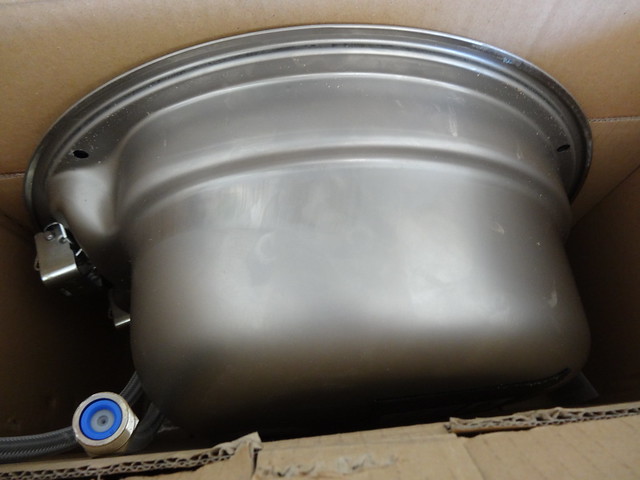
The sink is a SMEV model VA7306 from this vendor. Yes, I know the price is outrageous. Remember if you order from europe, make sure to get the drain fittings and faucet.
Here is the top with sink and cooktop fitted.
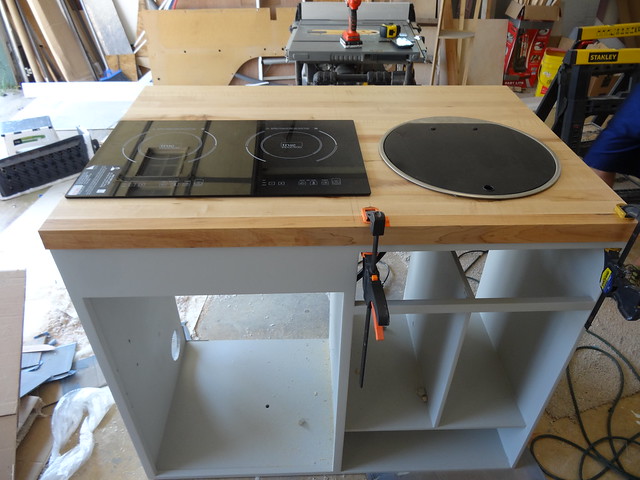
Some trimming for clearance was required.
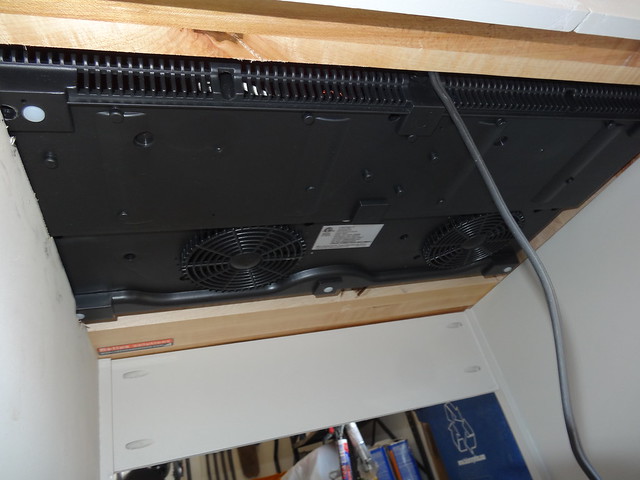
Here is the galley top with all cuts and 3 coats of spar urethane. It is clamped and waiting for the adhesive to set.
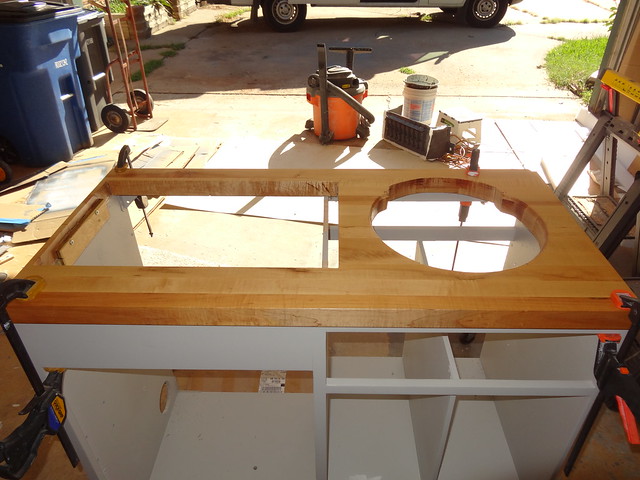
The bench seat is in for (hopefully) the last time
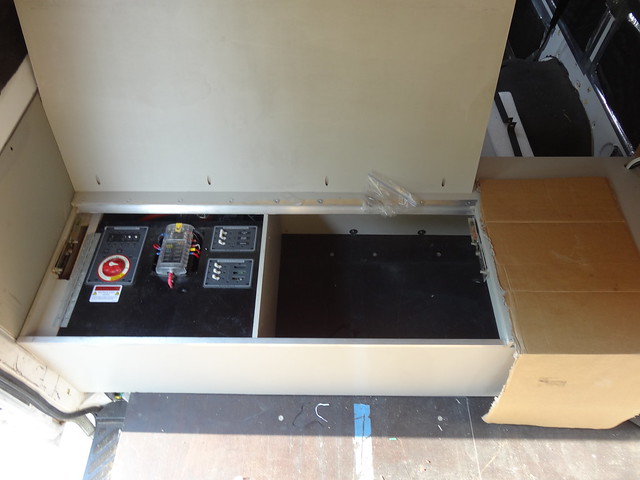
The electrical nexus is wired up and running.
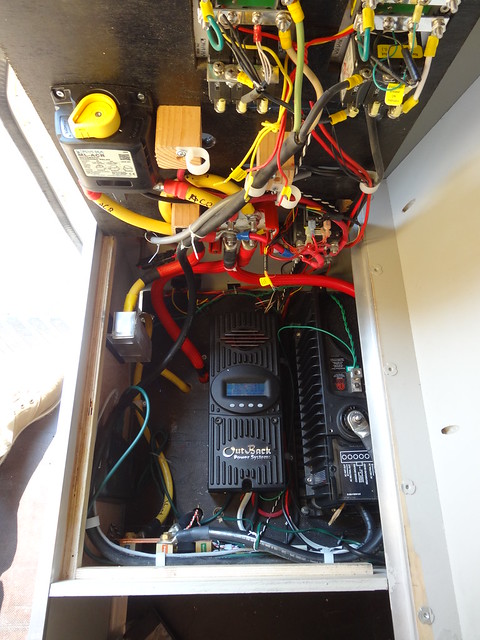
The bench seat bottom has foam, velcro, and slip cover.
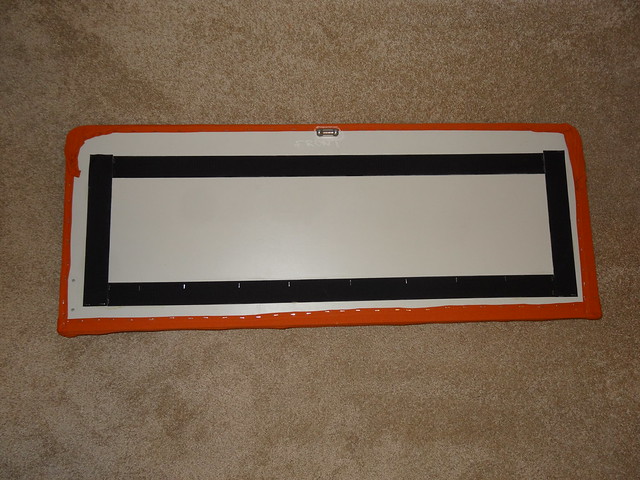
Here is the dress cover without corner treatments.
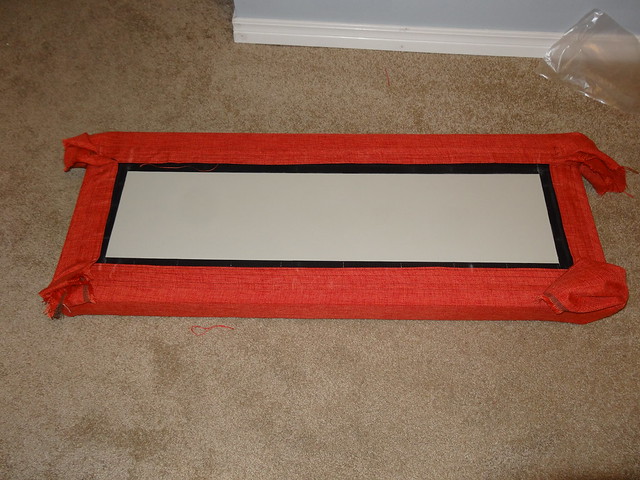
And with corner treatments.
I mounted the LED light bar as well.
Where the mount legs meet the roof has a slight curve ~10 degrees. I filed the legs to match, and drilled the holes at the same angle.
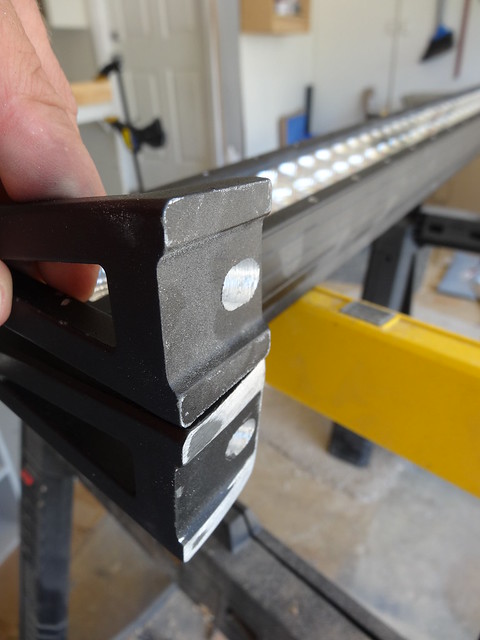
On the roof I installed 2x1/4-20 rivnuts.
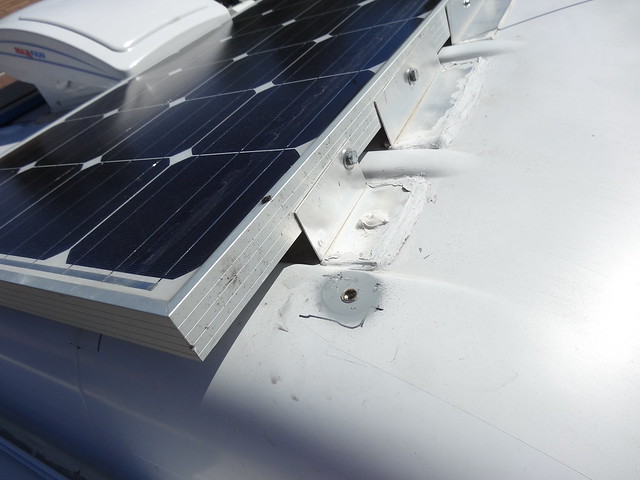
I bolted it down with SS hardware and applied a clear urethane sealant under the legs and over the screw heads. Of course the fins on the back whistle under certain wind conditions... This will need remedied...Rapidly...
The rear view camera and lots of wiring in the over-cab cabinet is done. No more backing into low lying objects (I won't mention how many times I have done this....)
The awning has been installed and wired.
It came with a pretty pathetic excuse for a wiring harness.
After some Jonathan magic.
Adjusting the angle.
The water tank and water heater are in and bolted down.
The gray water tank is made from 1/4" HDPE plastic. I welded it up by hand using a Harbor Freight supplied plastic welder.
It mounts on the drivers side next to the fuel tank.
The vertical cabinet is mostly finished. I hope to finish the plumbing provisions and put the water lines in soon.
In addition we have an Espar D2 diesel cab heater and an Espar D5 Hydronic water heater on order. These should supply all the hot water and air we need.
Finally the windows arrived today! We are putting vented RV style windows in both mid-body locations and one of the rear doors. SO MUCH left do to! But at least the van is looking like a camper.
Subscribe to:
Posts (Atom)